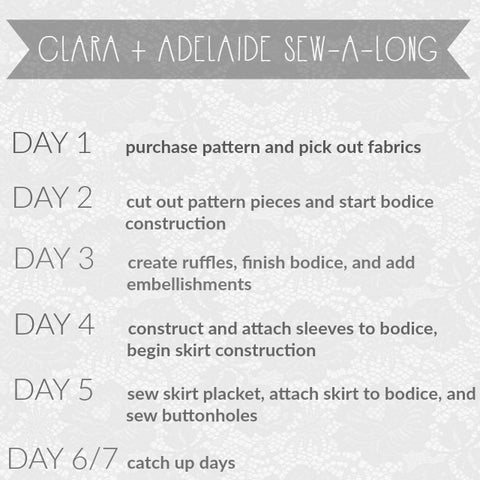


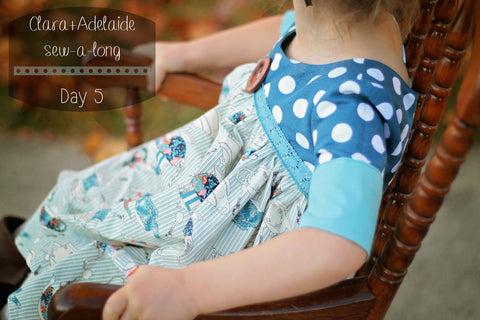
We are nearing the end my friends! Today we are going to finish up this amazing mash-up. Seriously, Clara+Adelaide is a match made in heaven!
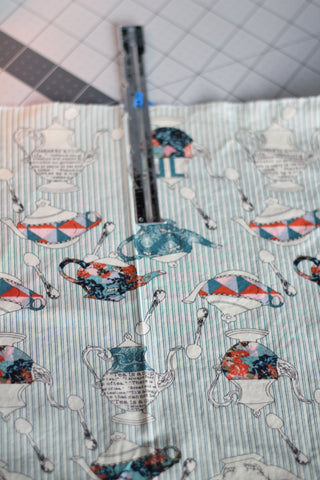
Yesterday we hemmed our skirt. Grab that skirt piece and match up the side seams. We are going to find the middle point of the skirt back, so decide which will be your back piece, and mark the middle with a pin, a chalk line, or iron that fold! Open your skirt back up with your middle marking on top. Now take a ruler and measure 3 1/2" down from the top of the skirt and mark right along where you found the middle back. Cut straight down your marking. This is where our skirt placket will be.
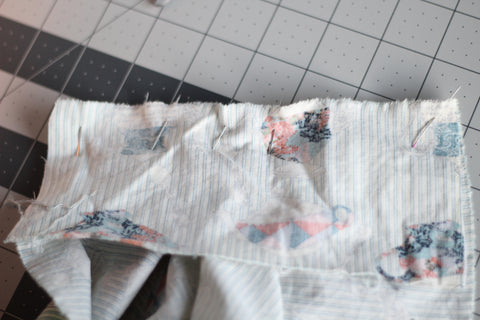
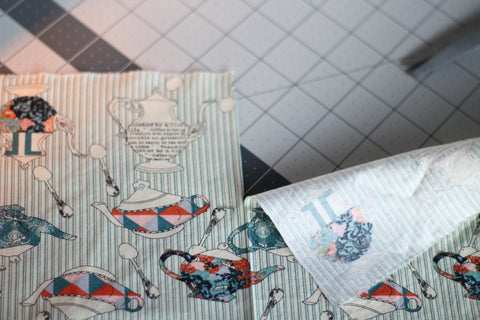
Take your skirt placket piece and place it with it's right side touching the wrong side of the skirt. You are going to open that skirt piece where you cut as flat as possible. Pin and sew together using a 1/8" SA. You are going to get a little pucker in the middle. Don't worry about that, it will be hidden after a few steps!
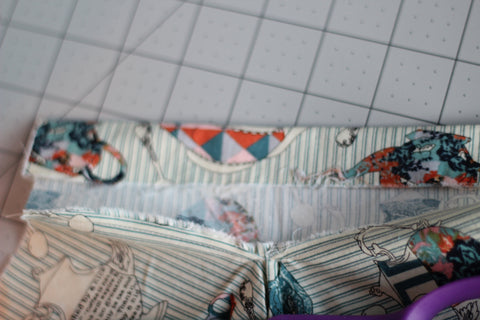
Iron the SA up, then fold the raw edge of the placket down 1". Fold again, this time using 1 1/8". It will cover that SA we sewed. Pin and sew right on the fold.
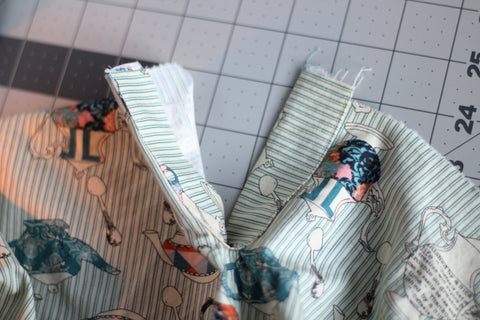
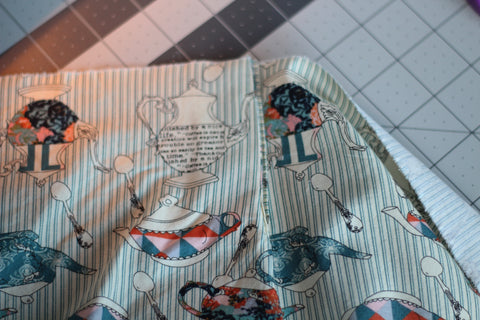
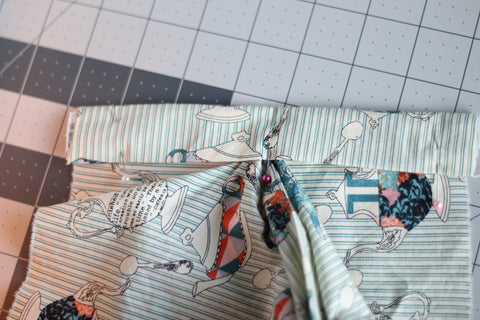
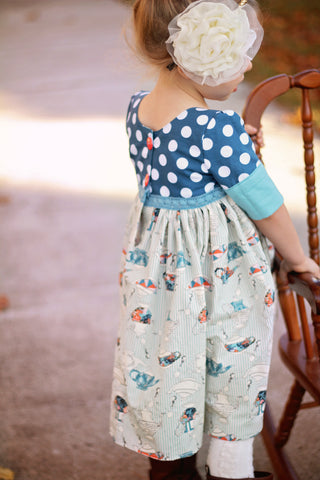
The skirt back is now enclosed. Take your skirt to your iron and get to work. With your skirt in front of you, take the left side of the placket and fold it under. The right side will stay out. IRON IRON IRON! And trim off any pieces at the top so the raw edges are even.

Sew two rows of gathering stitches at the top of the skirt. Make sure you do not gather the placket. Gather your skirt to the width of the bodice and pin, matching skirt and bodice side seams, and bodice and skirt back edges.
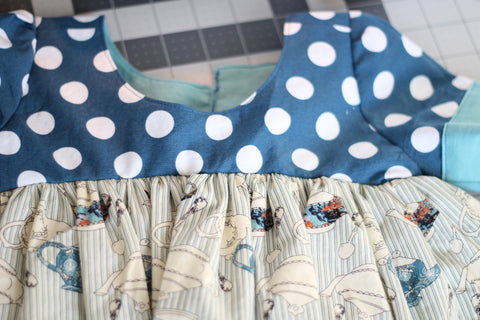
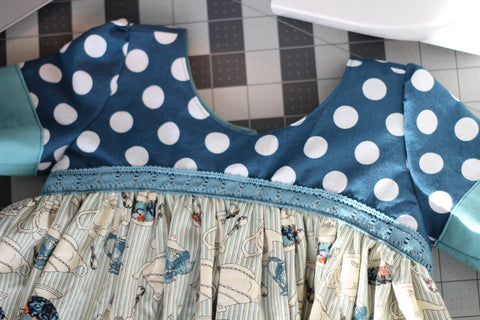
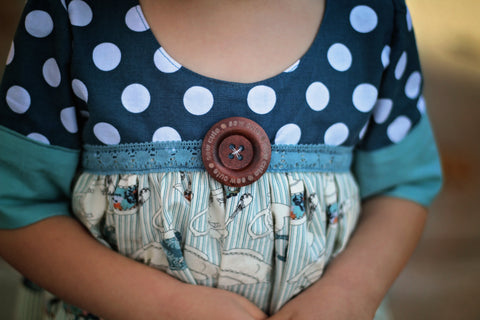
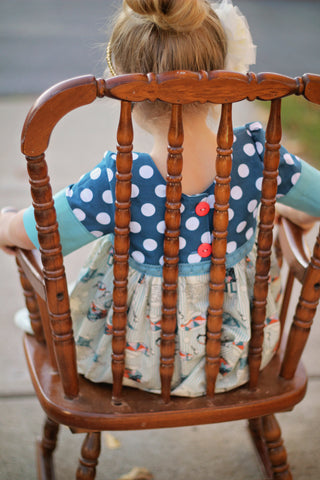
Sew the skirt to the bodice with a 1/2" SA. Finish the raw edges and flip the bodice up. Iron the SA up and topstitch, or add lace/trim of you want to be like me ;) Look at that beauty! We are almost done!

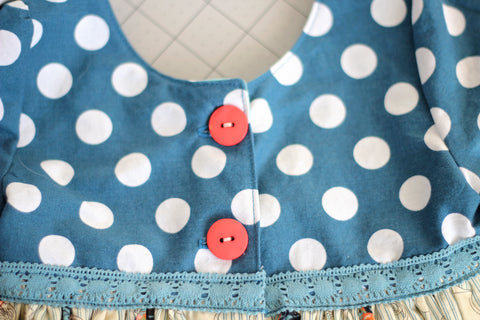
Time for buttonholes. Another least favorite part of mine. Sew those buttonholes onto your bodice, and on the opposite side sew on your buttons.
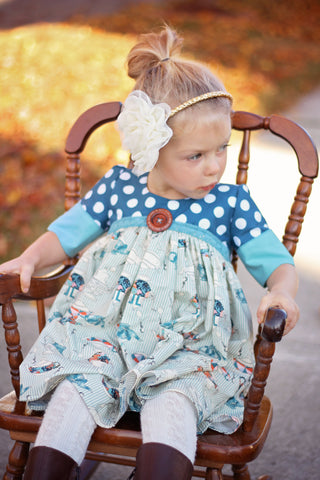
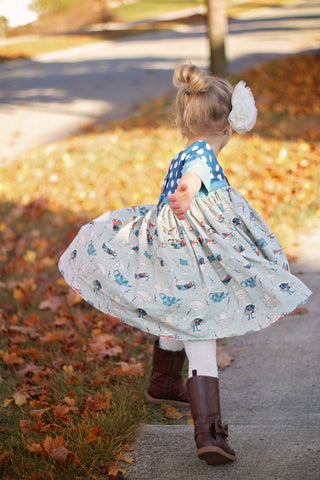
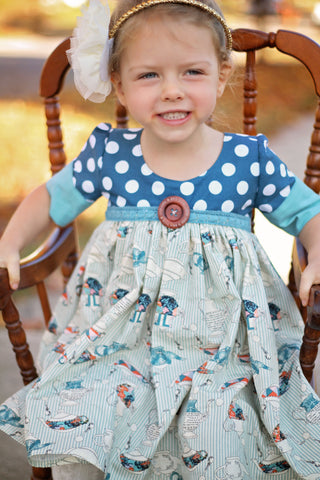
And there you have it! Clara+Addelaide. I told you it wasn't difficult! Now it's time for photos! I want to see all those gorgeous finished tops and dresses over in the FB group, so share away!
And because I am kind {hehehe} I am giving you the entire weekend to finish, because if you are anything like me your Friday night is probably packed with loads of Netflix shows that need to be caught up on, even though you will fall asleep 10 minutes after you turn said show on.
Monday I will be choosing a winner for our sew-a-long, so make sure your daily photos are in the albums!! If you missed the previous posts and need to catch up, you can find them here: Day 1, Day 2, Day 3, Day 4.