


 It's the last day friends. Today we are finishing up our Claras. Who's excited to see the finished product? I know I am! Let's get started!!!


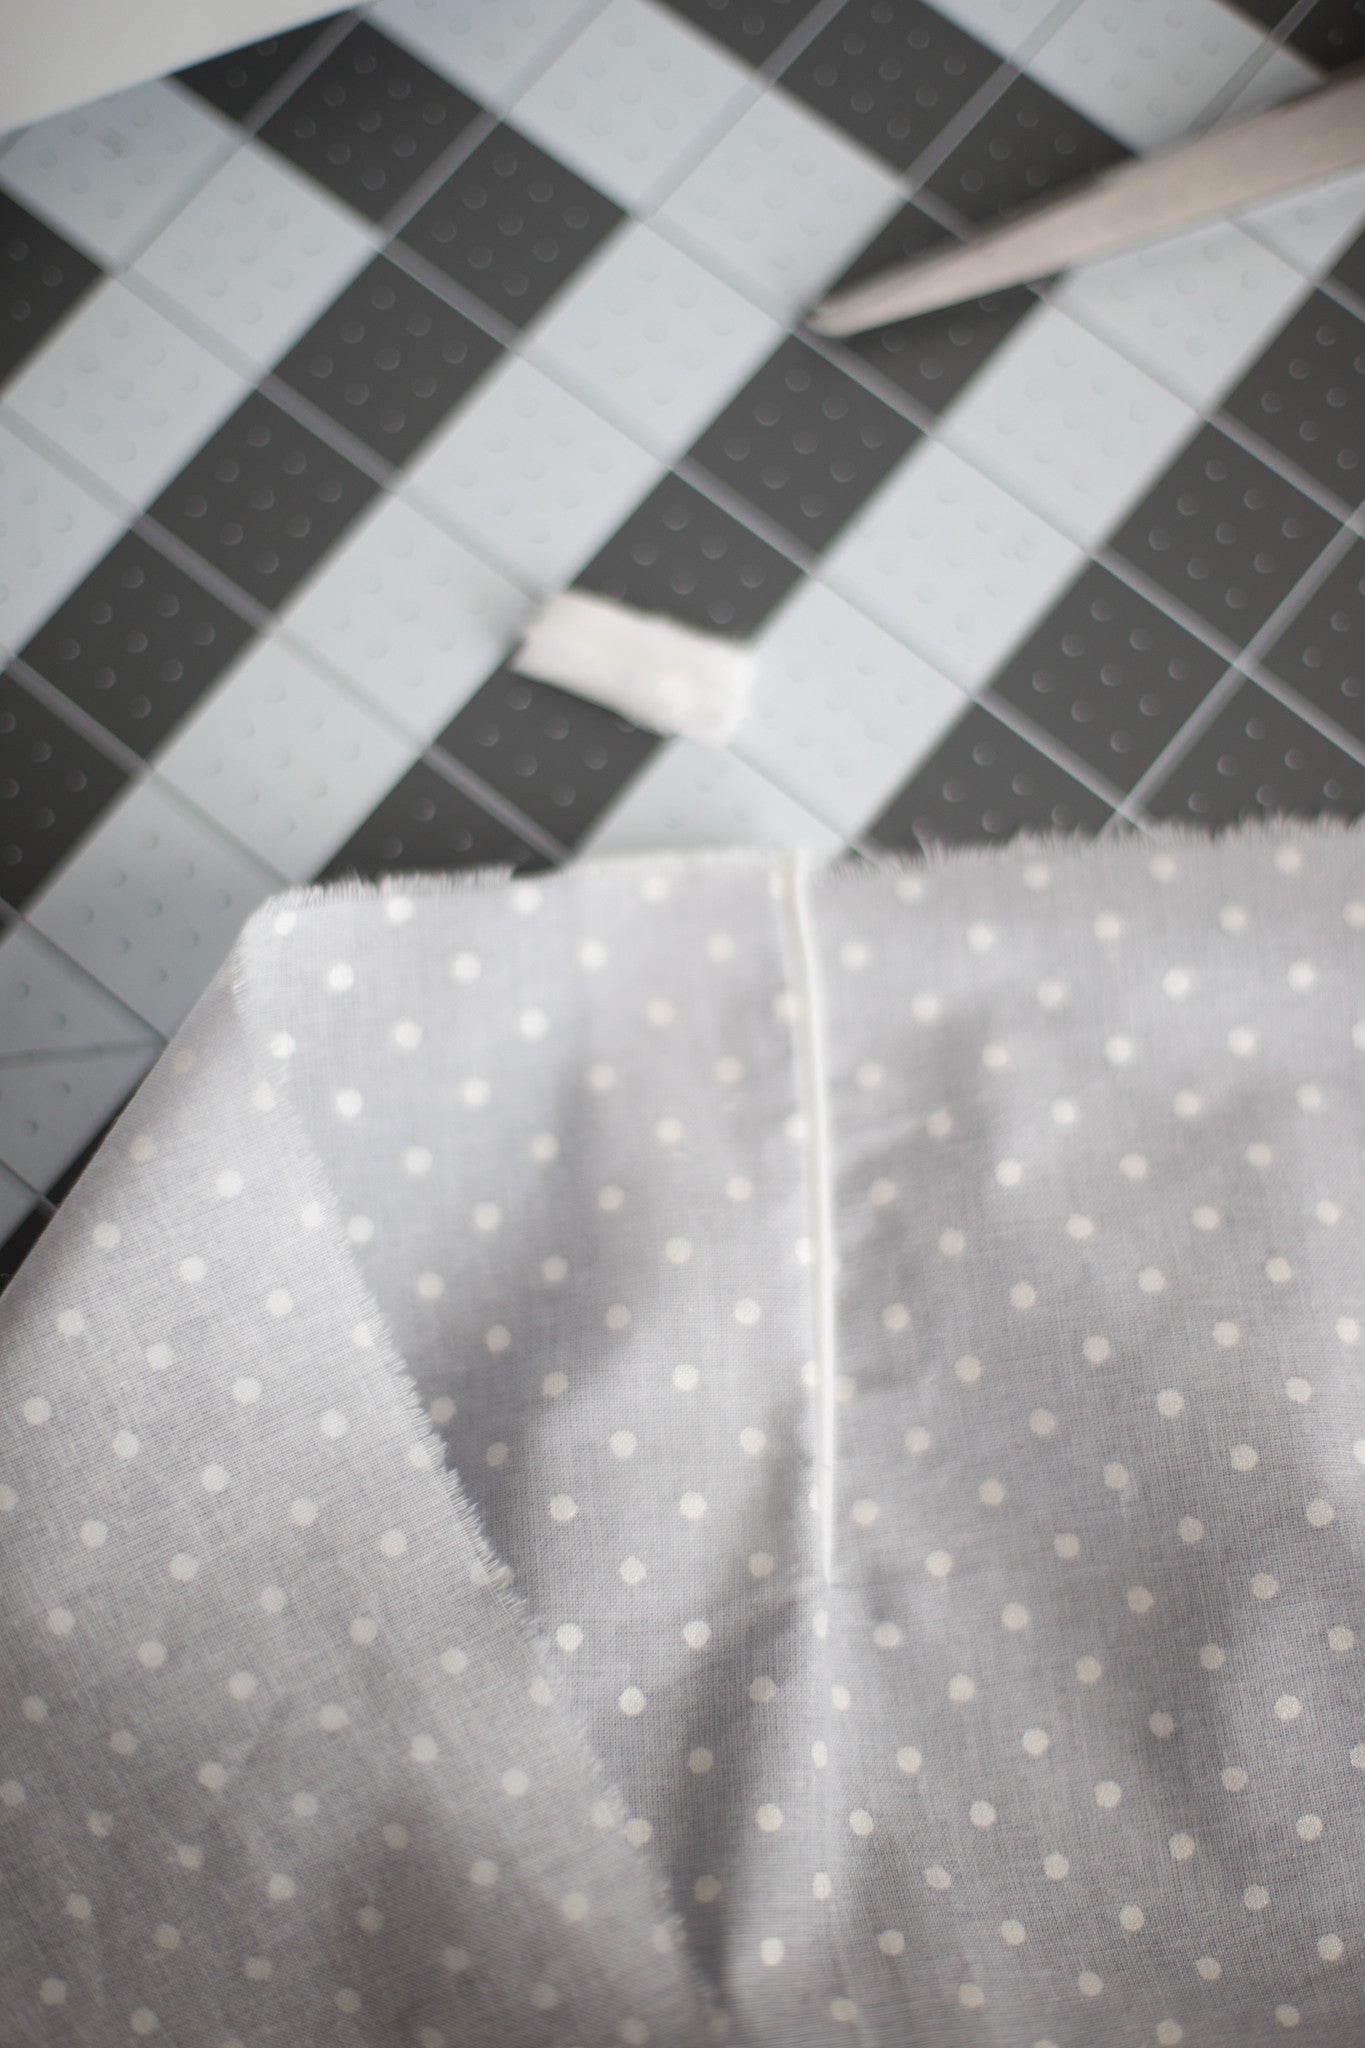
Yesterday we ended with prepping our skirts for the placket. Take your fabric you cut for your placket and place it right side of placket to wrong side of skirt. Pin this and sew using a very small 1/8in SA. Do not worry if you see a small pleat/gather in the middle. It will not be seen once we are done!


Iron the SA up towards the placket. Iron the top edge of the packet down 1in, and then again 1 1/8in. This will cover the SA. Sew along the edge to secure.

Now the skirt back in encased!! YAY!! Now we can to turn the placket inside the skirt. Looking at the skirt, the left side of the placket will fold back into the skirt, while the right side will extend past the skirt.
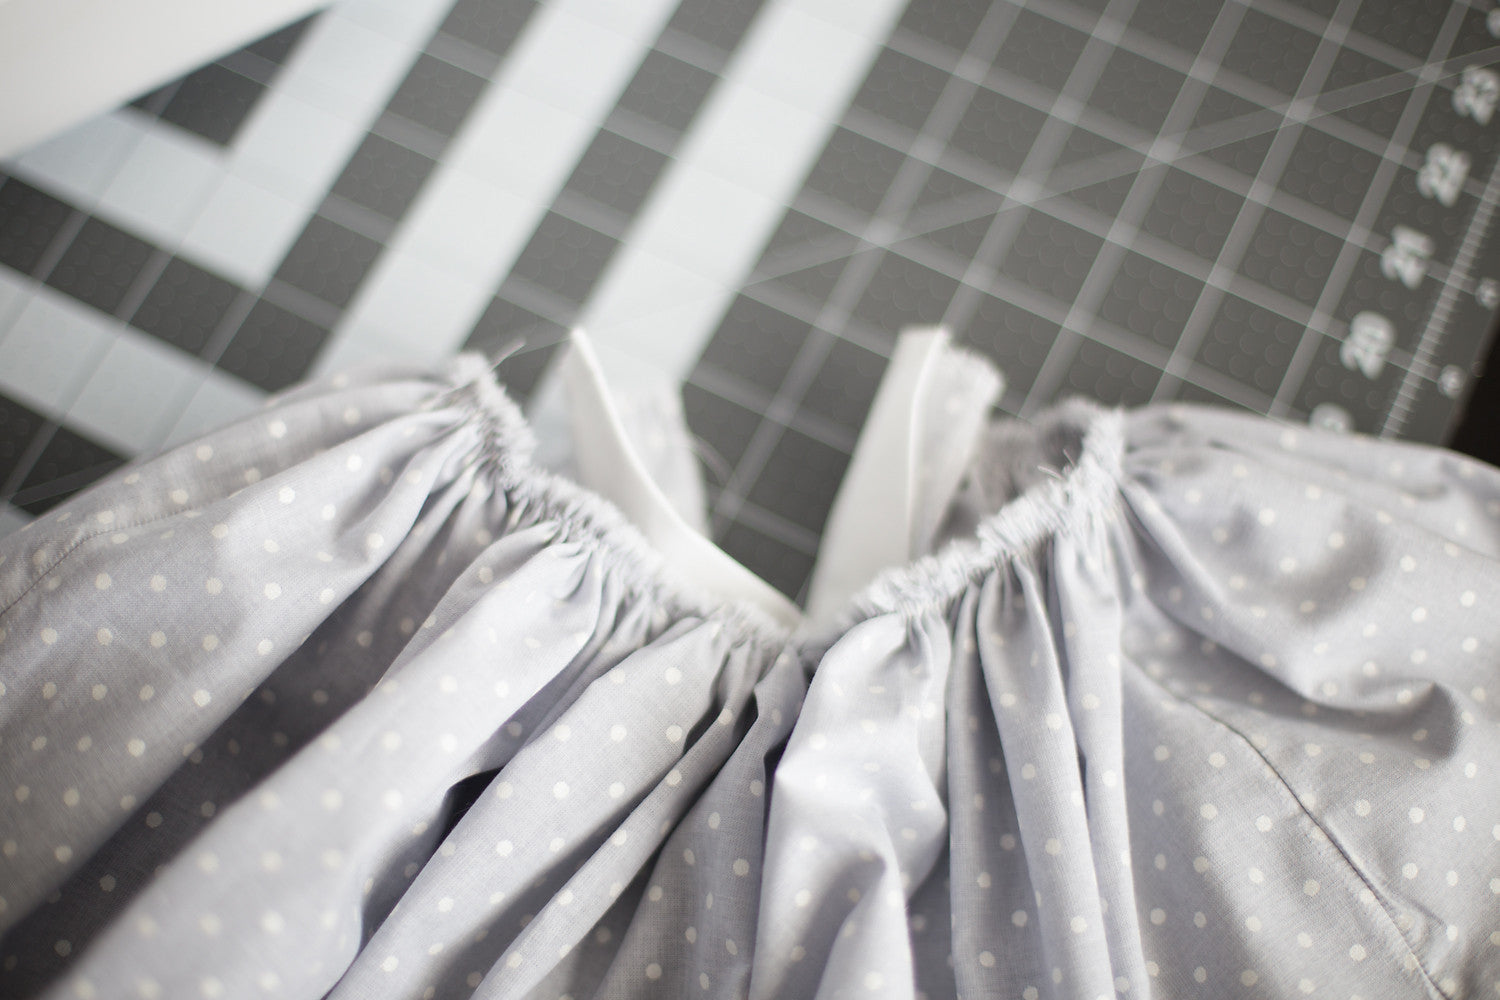
Trim off the top of the placket so it is flush with the skirt pieces. Now we need to run our gathering stitches. I like to do top along the top. I feel like I get more even gathers and they lay nicer with two rows. You can do 1 or 2, whichever you prefer. Remember to NOT include the placket in your gathering stitches!

Once you've gathered your skirt the width of your bodice, place your bodice and skirt RST and pin, matching up your side seams. Sew using a 1/2in SA and finish the seam with whatever method you prefer!


We are almost done! Iron the seam up towards the bodice, and if you like, topstitch! Once more step and we are DONE!


It's time to add your buttonholes. I used to be terrified of buttonholes. On my newer machine it is much easier do I don't dread it! A few tips, make sure your first button is 1/4-1/2in from the top of the bodice and do not sew too close to the SA at the bottom. This is where I run in to trouble sometimes and then my machine messes up! Evenly space out your buttons. I like to use pins at the bottom of each button so I know where to put my buttonhole foot when sewing. Sew your buttonholes! Open up the buttonholes using small shears or your seam ripper. Don't forget to sew on your buttons on the opposite side!
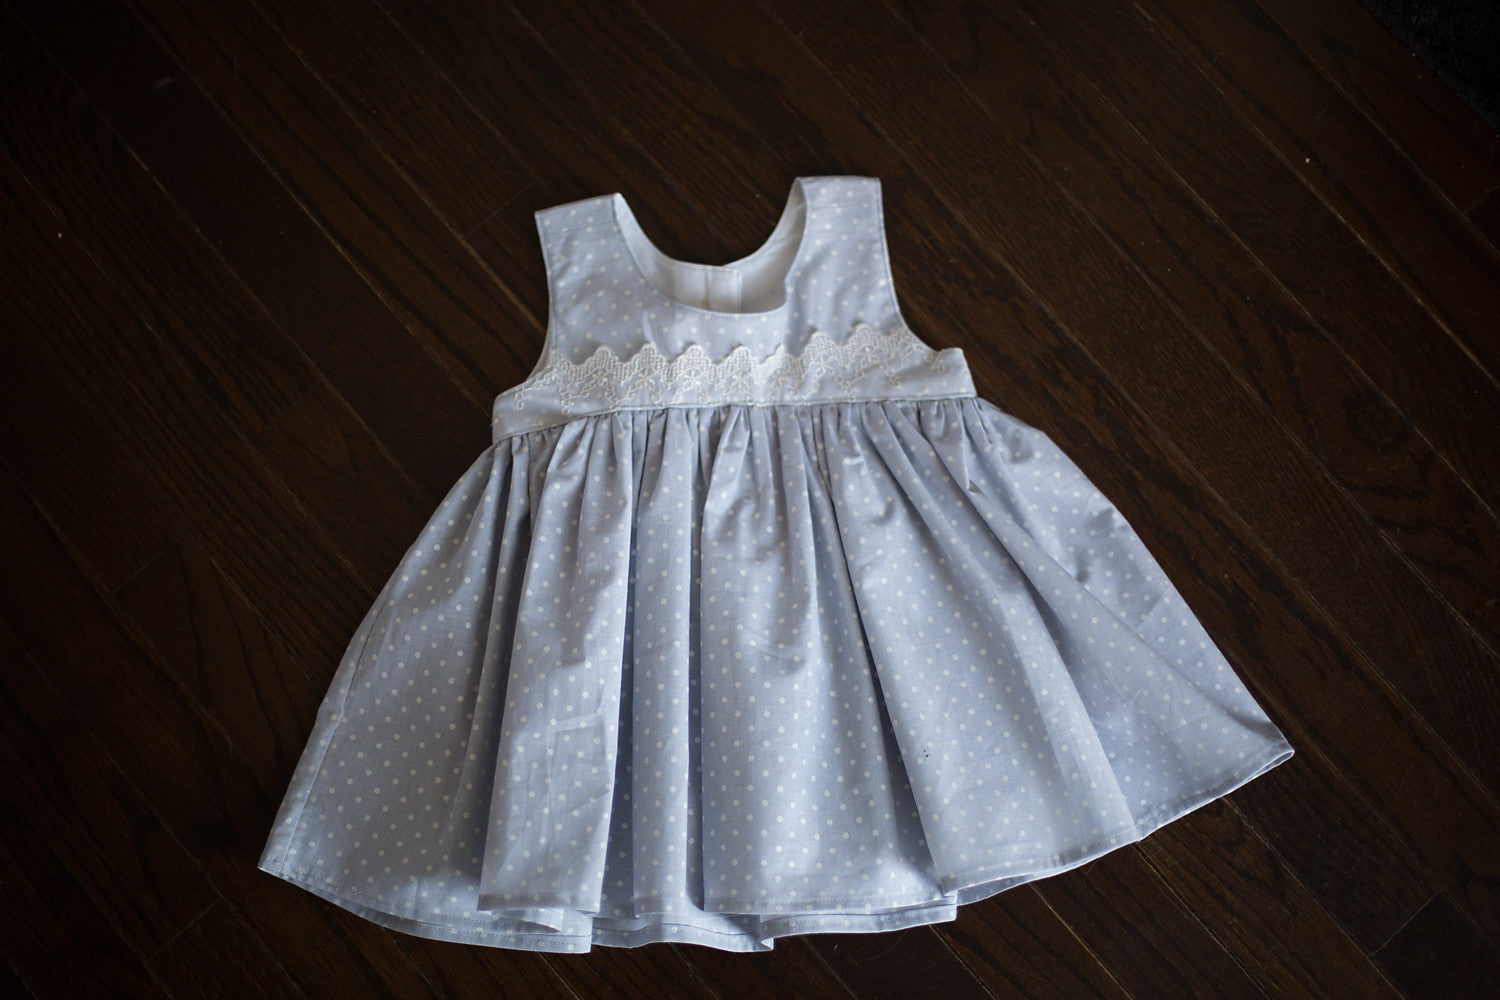

And that's it friends! You have officially finished your Clara! One of my most favorite patterns ever, and hopefully now one of yours too! I love it because it is quick, easy, and an be used for all occasions! Make sure to add your final photo into the Day 5 album!


If you haven't finished, don't worry, you still have time to catch up! You have until Monday at noon to get a photo in each daily album! Monday afternoon I will be picking a winner for our AWESOME VFT prize pack and Hawthorne Threads Gift Certificate! If you need to catch up, here is Day 1, Day 2, Day 3, and Day 4. Thanks for sewing along with me!!