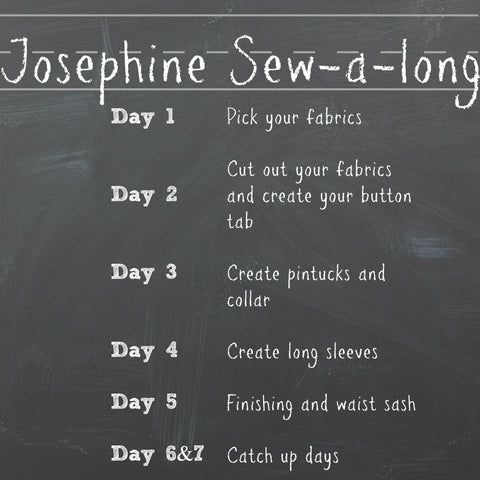
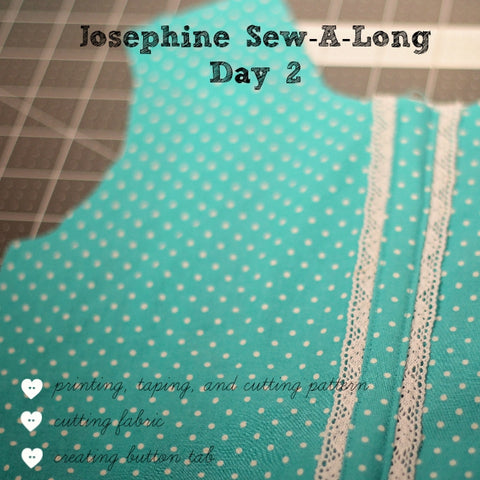
Josephine Sew-A-Long {Day 2}
Today is day 2 of our sew-a-long and we should already have our fabrics and notions ready to go! If you didn't already, make sure you wash all your fabrics before you move on to today's tasks.
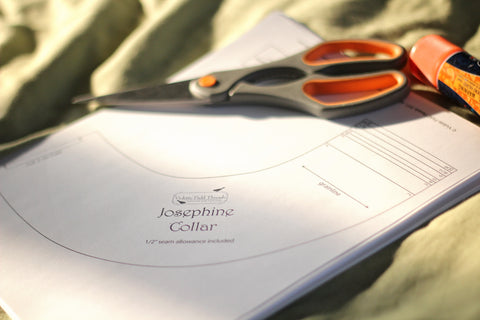
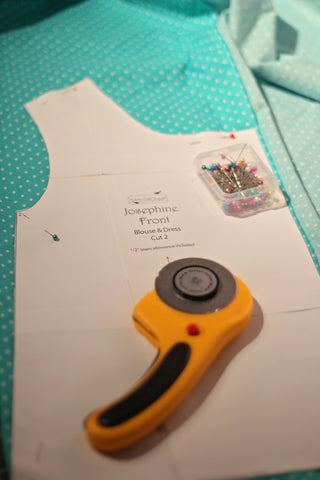
First things first, print the pattern out. I am going to let you in on a secret. I despise taping and cutting out patterns. It is my least favorite part of sewing, but it's got to be done! If you are like me, this can be just at time consuming as picking out fabrics! I am super slow at this step! But just be patient and it will all come together nicely!
I like to use a glue stick instead of tape! I realized last year that I was going through TONS of tape and a light bulb went off! I have been using glue sticks ever since! So easy and quick! One you have everything taped, or glued together, cut out the size(s) you will be using for this project. I will be using the size 2 this go around. My little lady is a petite thing, so you may notice I sometimes have to take a bigger seam allowance when I am sewing Please make sure you are following the instructions in the tutorial! Use a 1/2in SA unless otherwise noted in the instructions!
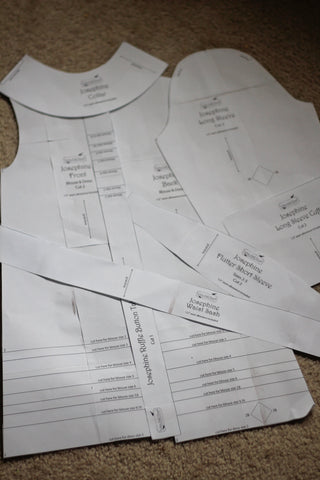
We now have our pattern cut out and ready to go! This is normally where I stop a project for the night. HAHA After printing, gluing, cutting, 5 hours has probably gone by because my kiddos like to be crazy when they see Momma's working! But don't stop!! We only have a little bit left, I promise!
Start pinning your pattern pieces to your fabric following the instructions on the pattern pieces. If you are cutting button tab ruffles, make sure to check the tutorial for the measurements!
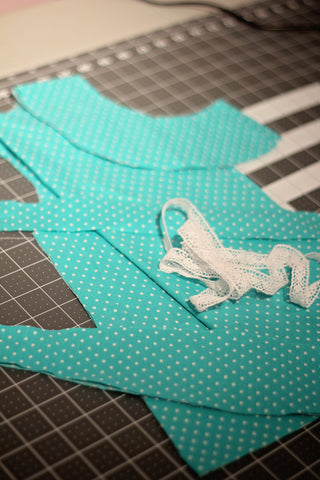
Everything is cut and I am anxious to get sewing! Let's get started on that button tab!

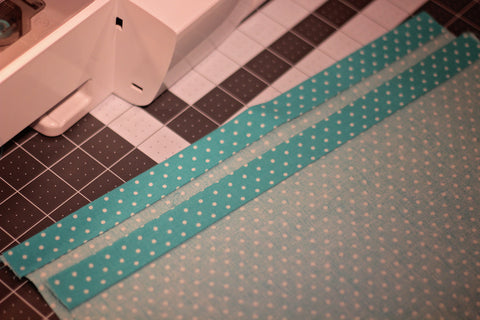
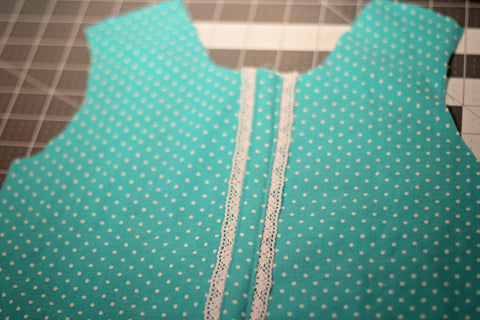
Take your front blouse or dress pieces and iron to the wrong side 3/4in on the inner edge. Repeat for the other piece. Then you are going to do this all over again, ironing another 3/4in, enclosing that raw edge!
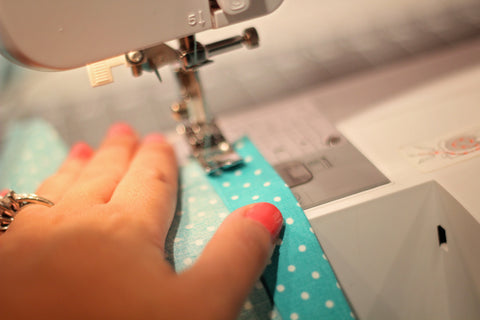
Take those front pieces over to your machine and sew away! Make sure you are lining up your presser foot with the inside edge, not the outside! Do this for both pieces.
If you are not adding a ruffle tab, then you are done for today! GO YOU!!! If you are doing the ruffle tab, then keep reading!
Take your ruffle and fold it lengthwise with wrong sides touching. Iron it flat. Do this for both ruffles and then take both of those pieces over to your machine and run a gathering stitch 1/4in away from the raw edges. Gather your ruffles the same length as the button tab piece.
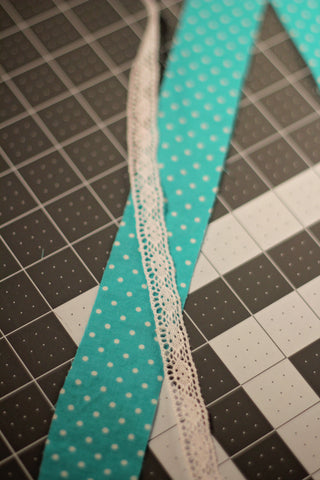
I decided to not do ruffles but to add this sweet lace I found in my stash! I did not ruffle it, but cut it the same length as the button tab. Whether using ruffles, lace, ric rac, pom poms, etc., these next instructions will be the same for all of them!
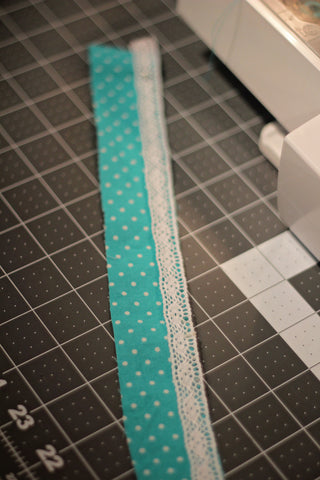
Place the raw edges of your embellishment of choice along one raw edge off the button tab. Pin in place and sew using a 1/2in SA . This is really important so your button tab fits properly on your shirt and looks tailored! Iron seam to the wrong side and repeat for the other side of the tab.
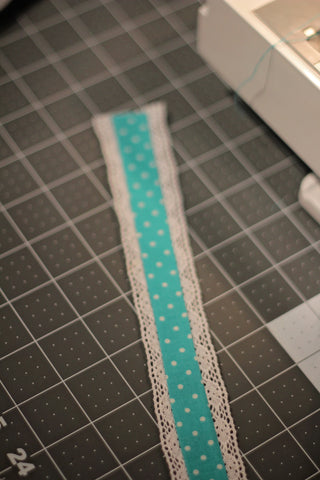
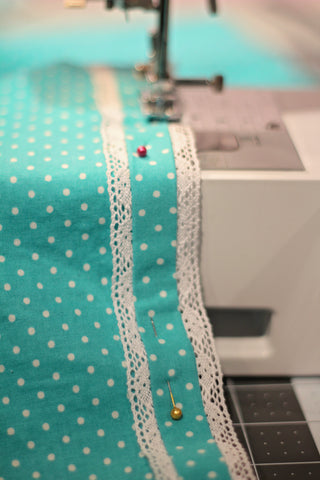
Once both sides are done give it a good ironing and then grab the left blouse piece. Place the tab directly on top of where you sewed earlier. Pin and place and topstitch on either side.
You have now completed the button tab on the Josephine! YAY!!! Sit back and admire your work! Check back tomorrow when we tackle those pintucks and we create our collars! If you missed yesterday's post, check it out here to catch up!