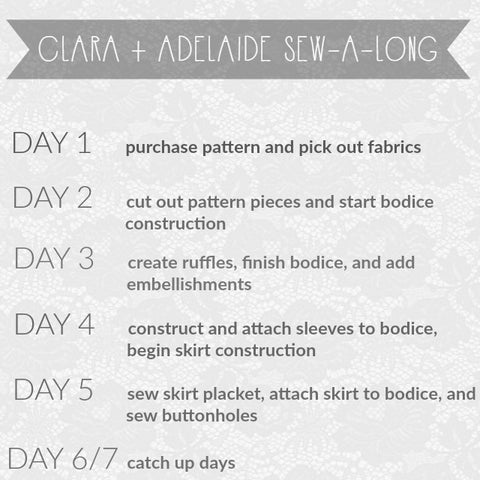
Clara+Adelaide Sew-A-Long {Day 2}
Welcome back! Today is Day 2 of our Clara+Adelaide sew-a-long, and we will be tackling putting our pattern together, cutting fabric, and starting on sewing our gorgeous bodice! Who's excited?!?!?
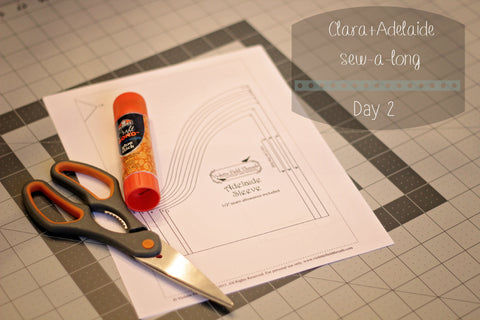
First things first, print out your pattern pieces. I opted to print the sleeves and bodice pieces only, and use the dress measurements for the skirt. If you are making the dress version, you can use the measurements listed below, and take a look at the blog post on how to Lengthen Clara into a dress.

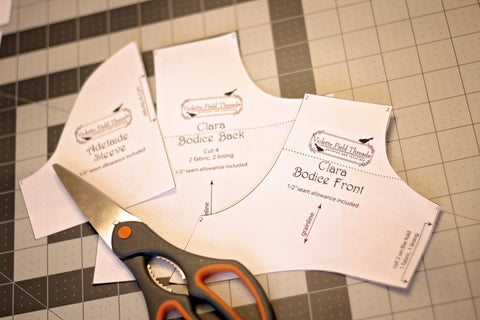
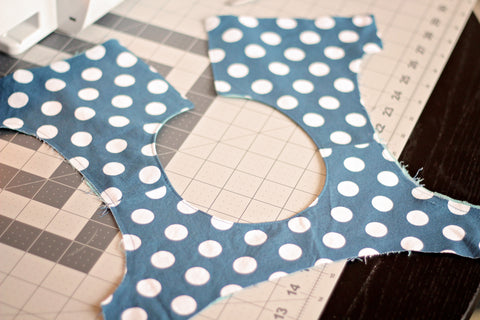
Once you are printed, cut out and tape or glue your pieces together. I like to use glue instead of tape! It seems to go faster for me, but do what works for you. Cut those pieces out and get to pinning! This may be my least favorite part of the sewing process. I am not a huge fan of pinning and cutting out my pieces. Maybe the pattern fairy will start visiting my house and leaving me freshly cut fabric ready to sew! {one can dream right??}
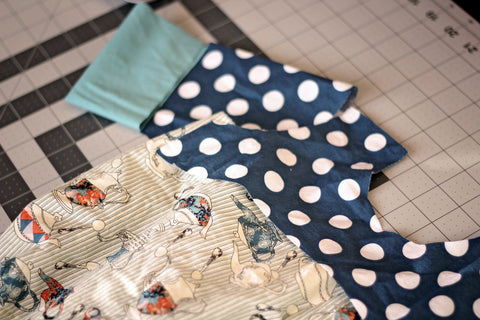
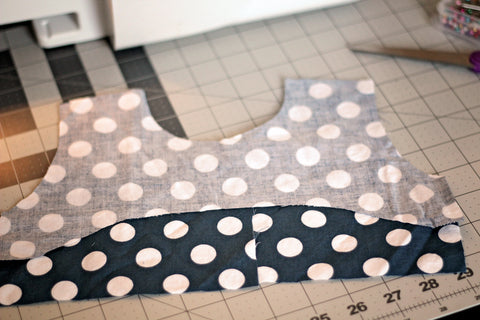
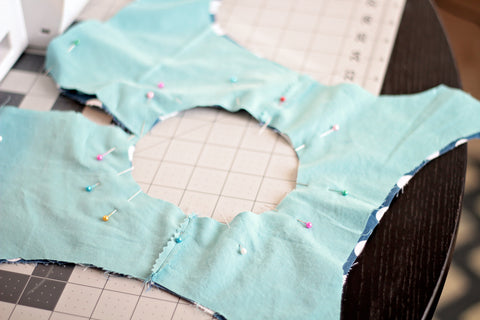
Your fabric is cut and ready to go! It's time to get to work on the bodice. Take your front and back bodice pieces and place them right sides together and sew a 1/2" SA at the shoulders. Do this for both the main and lining fabrics.
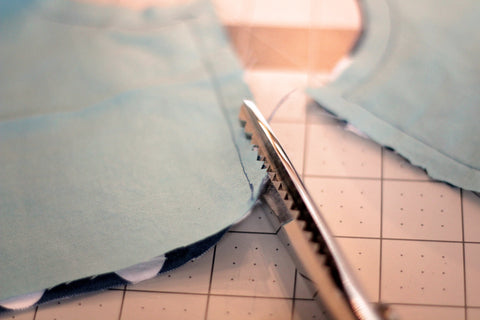
When you have both completed, take your pieces and trim off 1/2 of your SA. I like to use my pinking shears for this job! Take your pieces over to your iron and iron those seams flat.
If you want to add a bib or other embellishment that needs to be sewn into the neckline seam, then now is your time to do that! If you want to add something that doesn't need to be sewn in between the main and lining fabrics, then you can hold off until tomorrow! Here is a perfect opportunity to get creative. Lace looks lovely, a little faux button placket, or anything else. For inspiration, you can type in "Clara" into the search feature in our Facebook Group and you'll find TONS of cool embellishments people have done.
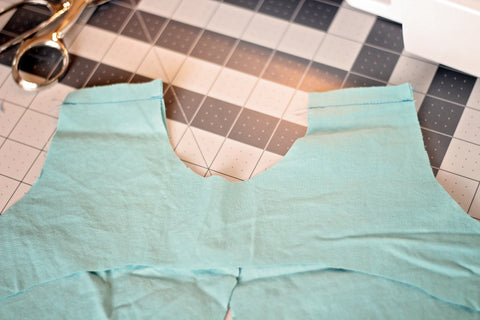
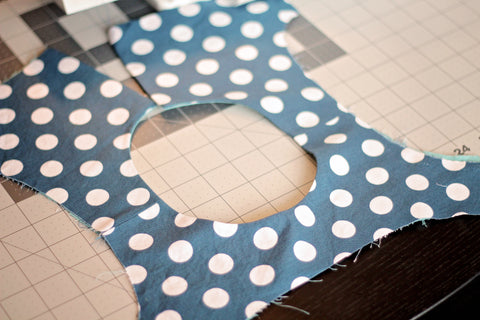
It's time to back both your main and lining pieces and place them right sides together. You are going to sew up the middle back, around the neck, and down the other middle back piece. Here's where I want you to deviate from the pattern instructions. Since we are adding sleeves to our bodice, do not sew the armholes!! We will get to those in just a minute.
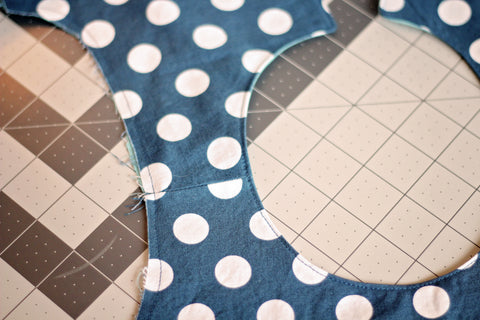
Take the bodice and trim 1/2 of the SA off, and make sure to clip your corners. Turn your bodice right side out and iron the heck out of it.
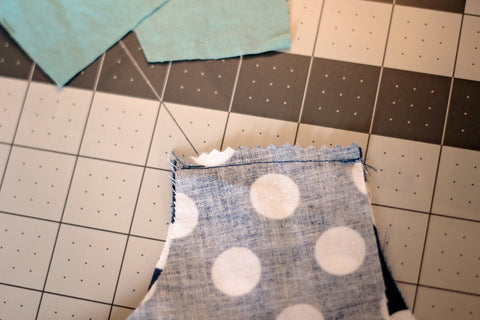
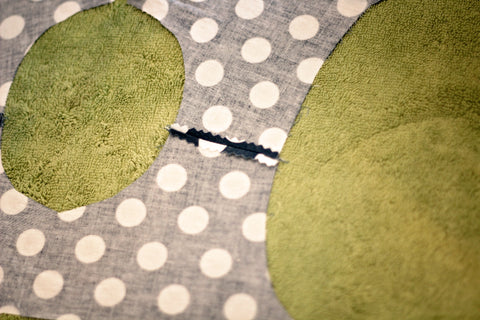
Now we will address the armholes. All you need to do is run a basting stitch around the armholes using a 1/4 SA. If you want, this would also be the best time to baste the back side pieces together. It's now time to topstitch. Make sure to only topstitch the back middle pieces and around the neckline.
Guess what?!?! Day 2 is DONE! Can you believe it?!? Not too shabby! Tomorrow we will finish our bodice, add ruffles, extra embellishments, or play catch up! If you missed yesterdays post, you can find Day 1 here! And don't forget to add your Day 2 Photos into the album! See you back here tomorrow!