


Today is day 4, sewing friends. Time is flying by and after today, we only have one more day of sewing. Does it make you as sad as it makes me??? We have no time for tears though, because we need to get sewing, so turn on some tunes, put on some mindless tv, and let's get started!
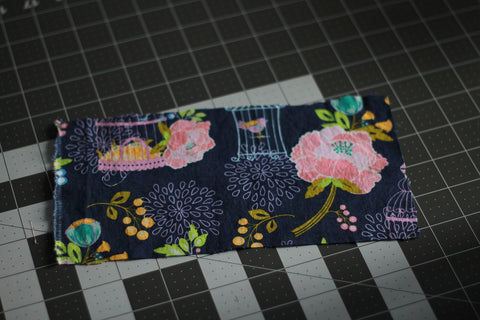

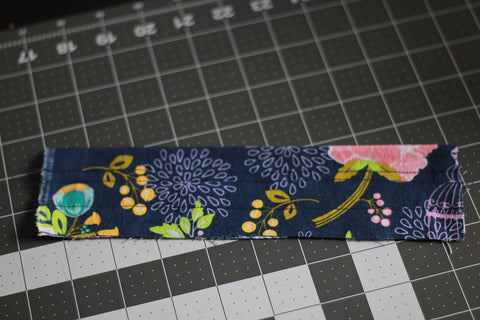
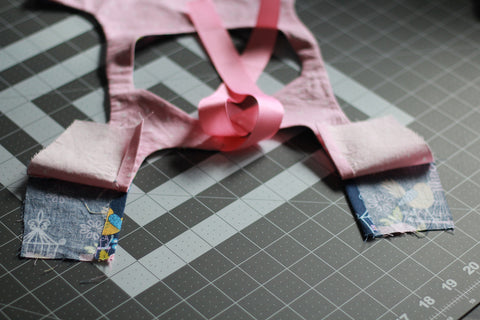
Grab your back bodice piece. You are going to fold this piece in half lengthwise, or hotdog style for those that use {hotdog/hamburger}. Wrong sides should be touching when you fold in half.
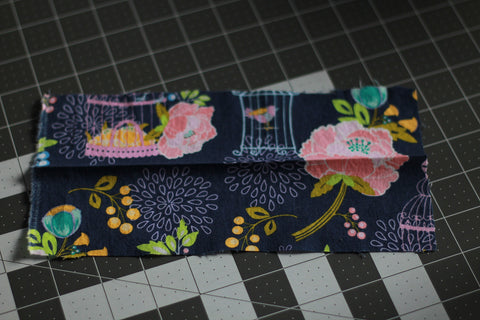
Make sure your fold is at the top and grab your ruler. Measure down from the top fold 3/4" and mark all the way from one side to the other. You can use disappearing ink, chalk, pins, whatever tickles your fancy! Next measure 3/4" up from the bottom raw edge and mark all the way across. Now, take your ruler and make a mark 3/4" up from the bottom marking. You should now have 3 rows of markings.
Take over to your machine and sew along all 3 rows. These will become your elastic casings.
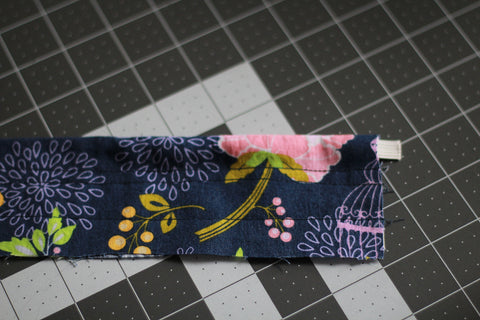
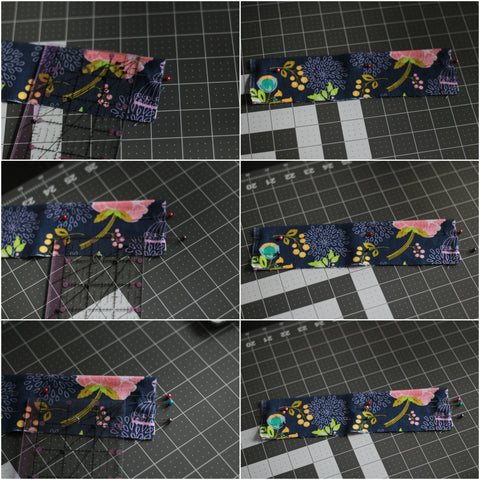
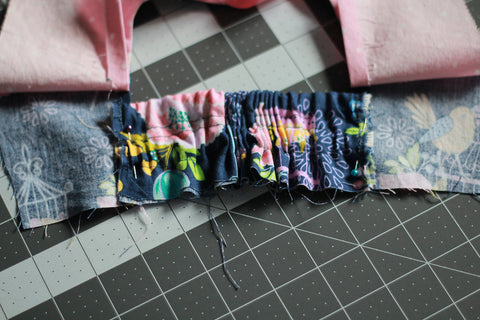
Take your elastic pieces you cut at the beginning of the sew-a-long. It's time to insert these into the casings. I like to use a safety pin or my bodkin for inserting elastics in casing. Makes it super easy! Take your first elastic and insert it into the top casing. Pull so the elastic can be seen a tiny bit at the edge and baste in place. Now pull the rest of the elastic through to the other end and baste in place.
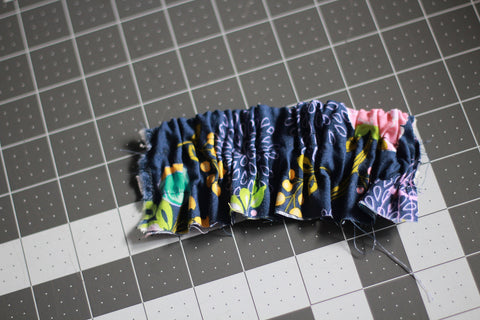
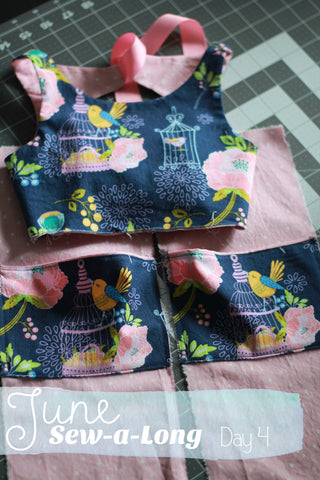
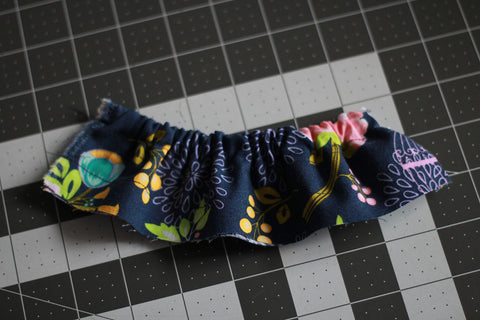
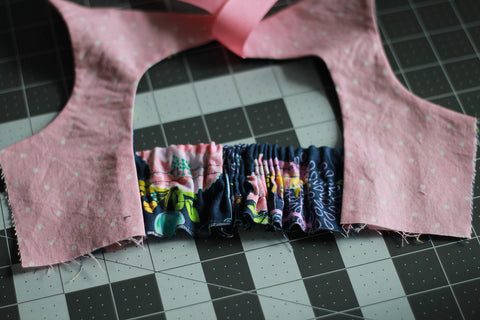
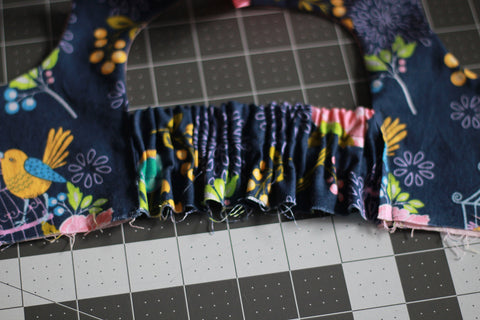
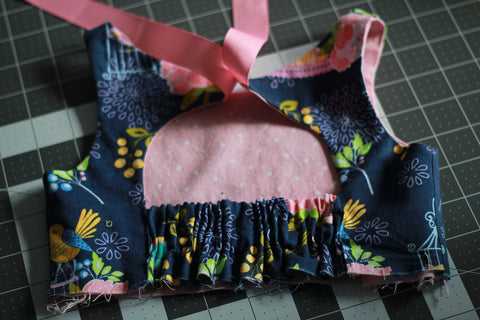
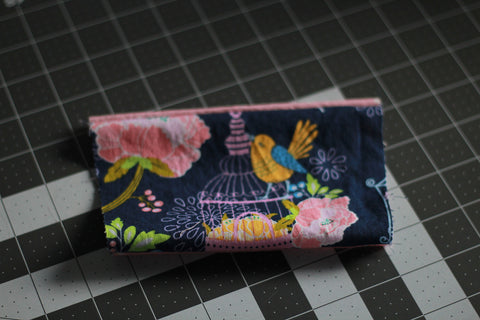
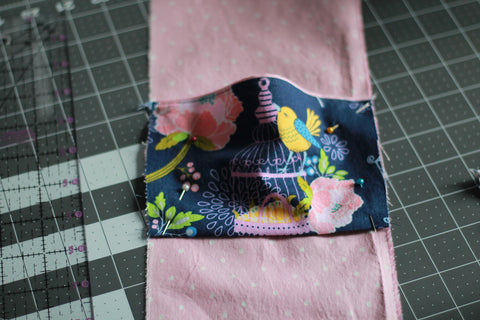
Now take your second elastic and put it through the bottom casing. Do the same steps as above for this elastic Once finished, your back bodice piece will look like the photo above!
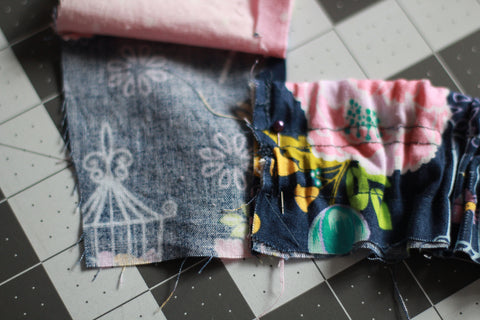
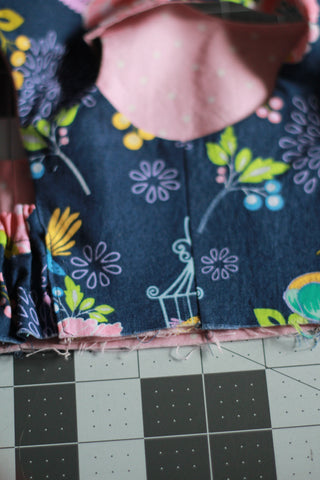
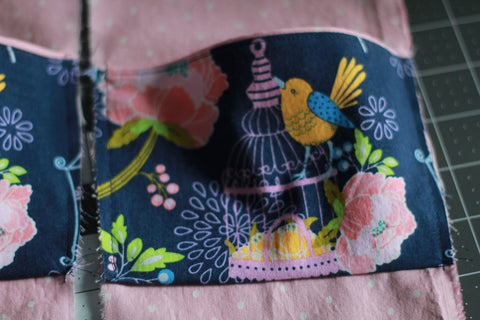
It's time to attach the back to the front bodice so grab you front bodice and lay it out, right side down. Lift up the lining pieces on the back so they are out of the way. You should see the piece where you ironed your SA yesterday. Take your back elastic piece you just sewed and line up the raw edge with the raw edge of the ironed SA. Make sure you lay your piece right side down if you have a side you would prefer be seen. Pin together. Repeat for the opposite side.
Remember, your lining should be folded up out of the way during this part! Now take it over to your machine and baste it together.
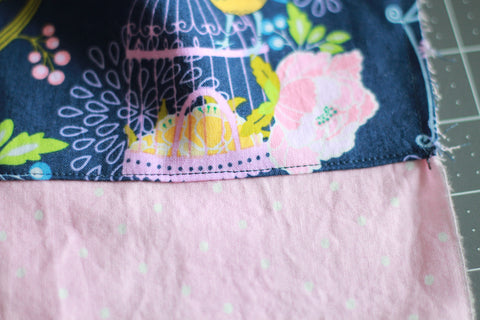
Once it's basted, flip the lining down so it covers the seam you just sewed. This will encase the raw edge. Pin and sew along both sides. At this point you can topstitch around the back and neckline if you'd like. Take out your basting stitches from earlier for a cleaner look.
Now we need to finish the side seams. Place the bodice sides together, right sides touching. Open up your fabric so only the main fabrics are touching each other and the lining fabrics are touching each other. This will create the finished underarm. Pin along this edge and sew.
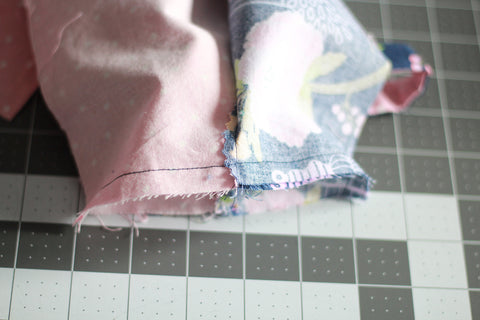
Trim the SA and iron flat. Repeat all those steps for the other side seam. And voila! Your bodice is complete!! Give yourself a pat on the back!

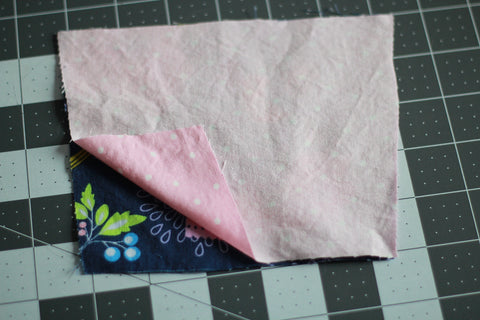
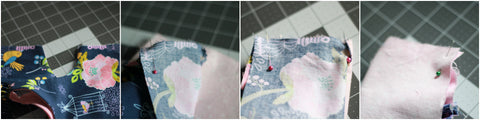
Let's move on to the pockets shall we?? Grab 2 pocket pieces, 1 lining and one main fabric, and place right sides together.
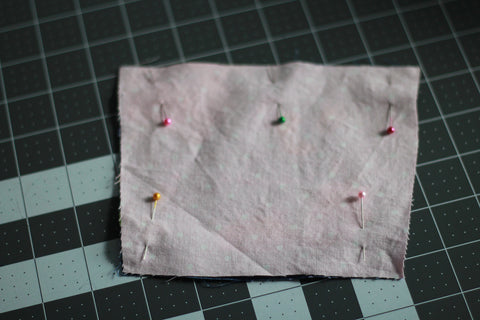
Pin along the top and bottom of the pocket piece. Do not pin along the angled side edges. Sew along both edges, trim the SA, and turn right side out.
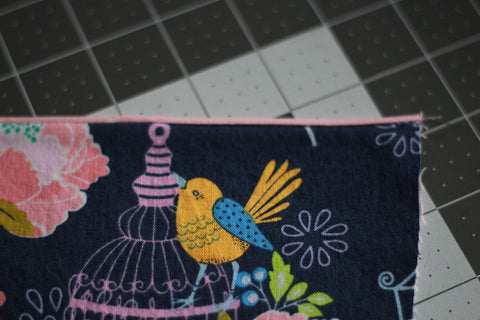
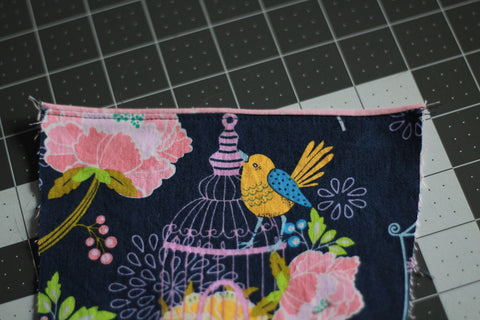
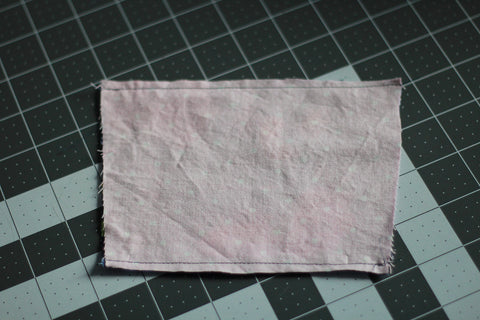
If you'd like your pocket to have the look of piping, roll the lining up 1/4" and then iron. This will give the look of piping at the top. Iron the rest of the pocket flat and topstitch if desired.
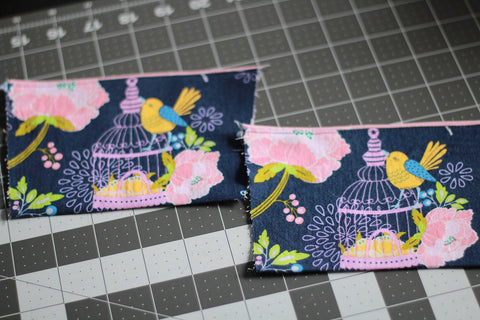

Repeat these steps with the other pocket piece. You will now have 2 pocket pieces! WOO HOO!! Now grab your side skirt pieces.

Take out your ruler and measure down using the chart in the pattern, or use the notches on the pattern piece. This is where you will place your pockets. You pocket top edge will be wider than the side skirt piece. This ensures the pocket will stay open once it is sewn.
Pin both pocket pieces to the side skirt panels. I like to check placement before I sew by laying both pieces next to each other. Baste the pocket pieces in place.
Now sew the bottom of the pocket to the side skirt piece. Repeat for the other pocket, and there you have it! Two side panels with pockets!

You should now have a finished bodice and 2 side skirt pieces ready to go for tomorrow! Grab that camera because it's time to take a photo! Head over to the Day 4 album and show off what you've made! We can't wait to see all the beautiful creations!
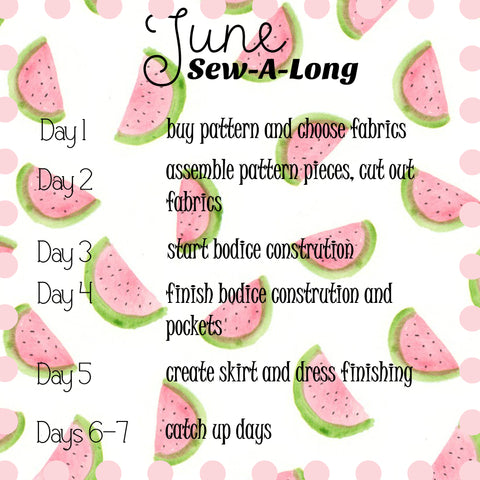
If you need to catch up, you can find our previous days here: Day 1, Day 2, Day 3. Tomorrow is the last official sewing day of our June Sew-a-Long! I'm sad to see it end but am looking forward to seeing all your gorgeous dresses! See you back here tomorrow!
