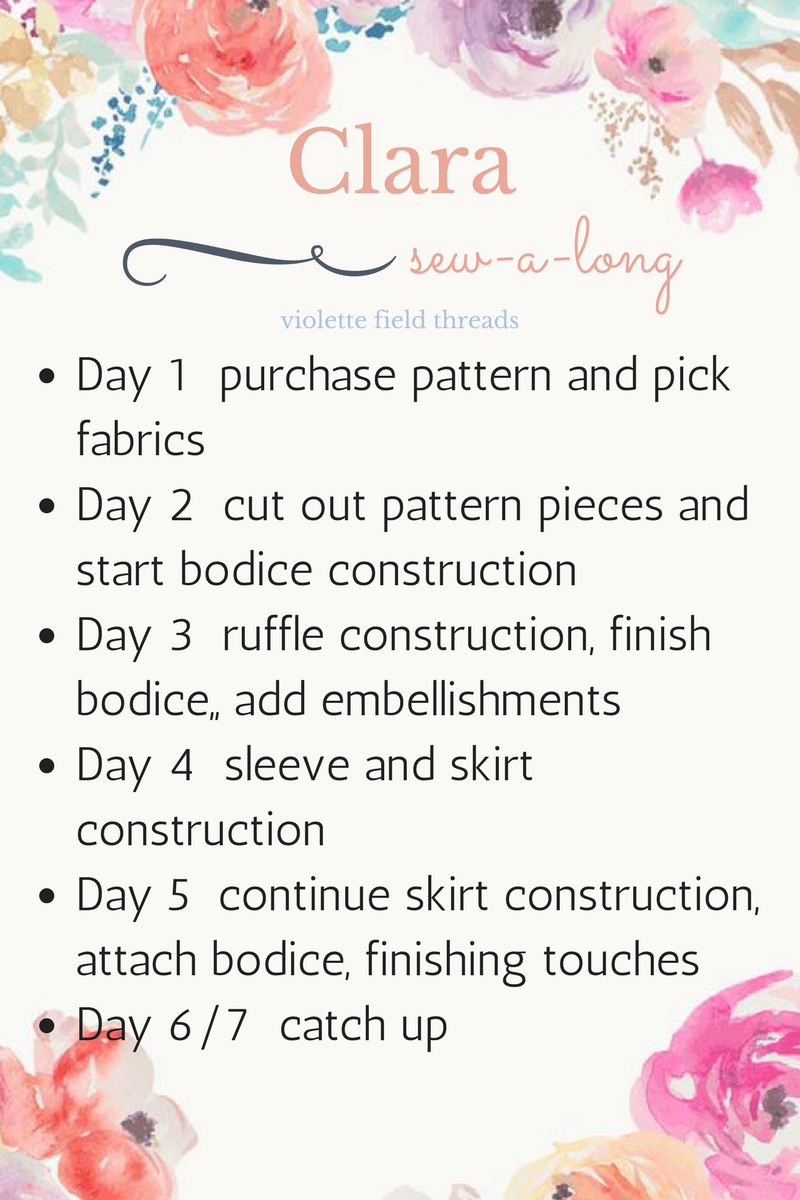
The Clara {Sew-a-Long} Day2
We are {FINALLY} back in action! Thanks for being patient with me! I am beyond appreciative!! I am back and ready to sew! Let's get started on Day 2, shall we??
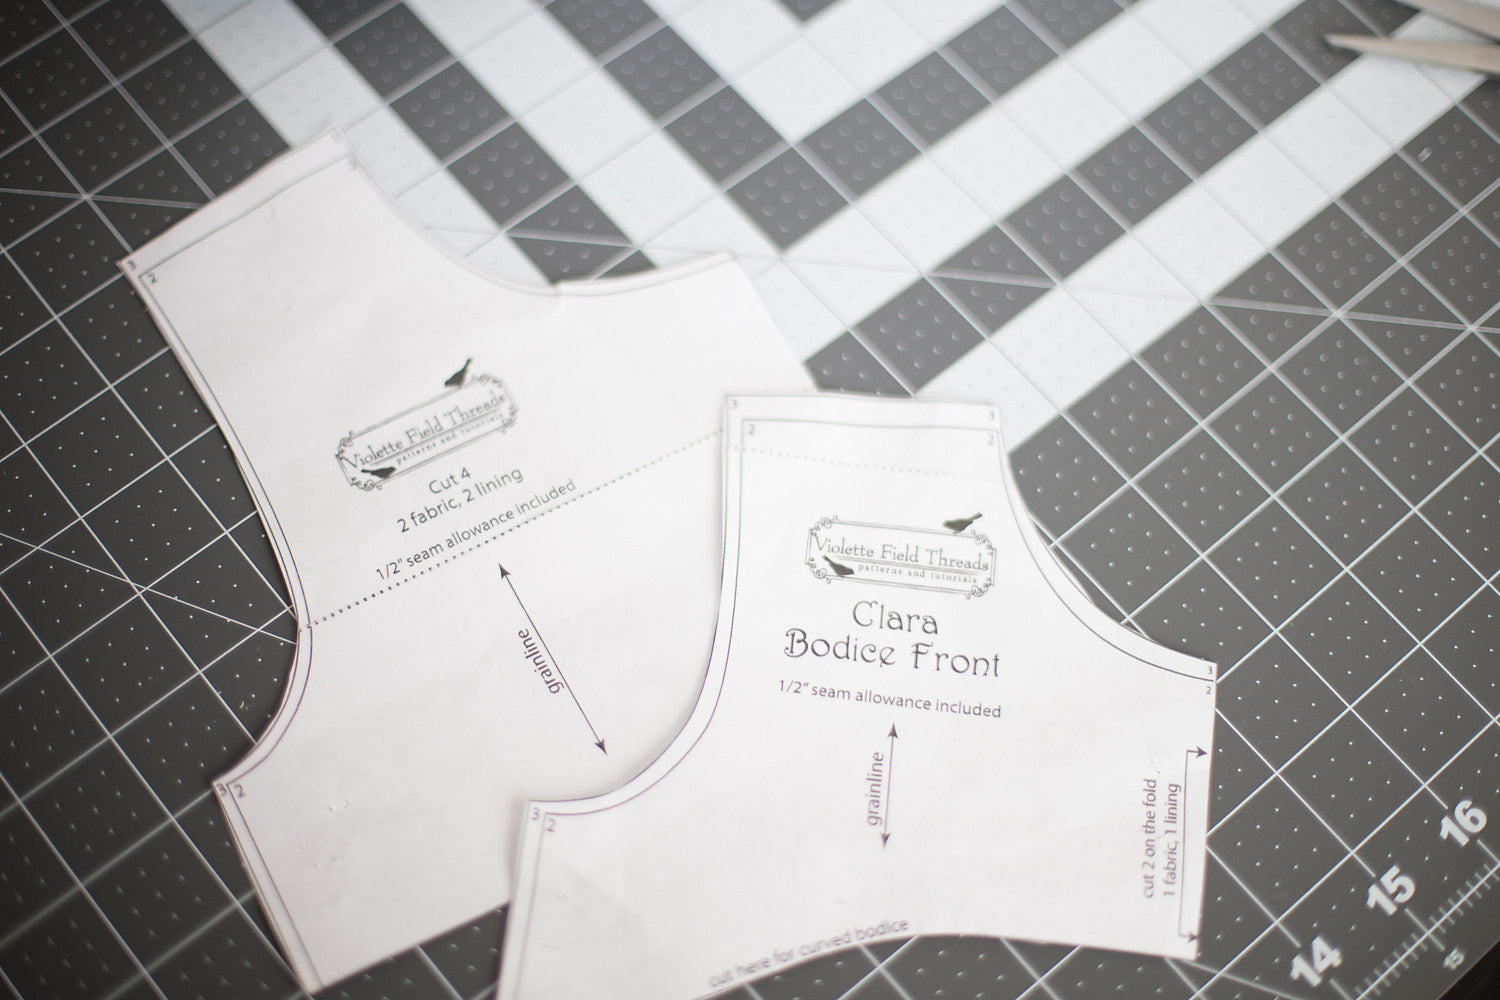
Today is the day to get our patterns put together and fabrics ready to go. First off, if you didn't already, print off your pattern pieces. Don't forget to print off the sleeves pattern if you are wanting to add that onto your Clara!! I am going simple this time and dreaming about summer, so my Clara is going to be sleeveless!
Once everything is printed, assemble you pattern whichever way you like! My methods differ depending on my mood for the day! This time around I am taping, since I actually had some tape floating around my craft area! When you've got all your pieces assembled, it's time to start cutting fabric, so grab your pins and get to work!
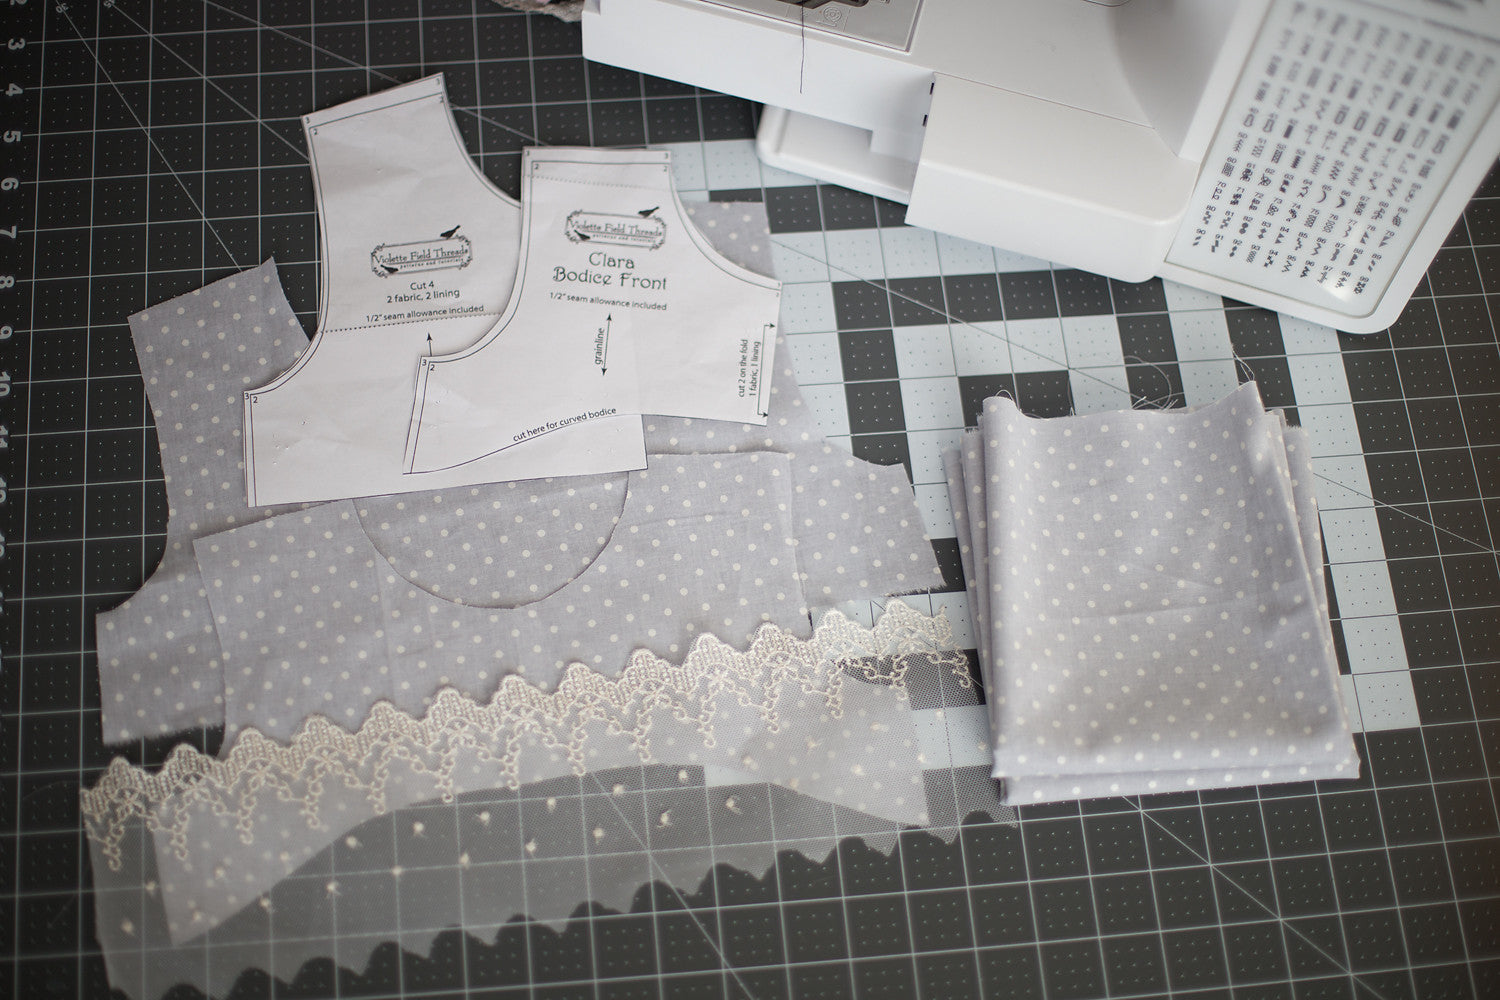

Can I be honest? This may be my least favorite part. I really do not like pinning and cutting. Who wants to come over and do this part for me???

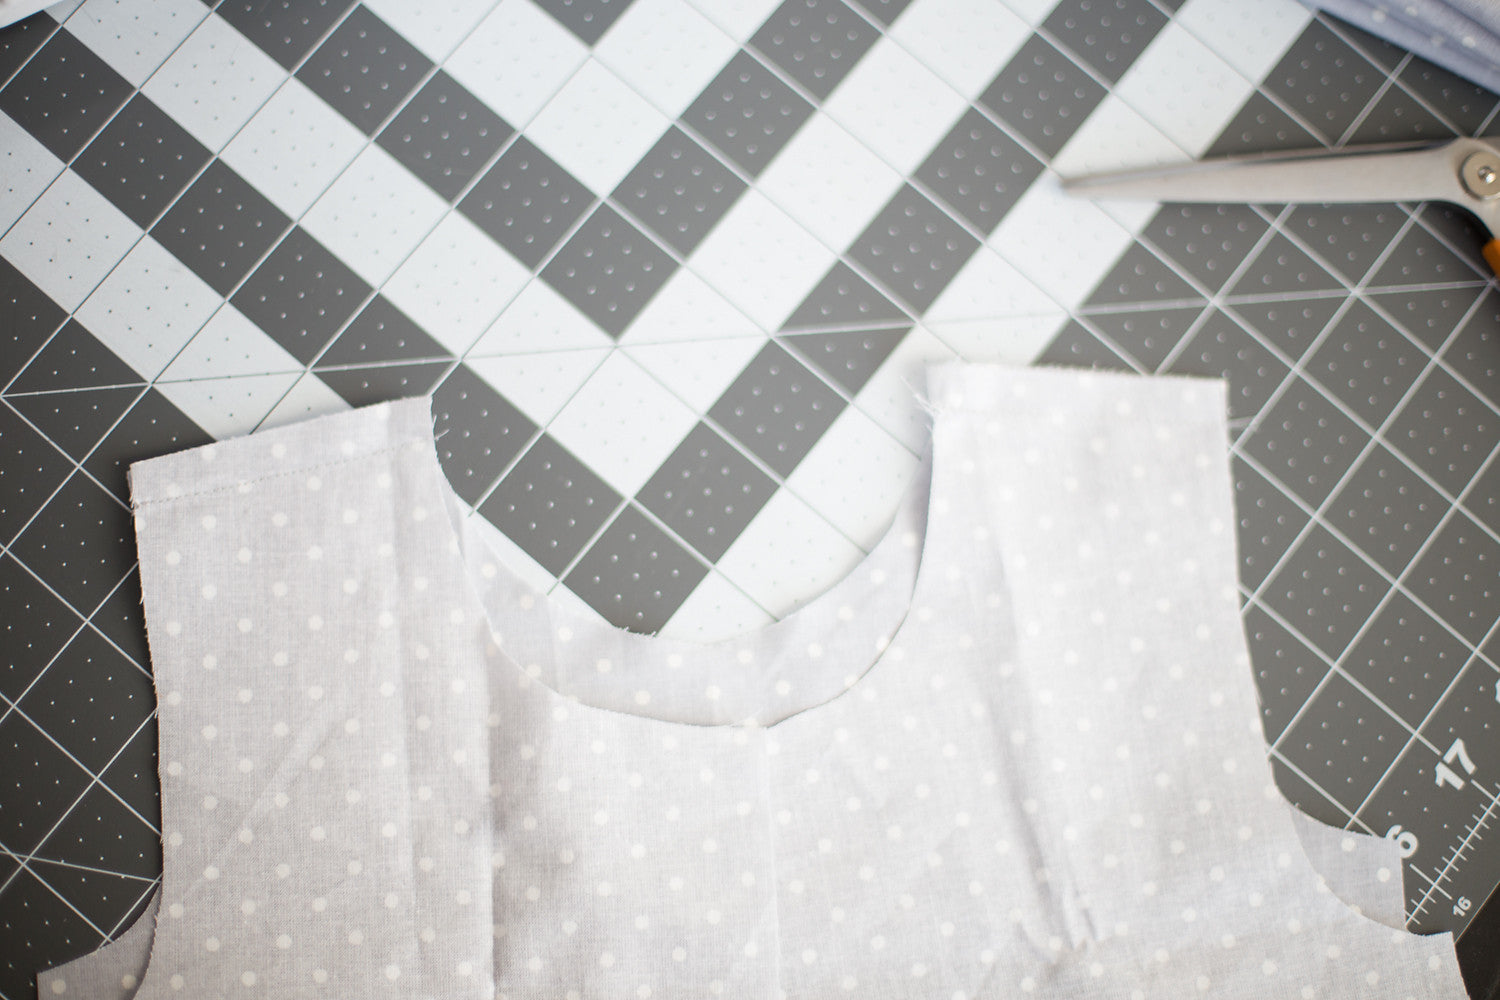
Everything is cut so now it's time to get sewing. We are starting with our bodice construction. Take your front and back bodice pieces and place them RST, lining them up at the shoulders. Sew using a 1/2in SA. Do this for both the main and lining fabrics.
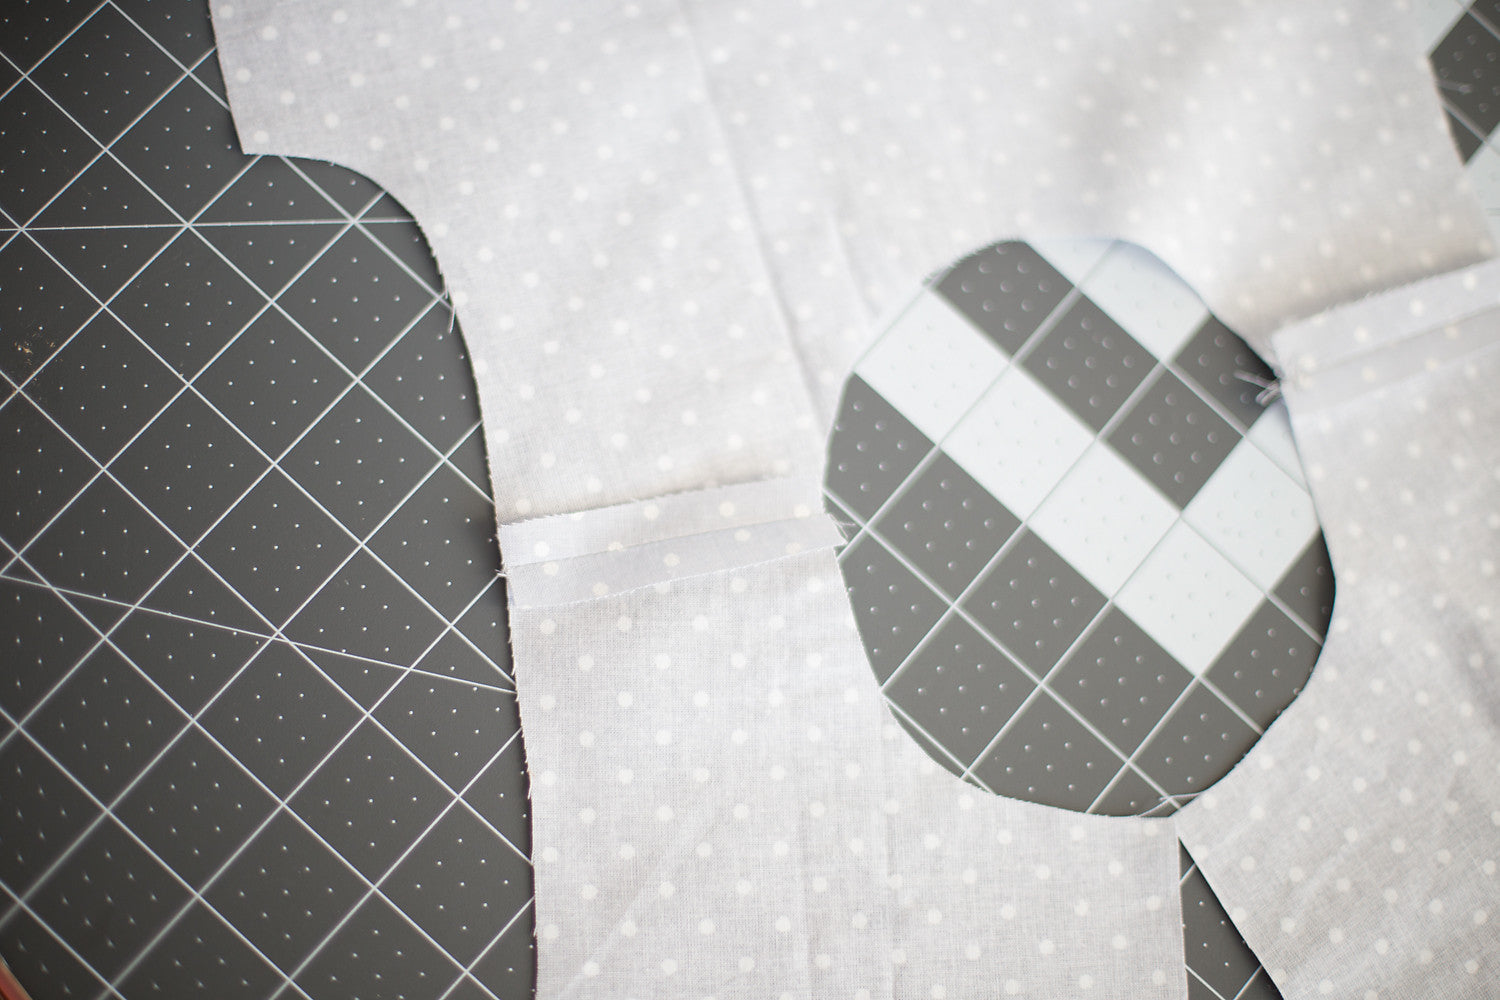
Once sewn, iron the seams open nice and flat! This helps minimize bulk in your seams! Make sure to do this for both lining and main bodice pieces!
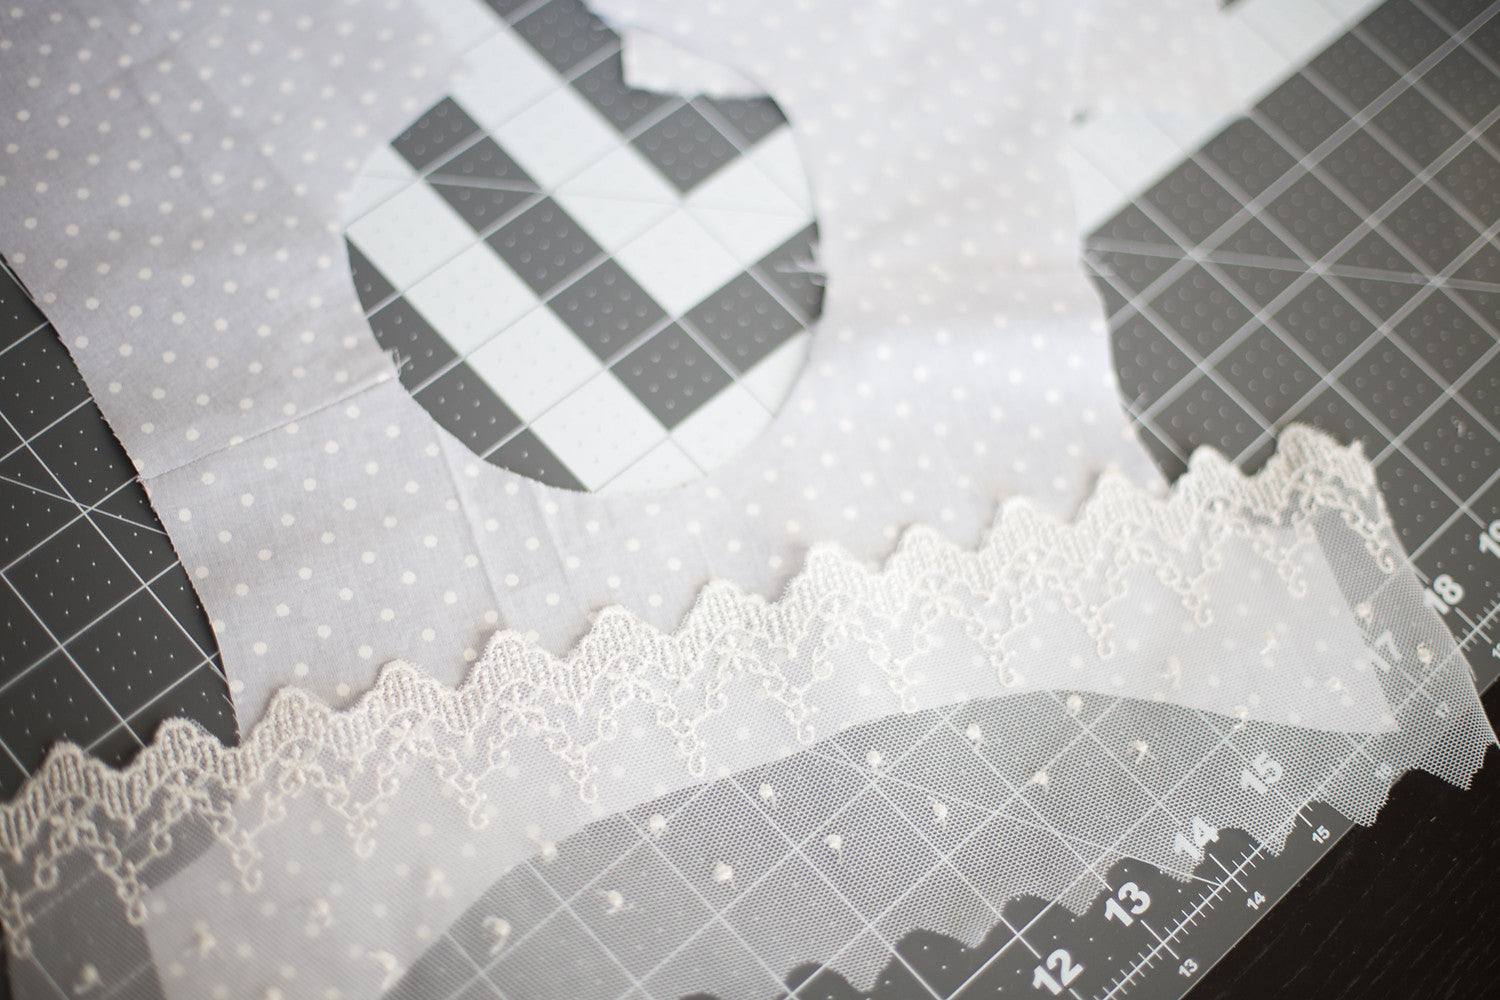
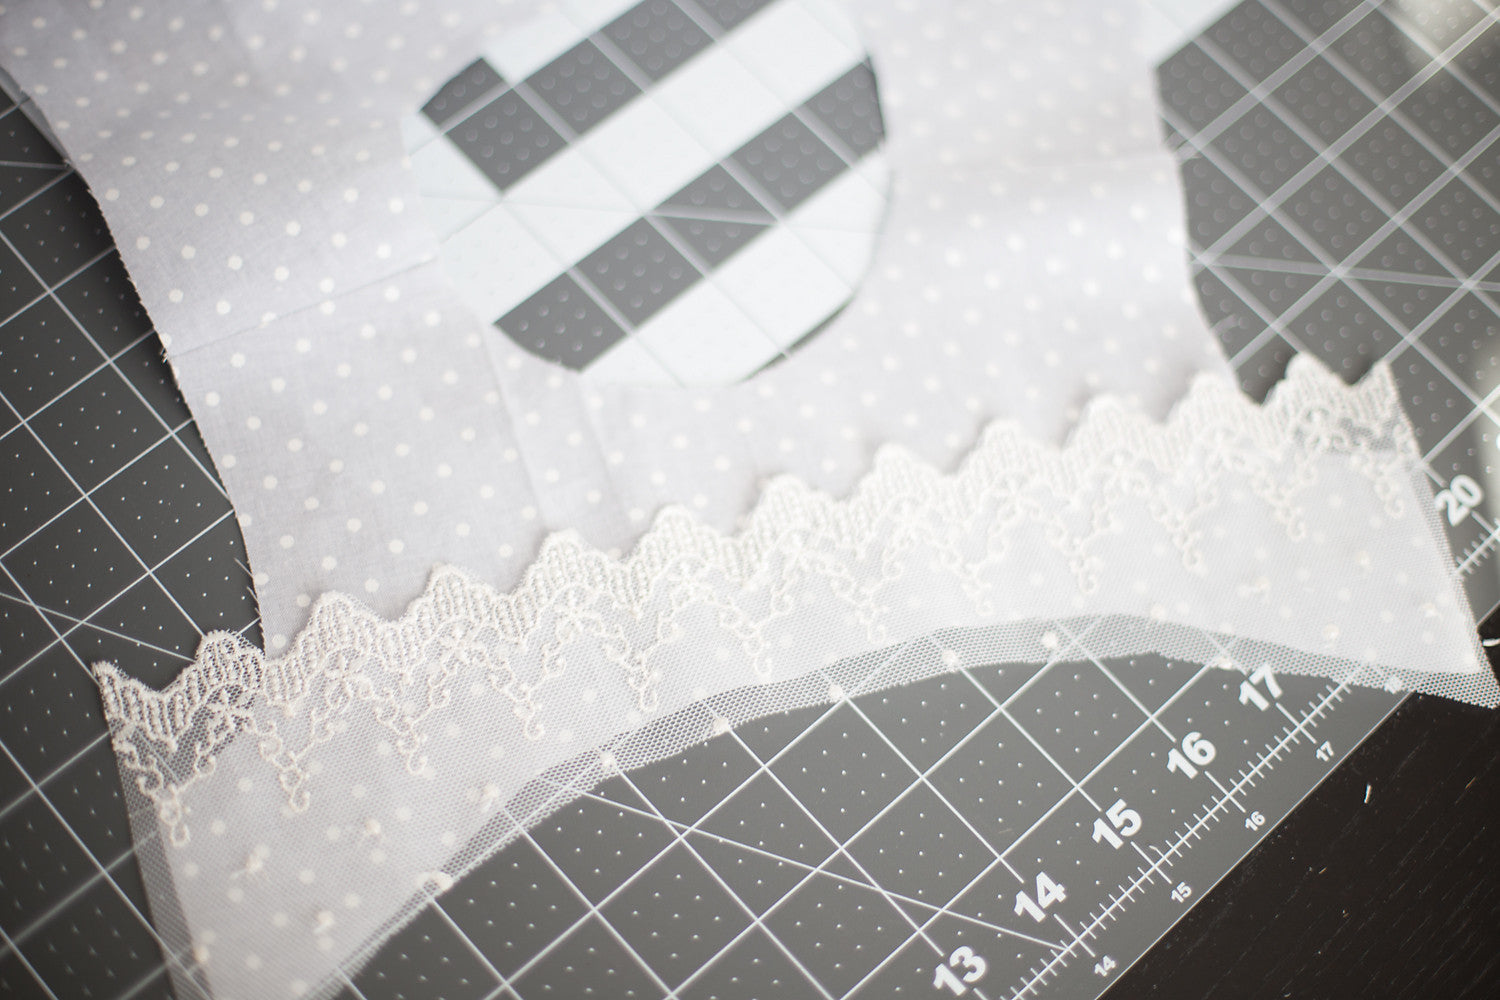
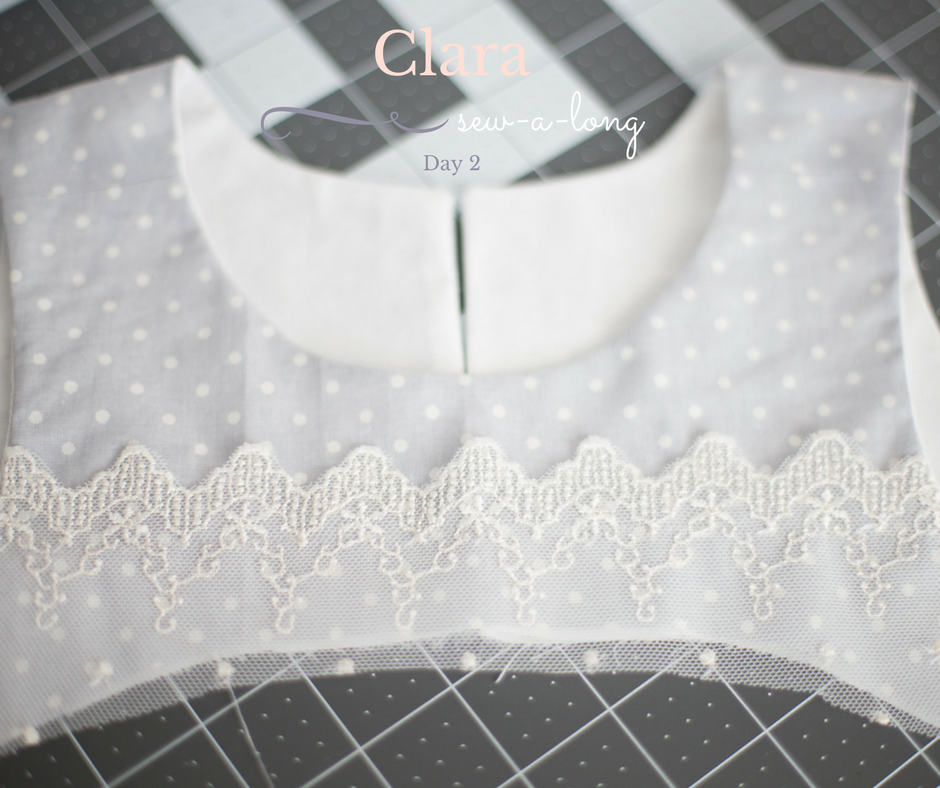
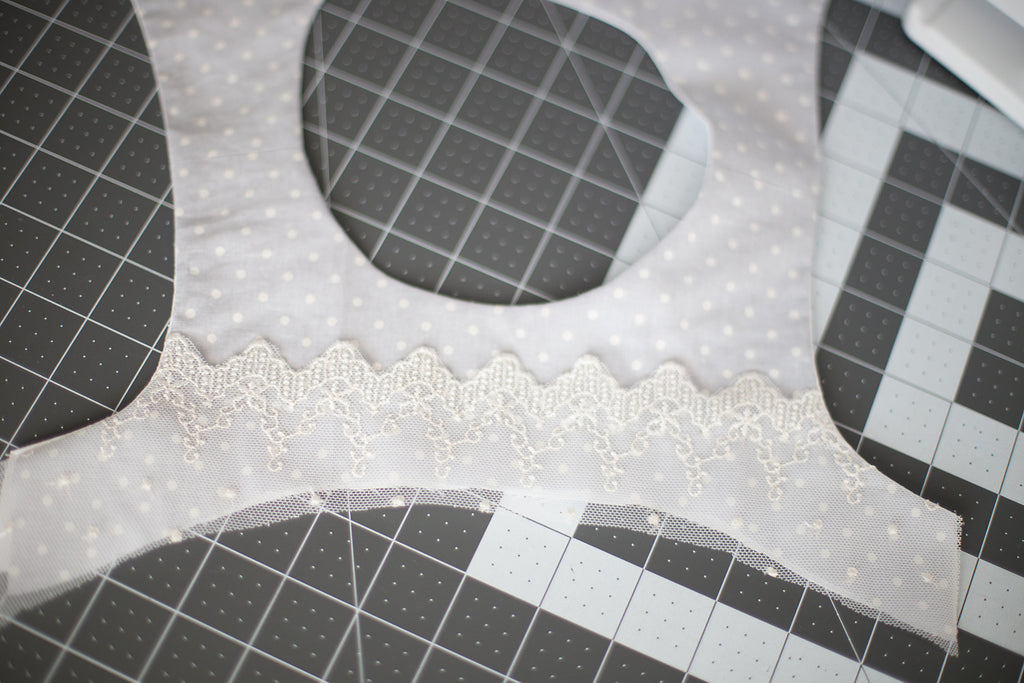
If you are thinking about adding in an embellishment to your bodice, now is the time! While I was looking at my fabric, I was feeling a little blah about it. I didn't love the lace detail I chose, and ended up finding a scrap of this {GORGEOUS} lace I used on a top a few months back! It was perfect to use on the front of my bodice! This is the time to get creative and play around! Add in a bib, button tab, lace details, embroidery. You name it!! The sky is the limit!
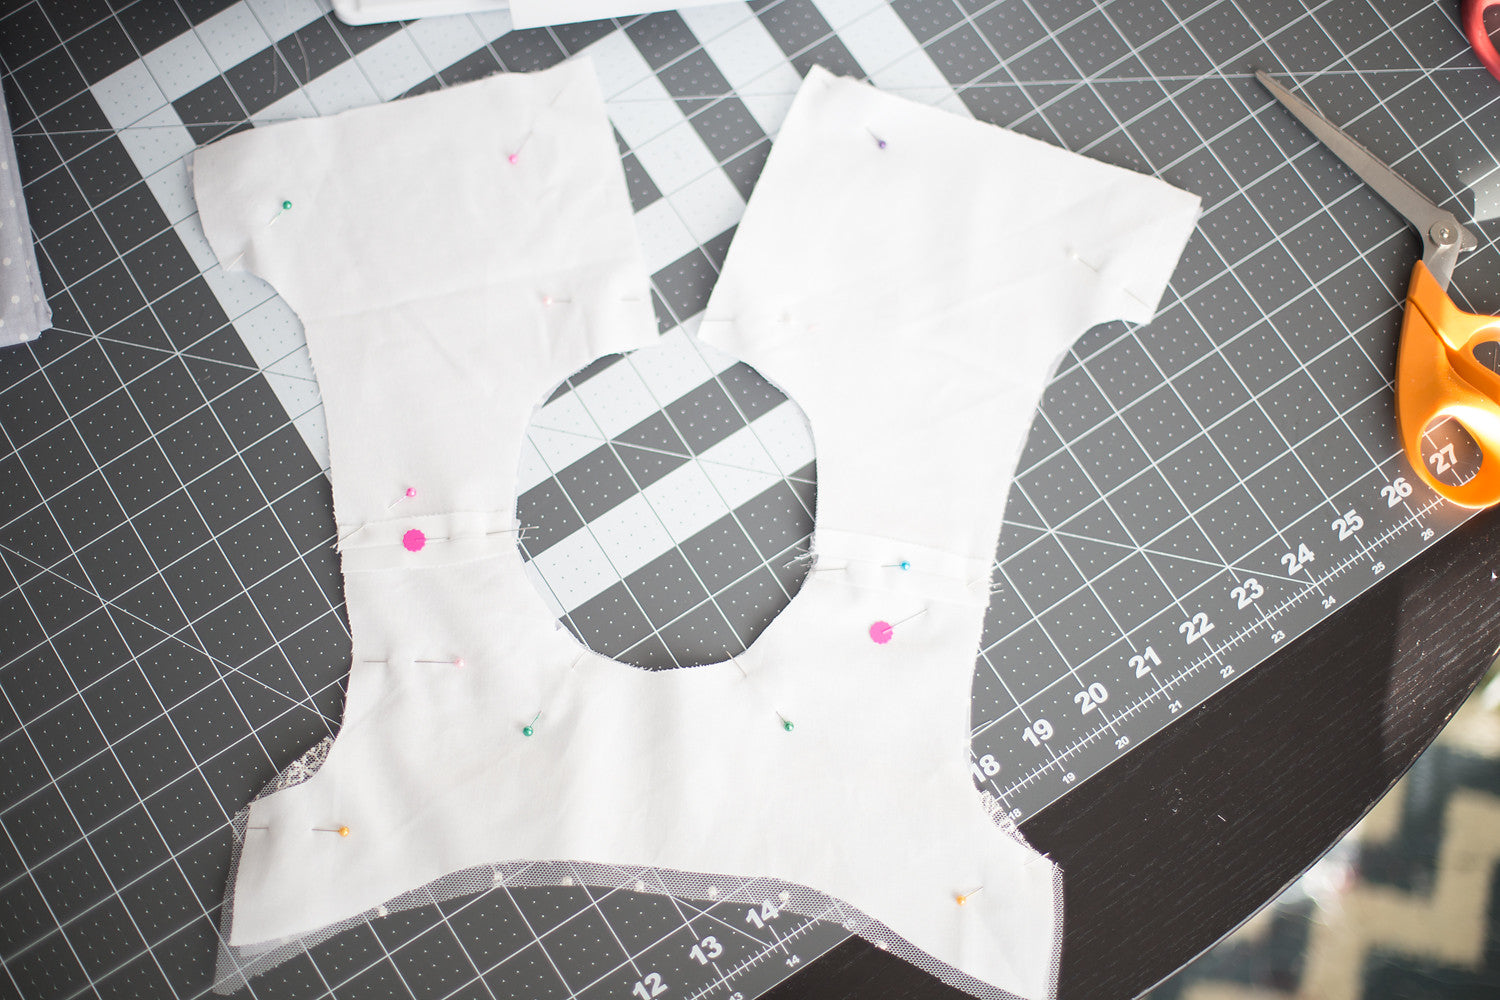
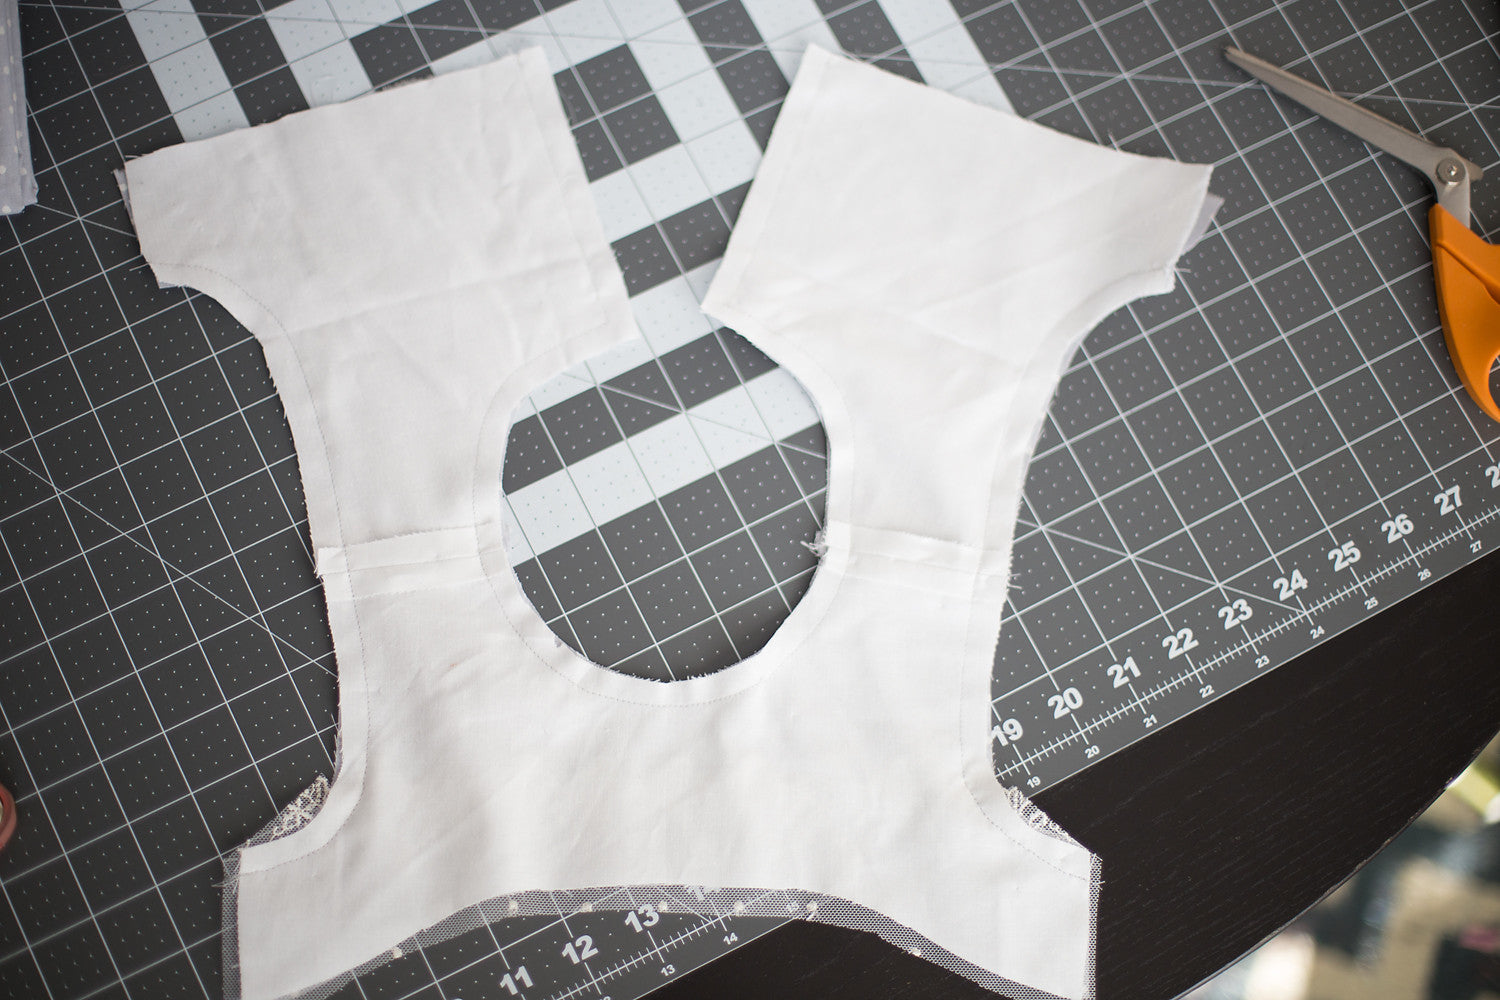
Now take your main and lining pieces and place them RST. Pin up the back, around the neckline, and back down the other side. If you are not adding sleeves, you can pin your armholes now too! Sew using a 1/2in SA where you have pinned.
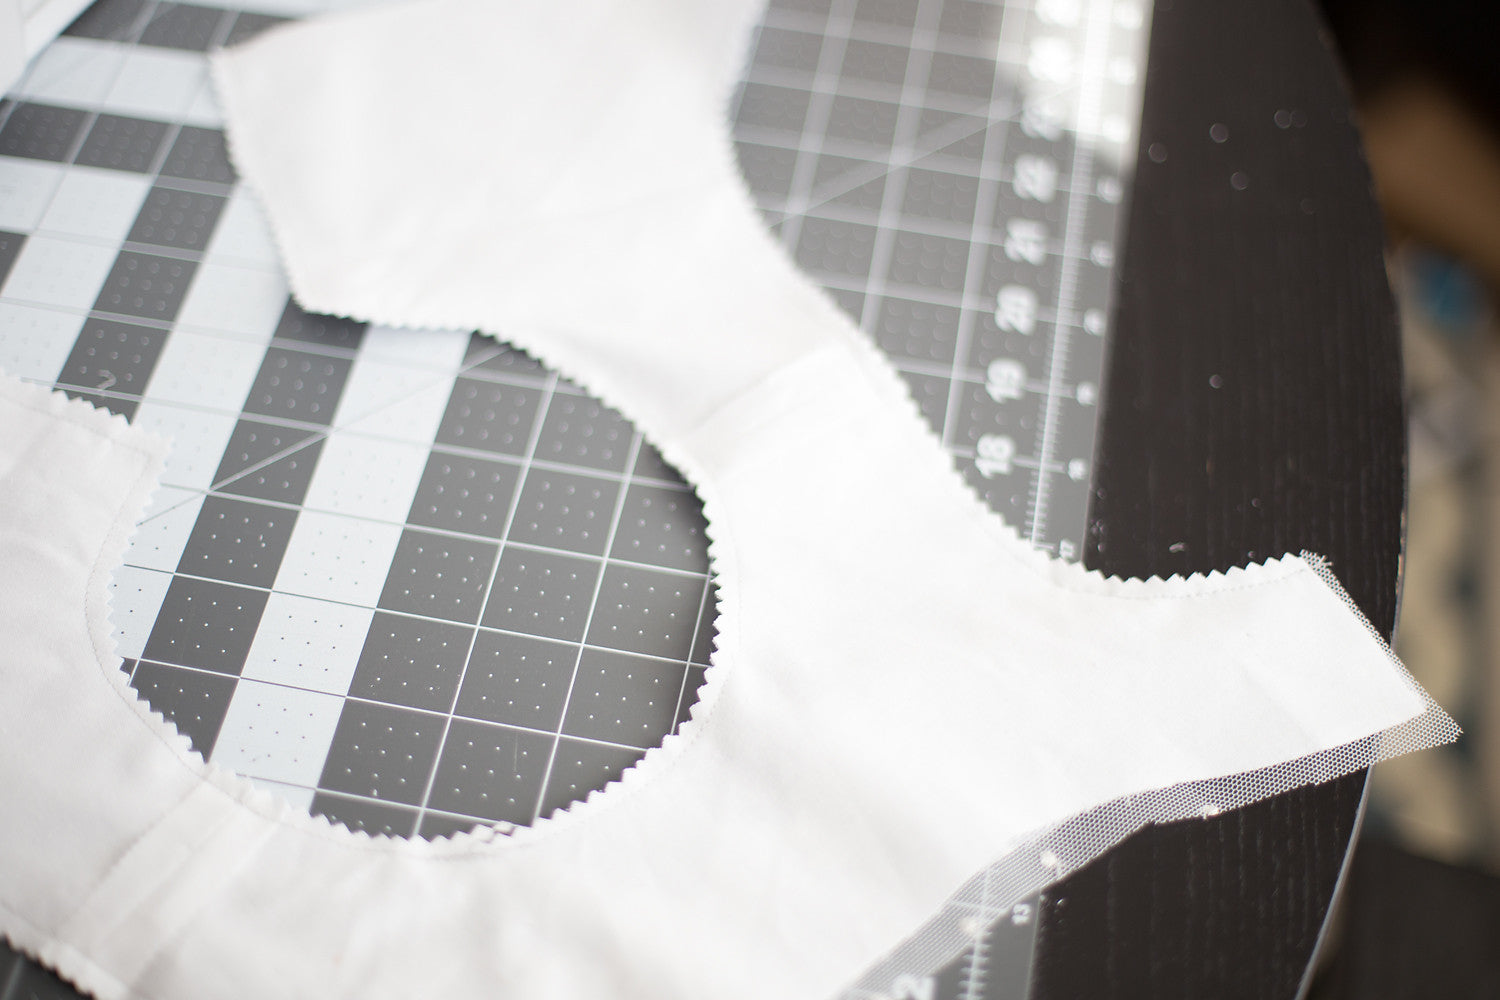
We now need to trim 1/2 of the SA off. I like to use my pinking shears for this. I adore my pinking shears. These were handed down to me from my mother when I started sewing a few years ago. I love these so much!! If you don't have a pair RUN to the store and get some now!! You won't regret it!
Turn your bodice and give it a good steam! And you are done for the day! What an easy and fast day! Tomorrow we will add ruffles, topstitch and finish our bodices! If you need to catch up, you can find Day 1 here! Don't forget to add your daily photo into the Day 2 album! See you tomorrow!