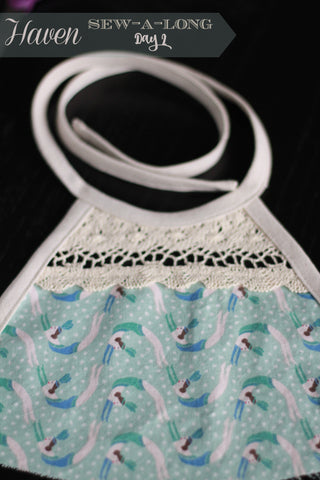
Haven Sew-a-Long {Day 2}
It's Day 2 of our Haven Sew-a-Long! Today we are getting our pattern ready and starting on our bodices! Are you excited?
If you haven't already, print out your pattern pieces. Pg. 8 of your pattern gives you the details of what pages you need to print for what version you are making. Those VFT ladies are always looking out for you, aren't they!!
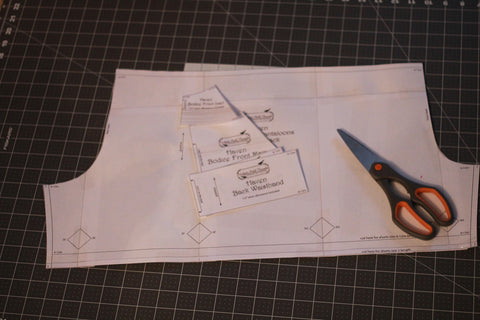
Once you've printed you need to assemble your pieces. I flip flop between methods on this. Sometimes I use a glue stick, other times tape. Today I had some tape handy, so the decision was easy! Assemble those pieces and get them cut out and ready to go. We've got sewing to do!
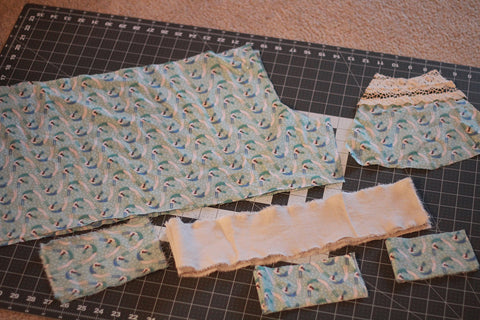
It's time to cut fabric, so revisit pg. 8 of your pattern and take a look at the fabric layout for an idea of how to cut out our pieces. And don't forget there are a few pieces that don't have paper pieces, so look at the charts for those and cut accordingly!
Fabric is cut and you are ready to get started! But don't head over to your machine just yet. I'd like to talk a minute about bias tape. This has been the talk of our FB group for a while now, especially with the Sew-a-Long going on. If you have a favorite way to make bias tape, then please keep using that way! There has been some discussion on if you have to use the triangle method. The pattern gives you directions using your fabric folded into a triangle so you can be certain your bias tape is cut on the bias!
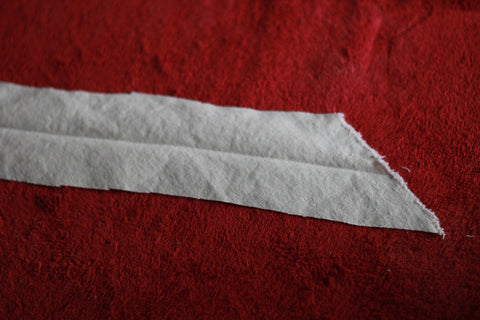
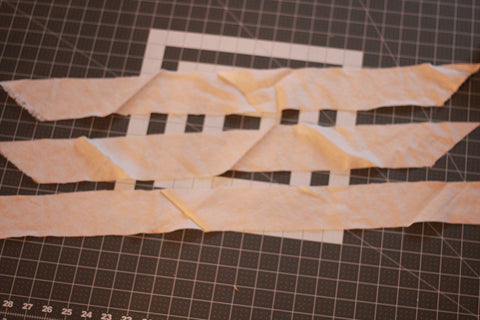
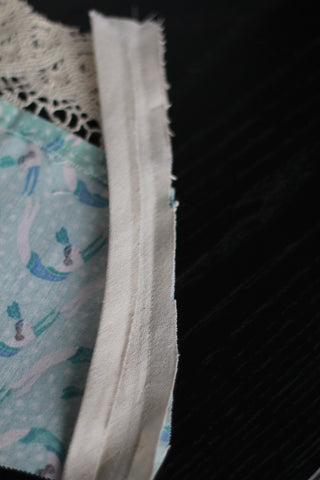
There are {tons} of methods out there, please use what you feel comfortable with. If you don't have a favorite way, then by all means follow the instructions using the triangle method. Once your strips are cut, take them over to your iron and fold in half and iron wrong sides together. Open it up and you will have a crease down the center.
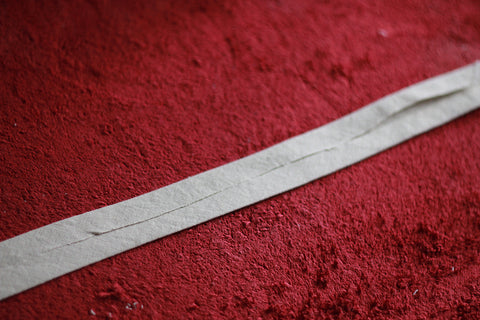
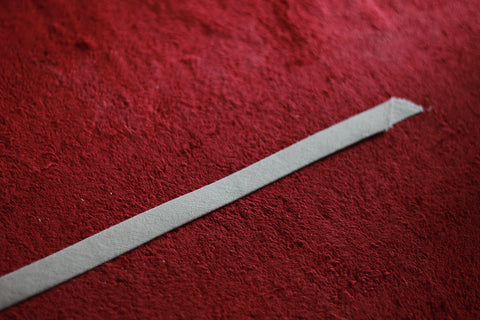
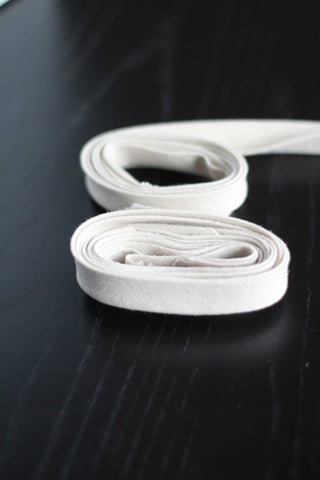
Fold each raw edge to the center, meeting at the crease you just made, and iron. Fold in half again and iron. You now have a strip of finished bias tape. Still looking for more help, here are a few of the tutorials I have found extremely helpful when making bias tape. Bias Tape 1 Bias Tape 2 Bias Tape 3.
Ok, Bias tape is done and it's time to get sewing. Grab your bodice pieces. If you are doing a full bodice piece without an inset, hang on for a few steps and meet us once we start attaching the bias tape! If you are using the bodice inset, place you inset piece on top of your bodice pieces, right sides together. Sew and finish the SA edge. Iron the SA down towards the bottom of the bodice and topstitch.
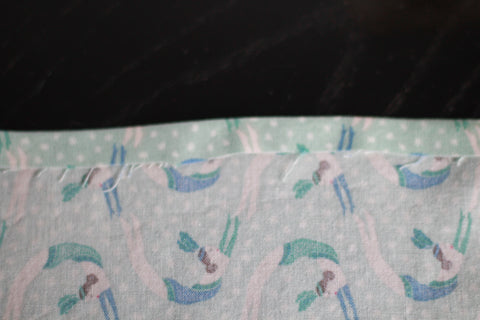
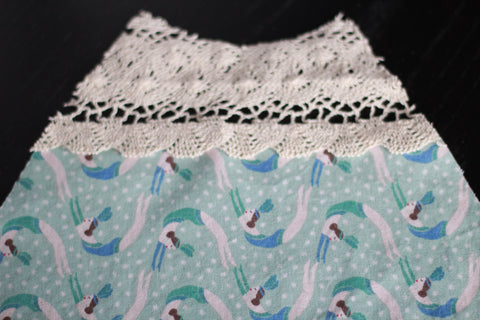

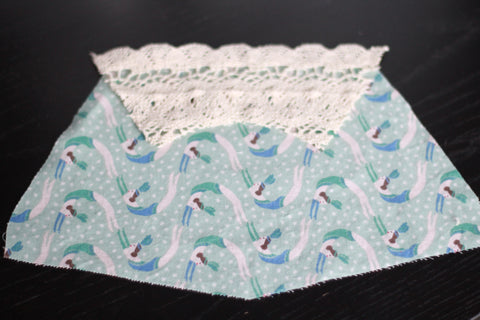
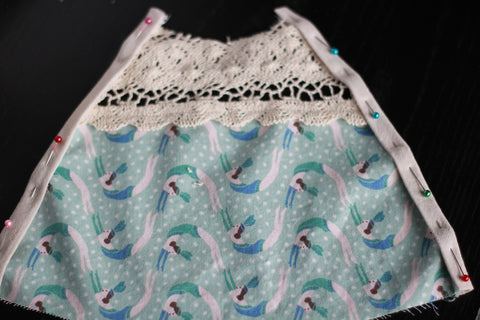
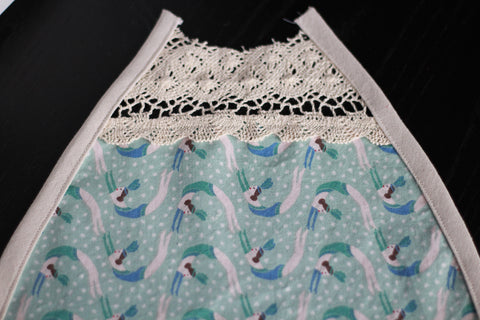
If you are like me and using a scalloped lace edge, then finish the top edge of your main bodice piece and iron down 1/2in, creating a finished edge at the top of your bodice. Place your lace inset on top of your bodice piece, pin, and sew.
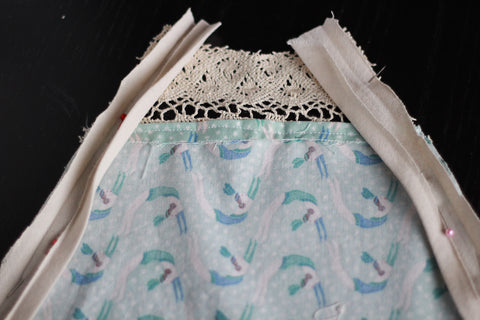
It's now time to start sewing the bias tape. Take one of your armhole bias tape pieces and place it on the wrong side of the bodice. You want the right side of the bias tape touching the wrong side of the bodice. Do this for both armholes and sew both sides with a 1/4in SA. If you are using the full coverage bodice, your bias tape will continue all the way along the edge.
Now that both sides are sewn we need to encase the seam. Take your bodice and place it right side up. You are going to fold your bias tape over to the front of the bias, enclosing the raw edge of the seam.
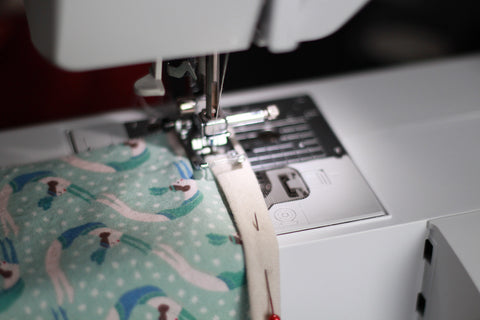
Sew close to the folded edge on both armholes and trim off any excess.
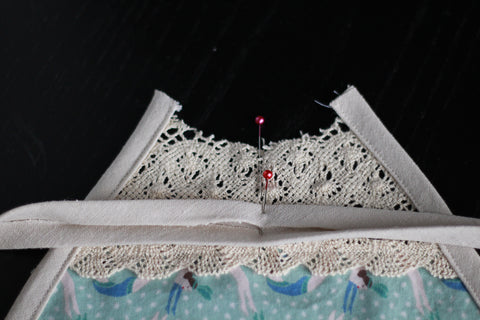

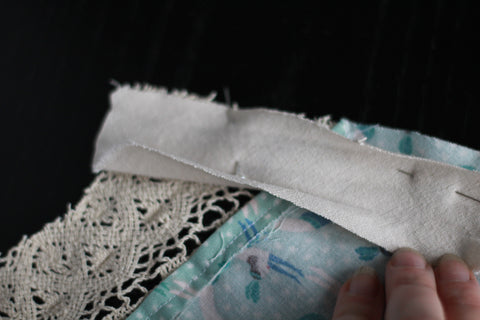
Now we need to enclose the top of the bodice. Take your Neckline bias and fold it in half, marking the center. Do the same with your front bodice. Line up your markings so the center of the bias tape is inline with the center of the bodice. Sew with a 1/4in SA and then trim of 1/2.
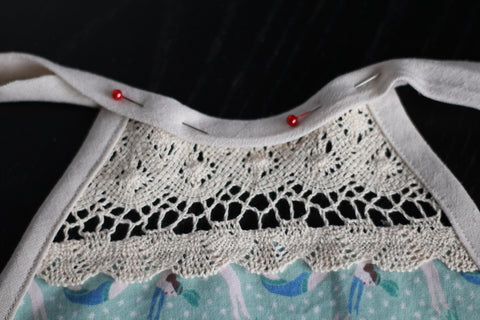
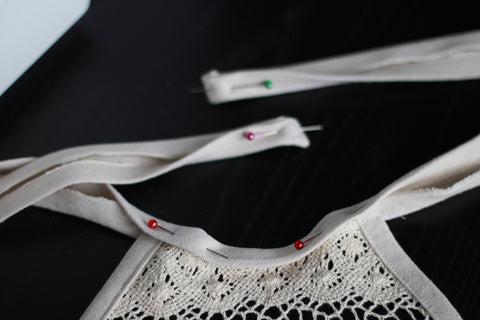
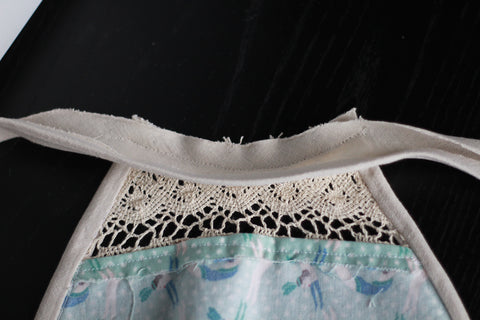
Place bodice right side up and flip the bias tape over the front, encasing the seam along the neckline. Before you sew this closed, take each raw end of the tape and open it up. Fold in 1/2in, then fold back in have. This will enclose the raw edge for a finished look. Do this on each end.
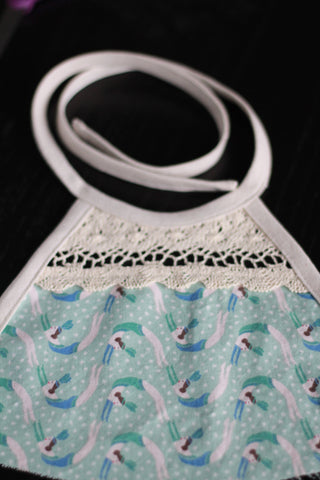
Take over to your machine and sew close to the folded edge from one end of the bias tape to the other. You have now created you Haven bodice! Not too bad, huh?!
If you need to catch up, you can find Day 1 here. And don't forget to add your Day 2 photo to the FB Album! Tomorrow we start construction on the bottom portion of our Haven! See you then!
Leave a comment