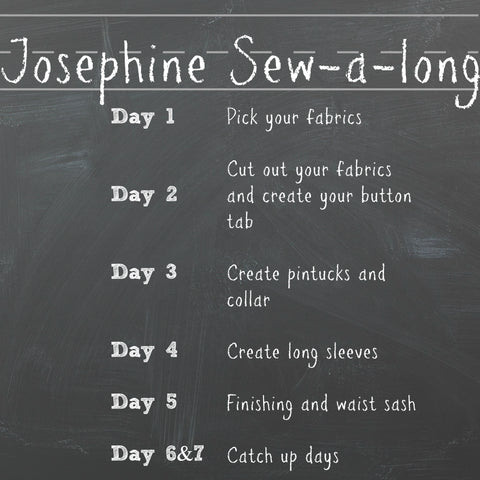
Josephine Sew-A-Long {Day 4}
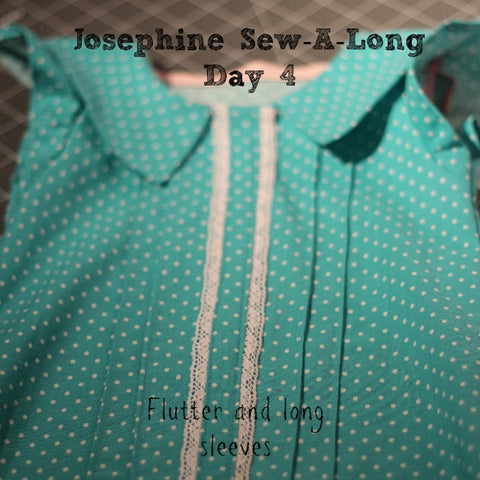
Today is day and we are working on sleeves! Before we start I have got to tell you all what an awesome job you are doing! I have been spending my mornings looking through all the photos "ooohhing and ahhhhing" over all your creations! You ladies are fantastic!
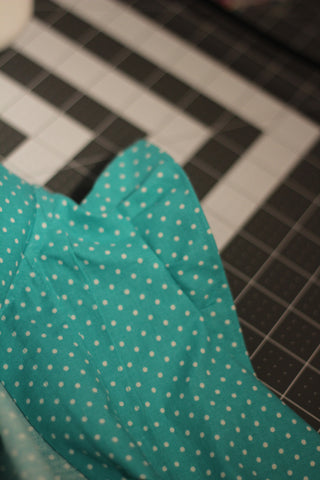
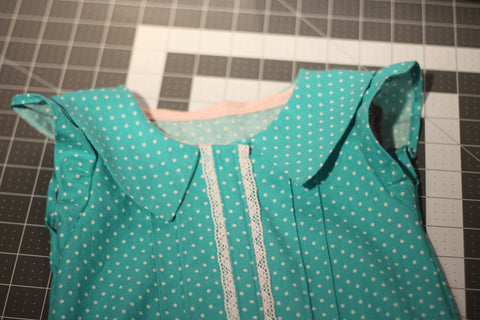
Ok, let's get down to business. Today I will be working with the flutter sleeves since little miss insisted on those. I really wanted to make the long sleeves, but those little ladies always win in the end, don't they!
If you too had a little lady who insisted on flutters, then follow me! If you are doing long sleeves, now's the time to get out your tutorial and take a look. I will be going through what you need to do a little later in the post!
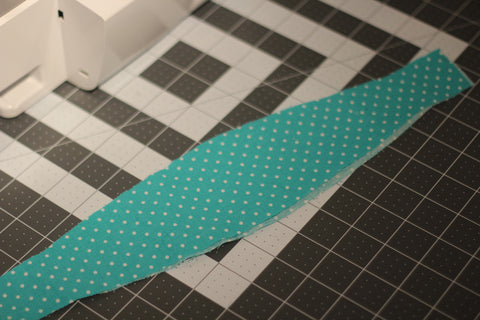
Take your flutters and head over to your iron. We are going to prep the hem on these, so iron 1/4in to the wrong side, and then another 1/4in. Do this for both sleeve pieces.
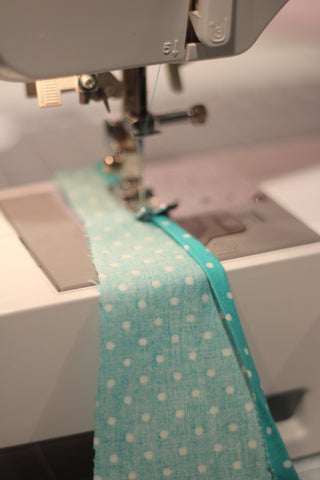
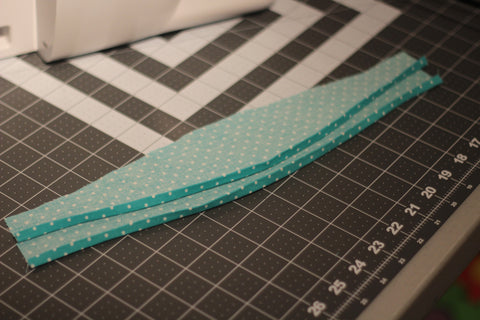
Take the pieces and sew the hem along where you ironed! Easy Peasy, sleeve hems are done!


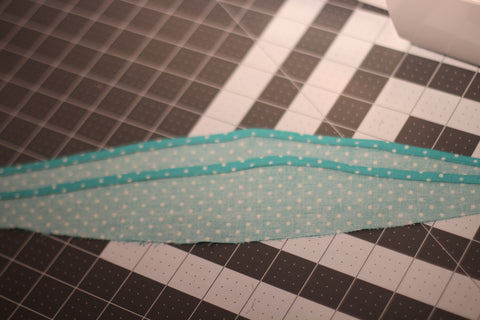
Now we need to do some measuring. Take your flutter and measure 1in from the end of the piece and place a pin. This is where your gathering stitch will begin. Do this for the other side too. This is where the gathering will end. Repeat this for the other sleeve piece. Take to your machine and sew a gathering stitch 1/4in from the top, starting at one pin and ending at the other. Do this for both sleeve pieces.
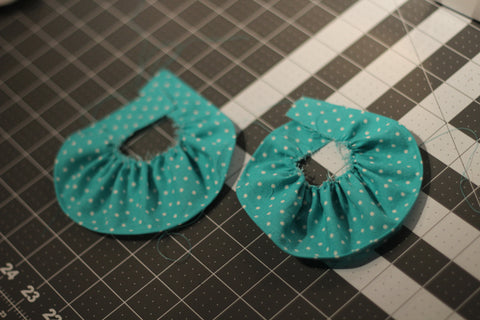
Take those bobbin threads and start to gather your pieces. Once you have them gathered, pin in place on the armscye, distributing your flutters evenly.
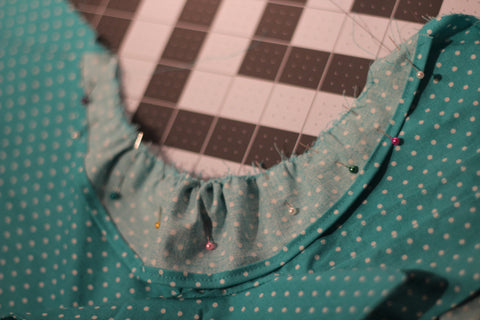
Once pinned, sew those flutters on! Make sure to change your machine settings back after gathering. Don't ask me how I know that..... hahaha Do this for both flutters.
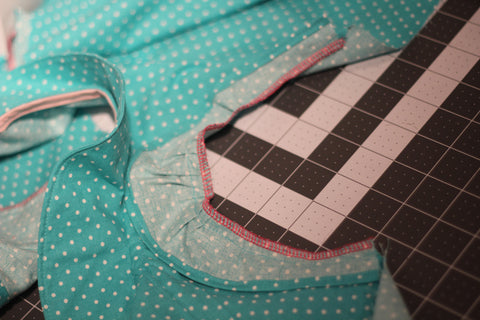
Once sewn, finish that seam with your preferred method. I chose my serger. Seriously, that pink thread makes me happy! lol
Ok ladies, this is where my long sleeve friends jump in! Since I didn't sew this version this time, I will go through the instructions, but use that tutorial because the photos are super helpful!
Take your long sleeve piece and cuff piece and place them rights sides together, raw edges lining up. Sew those together and trim off 1/2 of the SA. Working with the wrong side up, turn your cuff down and iron the SA up towards the sleeve.
Fold the bottom of the cuff up 1/2in. Take where you just folded and fold it up, wrong sides together towards the sleeve, to cover that exposed seam. Flip the piece over so right sides are up and sew along where you folded.
Next we need to gather the top of the sleeve. Transfer the pattern marking to the sleeve if you haven't done so already. Gather your sleeve between the markings, making sure your stitching line is 1/4in from the top of the sleeve. Pin your sleeve to the armscye adjusting gathers as necessary. Sew the sleeve onto the bodice and use your finishing method of choice for the SA. Repeat this entire process for the other sleeve!
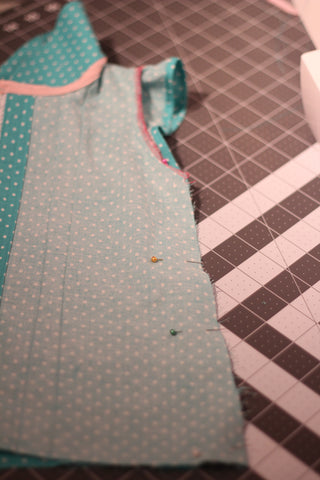
At this point, everyone needs to grab their bodices. Whether you did flutters or long sleeves, we all are finally back on the same page! Take your bodices wrong side out and match up the armpit seams and pin. Pin along the sleeve and along the bodice, all the way to the bottom.
Sew along where you have pinned and finish that seam. Repeat for the other sleeve and side of the bodice.
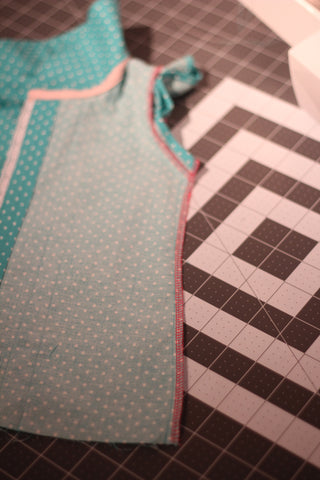
And that's it, ladies!! We now have bodices with sleeves! Stand back and admire your work! Get ready, because tomorrow we finish these bad boys!
If you miss any of the previous days, catch up here: Day 1, Day 2, Day 3!