Clara+Adelaide Sew-A-Long {Day 3}

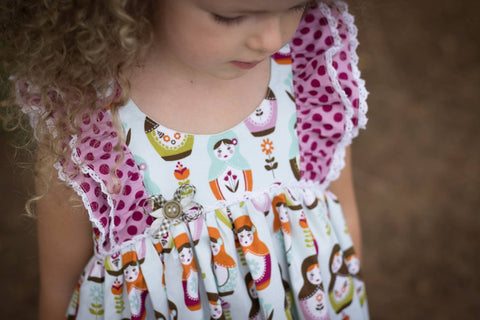
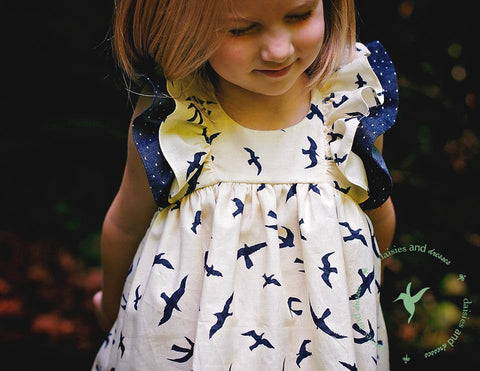
Today is Day 3 of our sew-a-long! We are going to focus on sewing the bodice still. It may be a super fast and easy day for some of you. For others, you will have a bit more work to do if you decided to add bodice ruffles, but it is so worth it!
I adore the bodice ruffles, I just wish my little fashionista did too! She would much rather have a twirly skirt and forget the ruffles. So alas, no ruffles on the one I'm sewing for my daughter.

If you are completing the ruffles, then it's time to get started! You will be following the ruffle instructions exactly as stated in the instructions. I will give you a brief rundown here! I don't have photos for this part since I'm not sewing the ruffles. Check the instructions in the tutorial if you are a visual learner!
Hem those ruffle pieces, either by ironing a 1/4" SA and then another 1/4" SA, or by serging off 1/2" and sewing a rolled hem. The opposite edge should be serged or sewn with a zig-zag stitch. Do this to all your ruffle pieces.
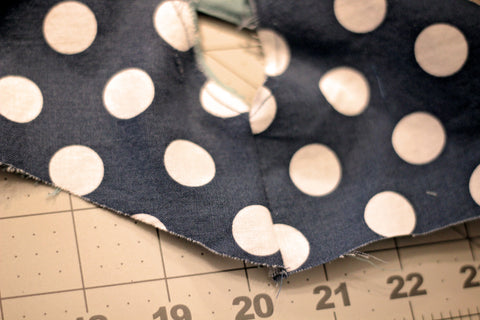
Once you've finished, run a gathering stitch 1/2" from the edge of the serged side and gather each ruffle to 1/2 it's original size. Now grab your bodice and a ruler. Measure 1/2" from the shoulder seam and draw a line down the front and back of the bodice. Take a ruffle and pin it directly on the chalk line, right sides together. Make sure the gathering line is on the chalk line, and sew right over the gathering stitch. Flip the ruffle over, iron flat, and topstitch with a 1/8" SA.
For the second ruffle, measure over from the edge of the sewn ruffle 1/2" and make a line from the front to the back of the bodice. Place ruffle on line with gathering stitches on the drawn line. Sew it down, flip and iron, then topstitch. Repeat this process of the other 2 ruffles on the other side.
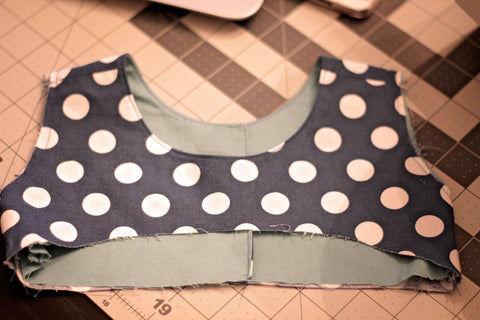
For those who didn't sew bodice ruffles, it's time to sew! Grab your bodice and and open up the main and lining fabrics, matching the armhole, right sides together.
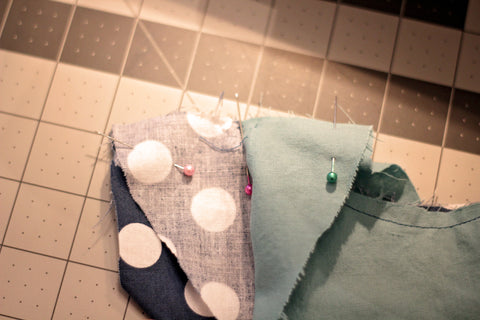
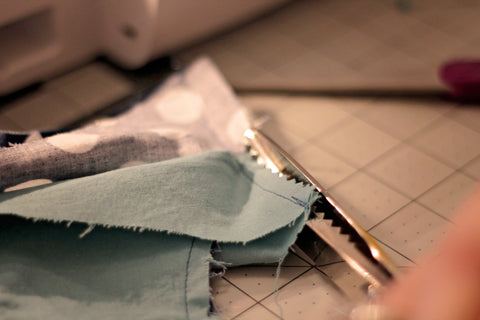
Pin and sew with a 1/2" SA. Trim 1/2 of your SA off and fold the bodice so it is right side out. You should now have a finished side seam.
Repeat these steps for the other side, then take over and iron both seams flat. If you have more bodice embellishing to do, now's the time to do it!
And guess what? That is it for today! If you were like me, your sewing only took 2 minutes, and that is exactly what you needed on this rather dreary Wednesday (at least where I am located). If you did ruffles, well, yours took a little more time, but it was still a rather quick day! Perfect for hump day!

If you need to catch up, check out Day 1 and Day 2. And don't forget to add your photos in the daily albums on FB. Tomorrow we work on the sleeves and begin the skirt construction. It will be a busy day so get ready to sew! See you all back here tomorrow!
Leave a comment