Clara+Adelaide Sew-A-Long {Day 4}

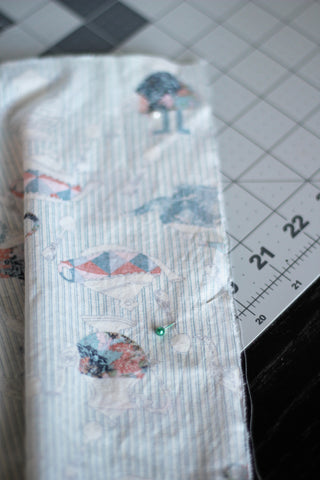
Hello my lovelies! Today is day 4 of our sew-a-long. Can you believe we are almost done?? Today we are going to focus on the sleeves. This is where our mash-up comes into play. Since Clara does not have any sleeves, we had to find a pattern that would work with the Clara bodice, and Adelaide fits the bill! With the slightly gathered sleeve and similar armscye, the sleeve works perfectly!
Grab your sleeves and your cuffs, if you are using them. The first thing I like to do is take my sleeve, fold it in half and iron. This gives me the middle point of my sleeve for when I need to fit it into the armhole.
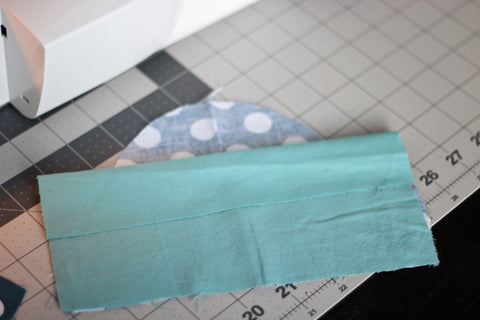
If you are doing the cap sleeve, you will join us in a few steps. For those of you sewing the cuff, place the right side of the cuff to the wrong side of the sleeve and sew using a 1/2" SA. Iron the SA up and iron the bottom of the cuff up 1/2".
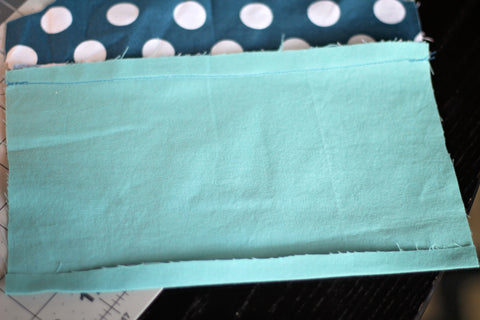
Now you are going fold the bottom of the cuff up to cover the SA. Pin and topstitch. If you are sewing the cap sleeve version, iron the bottom edge of your sleeve 1/4" and then another 1/4" and hem.
For both sleeve versions, fold your sleeve in half with right sides touching and pin along the side. Sew with a 1/2" SA. Trim 1/2 off and serge or zigzag edge. Iron this seam flat.
Sew a gathering stitch along the top edge of the sleeve, leaving 2" on each side un-gathered.
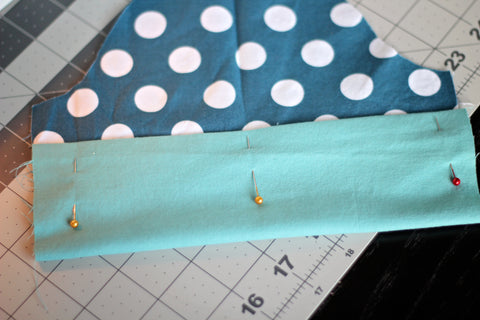
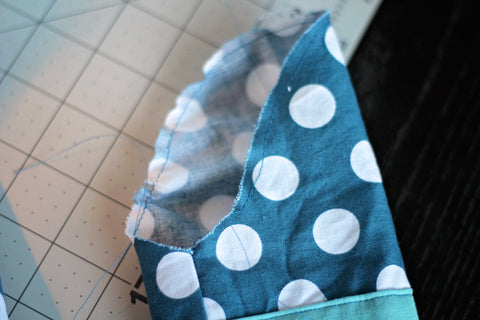
Place your sleeve inside the armhole, with the right side of the sleeve touching the right side of the bodice. Match the side seam of the bodice to the armhole seam. If you made your mark earlier at the top of the sleeve, you can match the middle of the sleeve to the shoulder seam.
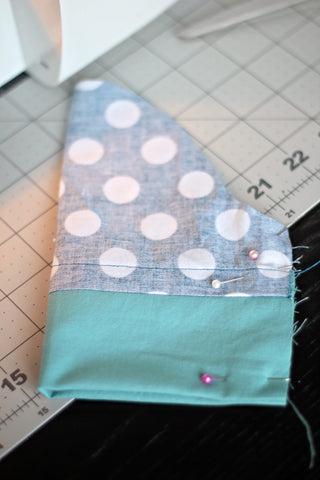
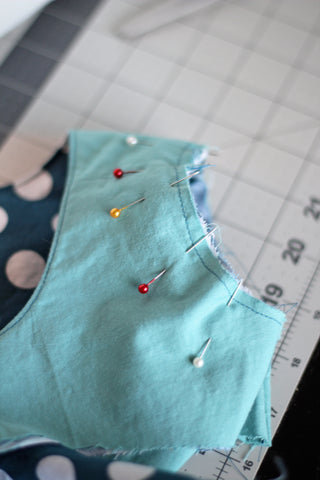
Pull your gathering stitch slightly and fit the sleeve into the armhole. I like to place my gathers at the top middle of the sleeve. Sew sleeve with a 1/2" SA. Trim off 1/2 of the SA and finish with a zigzag or serger and iron the seam flat.

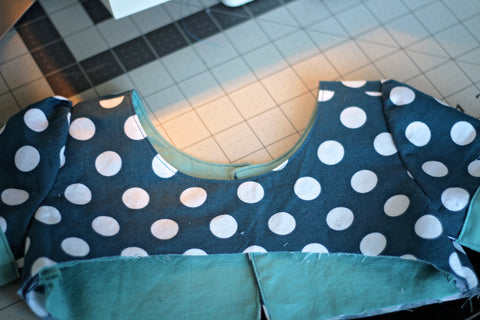
Complete this entire process for the other sleeve. You will now have a gorgeous bodice that is ready to go! Now it's time for the skirt.
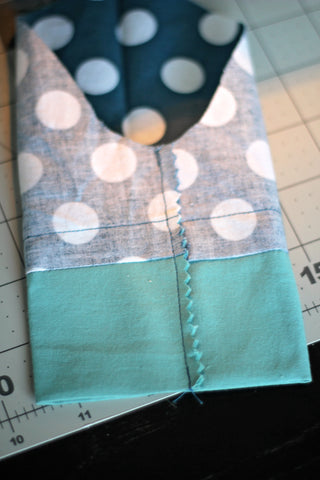
Grab your skirt pieces and match the short ends together. Sew both sides with a 1/2" SA, trim and finish edges. Hem the bottom of your skirt by ironing up 1/4" and another 1/4". Take over to your machine and sew.
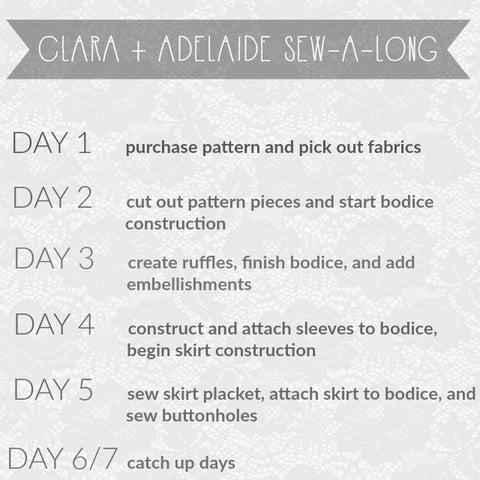
Whew! We are done with day 4! If you need to catch up, take a look at Day 1, Day 2, and Day 3! Meet me back here tomorrow and we will be finishing up our garments!
Leave a comment