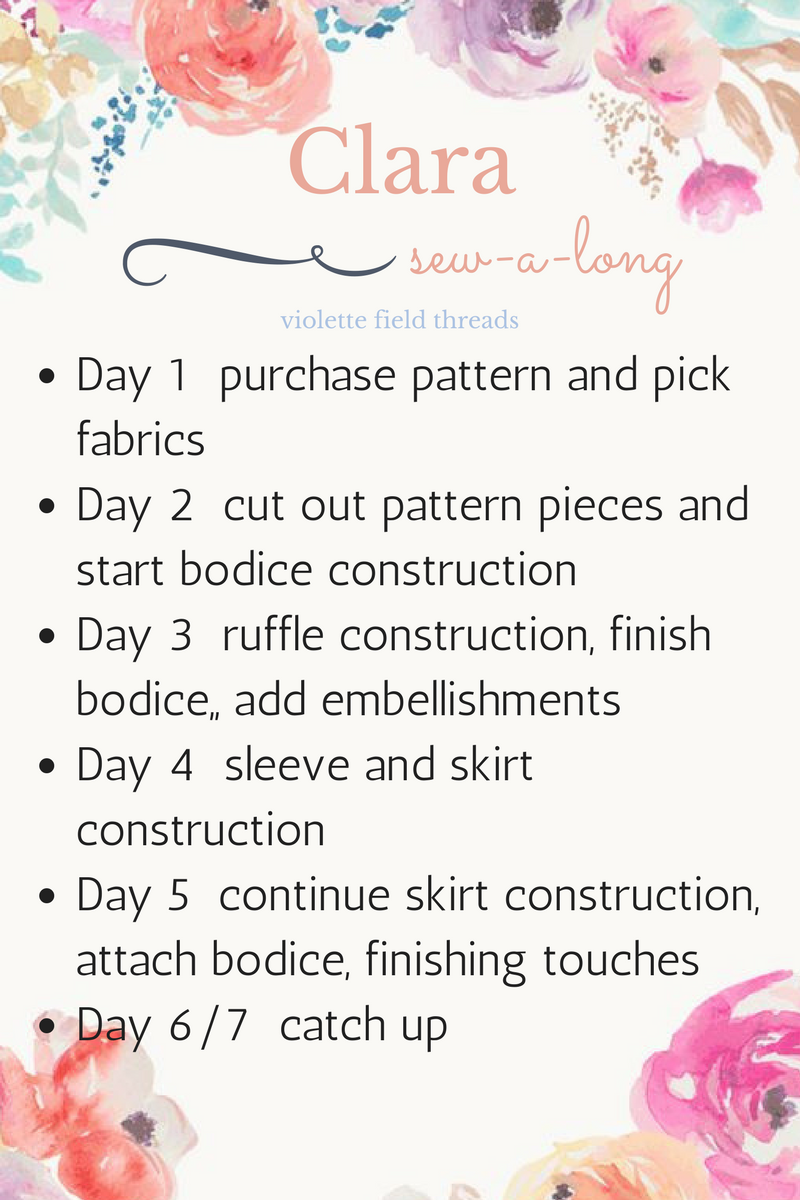
The Clara {Sew-a-Long} Day4
 Good Morning sweet ladies. It's Thursday! We are almost done with our Sew-a-long!! I can't believe it. One of my favorite things about the SAL is how manageable each pattern seems when you break it down into these small daily steps! It becomes so easy and do-able with all of our crazy lives! Ok, enough chit-chat, let's get to work on Day 4!
Yesterday we talked about adding in sleeves to our bodices, and some of you may have already done that! Go You!!!! Some of you might have waited until today! I want to talk to you all about sewing a sleeve in the round!
I do this often, sometimes on purpose and sometimes because I decide all too late that my garment needs sleeves! I talked about this during our last Clara SAL. You can find that here, so I am going to just do a quick overview of how to add your sleeve in after you've sewn your bodice sides closed. And pardon my mismatching photos, these are from the blog post linked above!
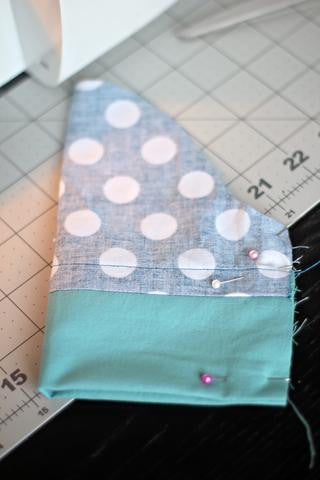


Take whichever sleeve you'e chosen and fold it in half, right sides touching. Sew down the side with a 1/2in SA, trim and finish the edge. Do this for both sleeve pieces. you should now have what looks like a sleeve. Run a gathering stitch along the top of your sleeve, leaving 2in on each side of the seam ungathered.


Take your sleeve and place it inside the armhole. This can seem tricky but I promise it works. You want the right side of the sleeve touching the right side of the bodice. Make sure to match your side seam and your sleeve seam. Start pinning your sleeve to the bodice,and pull your gathering stitches to make your sleeve fit. Sew your sleeve with a 1/2in SA, trim the seam and finish it with a zig-zag or serged edge. Do this same thing for the other sleeve. Yay! You've now added in your sleeves in the round!!!!


Now let's get started on our skirts. Grab both skirt pieces and place them right sides together. Sew along the short ends.


Trim off 1/2 of the SA and finish the edges. I am using my zig zag stitch today because I am too lazy to rethread my serger after little hands got to it the other day. {Real like folks}

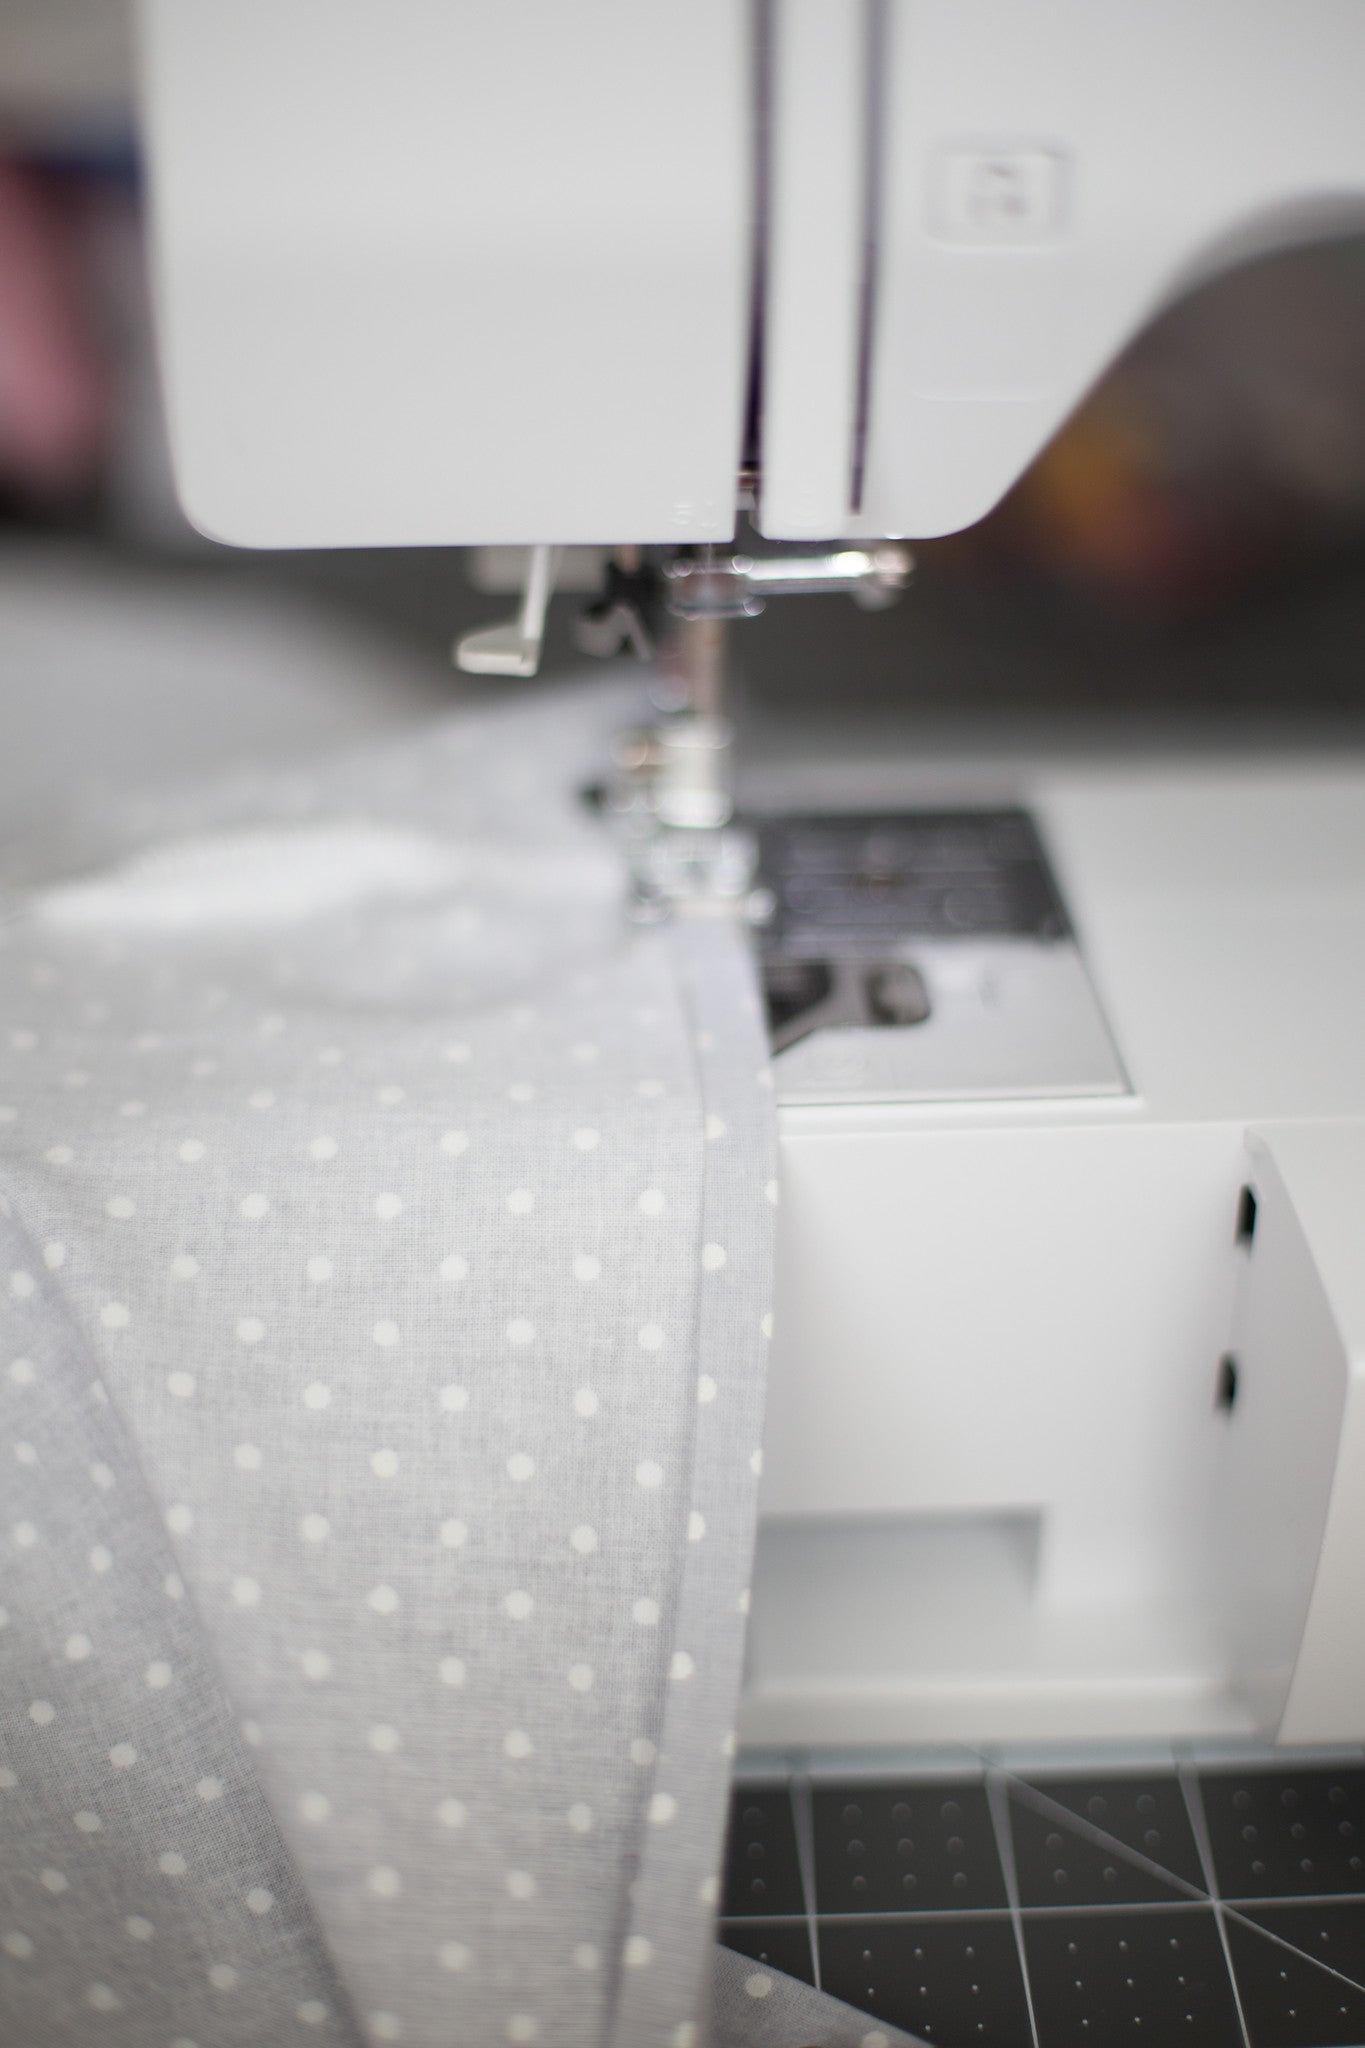
Now let's hem. Iron up 1/4in and another 1/4in. Take over to your machine and sew. Now let's do one more quick thing before we are done!


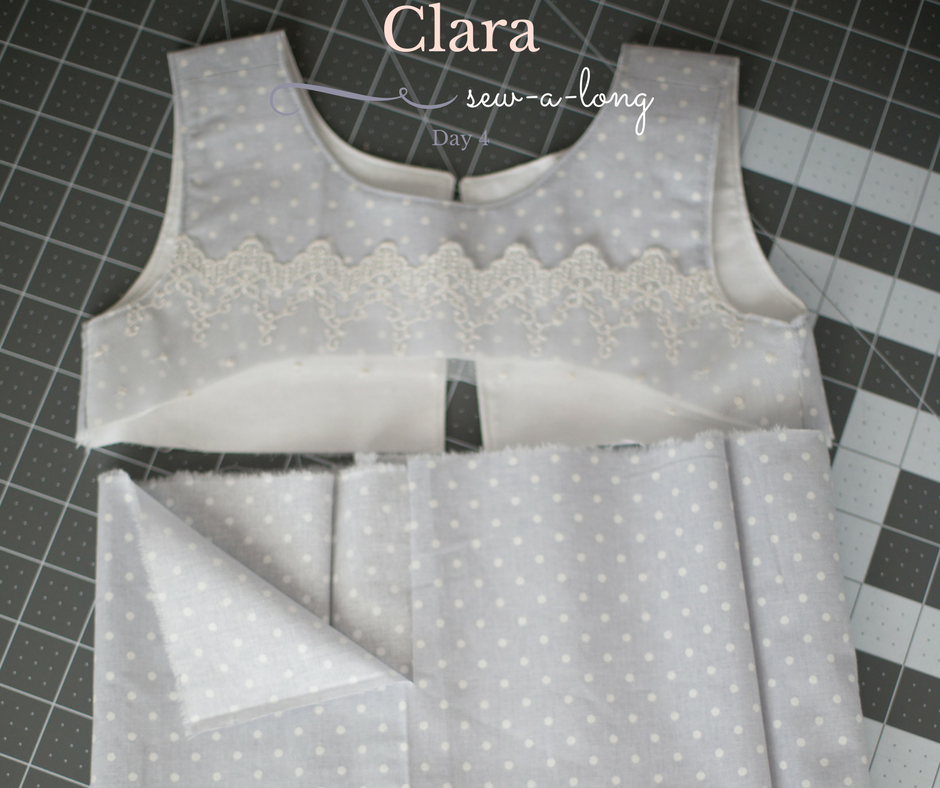
Match your skirt side seams and place a pin in the middle back of your skirt. Open it up and measure down 3.5in and place a pin. Cut down the back of your skirt to the pin. This is the start of your skirt placket!
And that's it for today friends! If you need to catch up, take a look at Day 1, Day 2, and Day 3. Don't forget to add your photo into the daily album! See you back here tomorrow!