Fiona Sew-Along Part Three: Finishing the Bodice
Today we begin Part Three of the Fiona Sew-Along! Our last post we finished work on the dress basics; straps, ties & button loops. As you may recall we are making two Fiona pieces, the top & the dress. So whichever you are following along with, we will be making your bodice today! One step closer...Don't forget to grab your Fiona Paper or PDF Pattern to refer to as well!
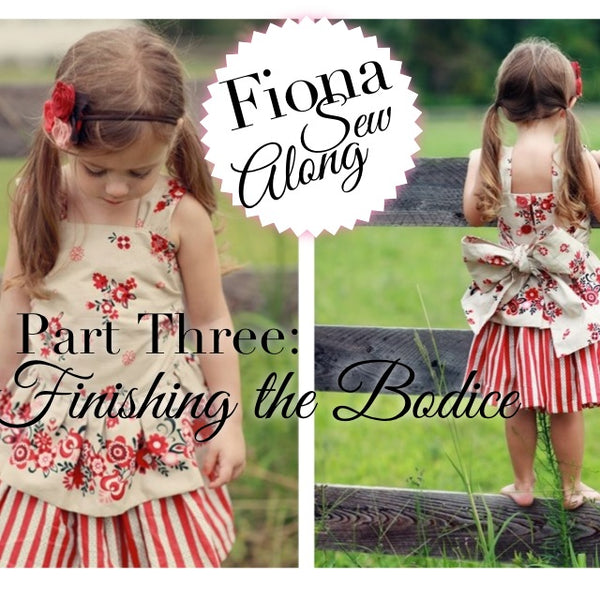
For those of you who may be just now joining us I wanted to fill you in again on my fabric choice! I decided to go with Little Matryoshka by Riley Blake Designs. It was something I already had lying around and is one of my favorite, playful patterns! Let's get started...
1. Pin the gathered strap inside the pattern markings. Tip: Be sure both straps are the same width at the top.

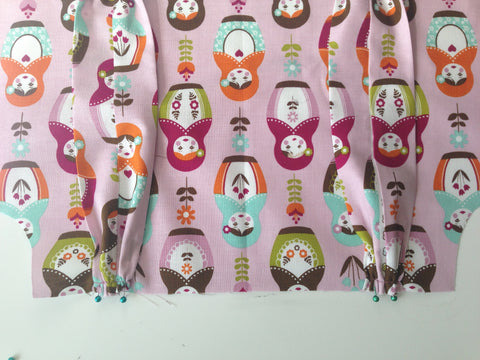
2. Place the front lining over top of the front with the straps now sandwiched in between. Put a few more pins in to secure.
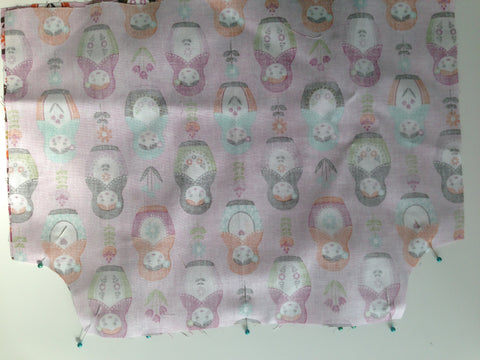

3. Sew around all pinned edges, trim off 1/2 the seam allowance and clip the corners. Turn the bodice front right side out and top stitch right along the seam.

4. Now pin the straps to the bodice back in between the pattern markings.
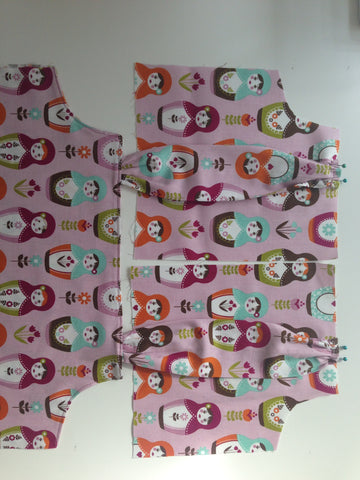
5. Pin the button loops to the right back piece. The raw ends of the loop should be flush against the raw middle edge of the bodice back. The first loop will be 3/4" from the top edge and the other two should be evenly spaced.
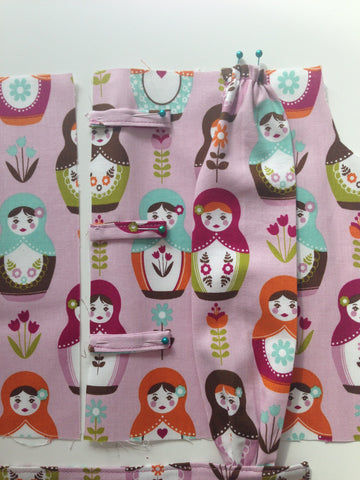
6. Place the back lining pieces over top and pin to secure. Sew together along the armhole, top edge and middle edge. The bottom and side edge will be left open. Trim off 1/2 the seam allowance and clip the corners.

7. Flip the back right side out and iron flat. Top stitch right along the seams.

8. Gather up the raw side edges of the bodice front until they are the same height as the bodice back side edges.
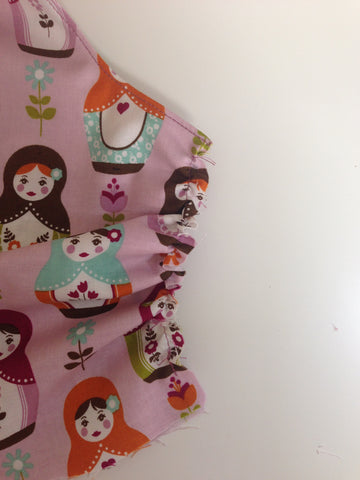
9. Pin a the raw gathered edge of one side tie to the bodice front. The side tie should be positioned so that it is 1" up from the bottom raw edge of the bodice front.

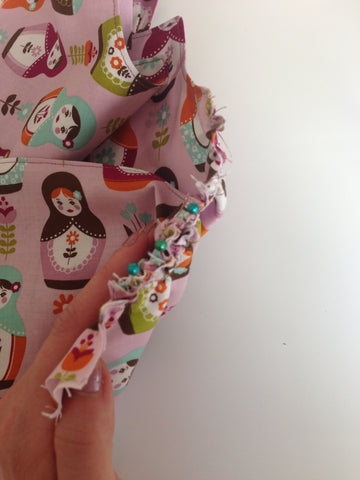
10. Lay the bodice back over top of the bodice front with the side tie sandwiched in between. Pin to secure. Sew along the pinned seam. Trim off 1/2 the seam allowance and either finish with a serger or a zig zag stich.


11. Repeat for the opposite side and remaining side tie!

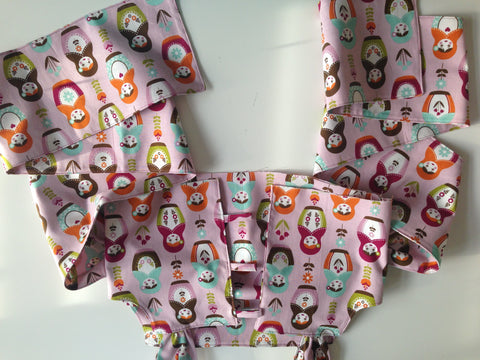
You have created your bodice...congratulations!!
Stay tuned for the rest of our sew-along posts! Here is a schedule for you to look forward too...
April 17, 2014 - Blog post on Finishing as a Top
April 18, 2014 - Blog post on Creating the Bustle Skirt
April 22, 2014 - Blog post on Tying the Perfect Bow
April 30, 2014 - Blog post on Your Creations, Finished Garments
Have any questions, tips or comments? Please share below, we love to hear from you guys. Thats what these sew-alongs are for, so let's collaborate!


I just made the Fiona dress for my girls for Easter outfits! I made them out of linen and they turn out great! Happy Easter to you all.
Leave a comment