Skip to content
icon-X
Close menu
Shop Patterns
Girls
All
Dresses
Tops
Bottoms
Sleepwear
Outerwear
Swimwear
Women
All
Dresses
Tops
Bottoms
Sleepwear
Outerwear
Baby
All
Dresses
Tops
Bottoms
Sleepwear
Outerwear
Swimwear
Tween
All
Dresses
Tops
Bottoms
Sleepwear
Outerwear
Swimwear
18" Doll
All
Stuffies
Dresses
Tops
Bottoms
Sleepwear
Outerwear
Swimwear
Accessories
All Patterns
Get Started
Bundles
All Bundles
Complete Bundles
Perfect Pairings
Girls & Doll
Mommy & Me
Sister Sets
Special Release Collections
Blog
Sewing Gifts
Free Tutorials
Log in
instagram
Instagram
Facebook
X
Pinterest
tumblr
Tumblr
Cart
icon-X
Close cart
Your cart is currently empty.
icon-search
Search
icon-hamburger
Site navigation
account
Log in
icon-search
Search
icon-bag-minimal
Cart
Shop Patterns
Girls
All
Dresses
Tops
Bottoms
Sleepwear
Outerwear
Swimwear
Women
All
Dresses
Tops
Bottoms
Sleepwear
Outerwear
Baby
All
Dresses
Tops
Bottoms
Sleepwear
Outerwear
Swimwear
Tween
All
Dresses
Tops
Bottoms
Sleepwear
Outerwear
Swimwear
18" Doll
All
Stuffies
Dresses
Tops
Bottoms
Sleepwear
Outerwear
Swimwear
Accessories
All Patterns
Get Started
Bundles
All Bundles
Complete Bundles
Perfect Pairings
Girls & Doll
Mommy & Me
Sister Sets
Special Release Collections
Blog
Sewing Gifts
Free Tutorials
Search
Search
Pause slideshow
Play slideshow
SUMMER SALE 30% off SITEWIDE (PRICE REFLECTED IN CART)
Blog
Jan 02, 2026
Gracie Pajama Hack with Ruffles & Bows
Dec 12, 2025
Introducing Elowen
May 27, 2025
Sewing with vintage linens + NEW Heidi pattern
May 12, 2025
A Fresh Take on the Lauren Pattern
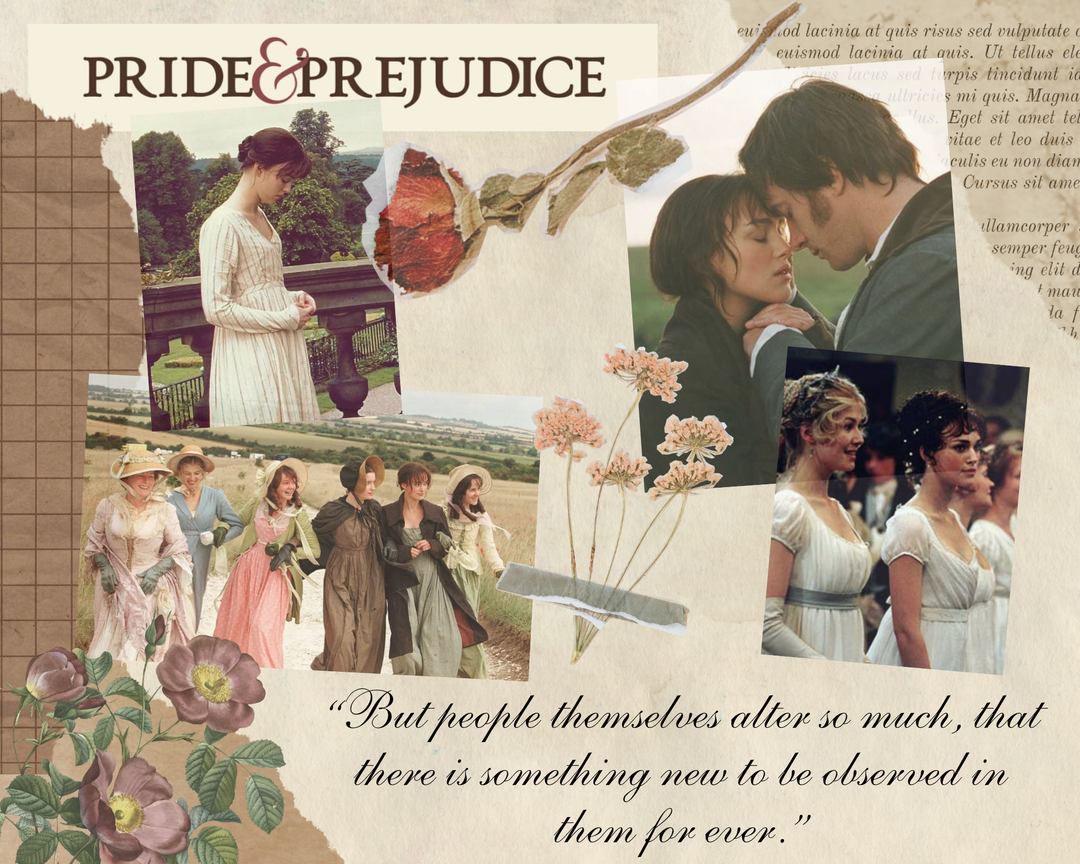
Apr 17, 2025
Regency Inspired Looks for the Theater Return of Pride and Prejudice!
Nov 09, 2023
Matilda to Easy "Grow With Me" Nightgown
Apr 21, 2021
{Ashton} Misses Peplum Hack!
Mar 19, 2021
Isobel Misses Pattern Hack {How to create a Top}
Mar 12, 2021
Ainsley Pattern Hack {How to create a Ruffled Pant Leg}
Jan 08, 2021
How to create Leo Lamb- Free Tutorial using Lovey Lamb
Sep 14, 2020
Introducing {Harriett}
Sep 01, 2020
Back to School - 2020 style!
49 comments
·
Jul 18, 2020
Back 2 Class Favorites {$6 Weekend}!
Jul 15, 2020
{Celine, Iris, Katia & Faye} Misses Summer Mini Collection
4 comments
·
Jun 29, 2020
{After the Storm} June Rainbow Tutorial
1 comment
·
Jun 25, 2020
Re-Introducing {June}
1 comment
·
Jun 09, 2020
{Introducing} Viola
82 comments
·
Jun 06, 2020
{Soak Up the Sun} Swim Giveaway!
May 15, 2020
{Introducing} Shiloh
5 comments
·
May 01, 2020
Staying Home with {Cecilia & Delphine}!
61 comments
·
Apr 10, 2020
{Evangeline} for Everything + Giveaway!!
1
2
3
…
15
icon-chevron
Next
icon-X
"Close (esc)"
icon-X
icon-chevron
icon-X
Official Blog of Violette Field Threads