Hawthorne Threads {Fabric Love} + Braided Headband Tutorial
Like many of you, I ADORE gorgeous fabrics. There's something about a quality fabric that comes in tons of prints that gets me every time, so when Hawthorne Threads sent over some fabric to try out, I was more than exited to sew them up!
Hawthorne Threads fabric washes and sews beautifully. I loved every minute of sewing with these fabrics, and honestly cannot wait to get some more!

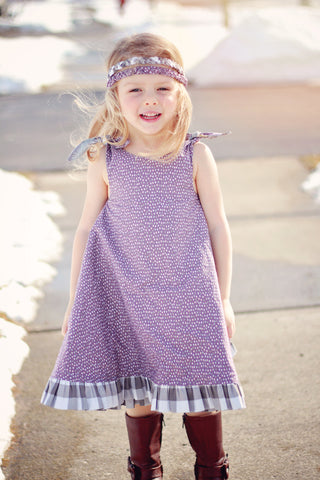
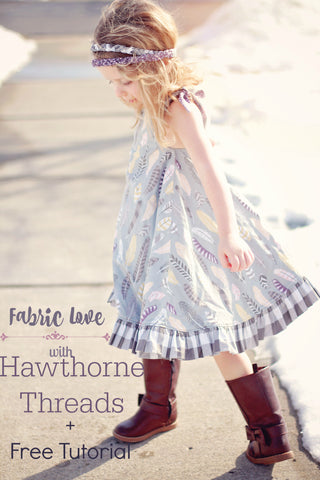
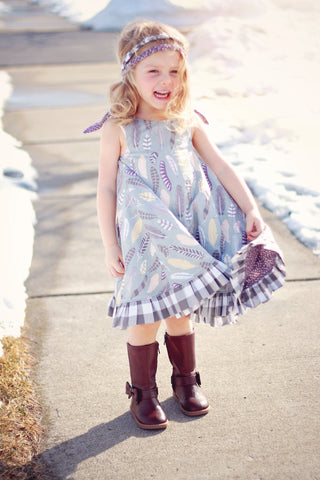
I knew I needed to do something special with these lovely fabrics, and the Hope Dress fit the bill. I decided on using Feather Collective in Sage and Rolling Stones in Mulberry for the main fabrics of my dress.
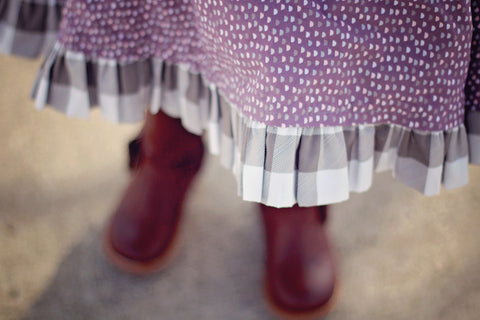
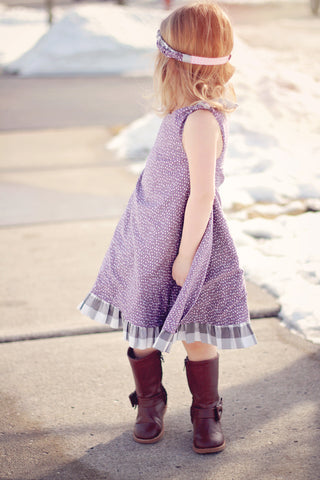
The Hope Dress is a reversible swing style dress with lots of options, but I decided to go with the ruffled hem for a super fun look. I'm a sucker for plaid, so the Buffalo Plaid in Stone was the absolute perfect accent fabric for this dress!
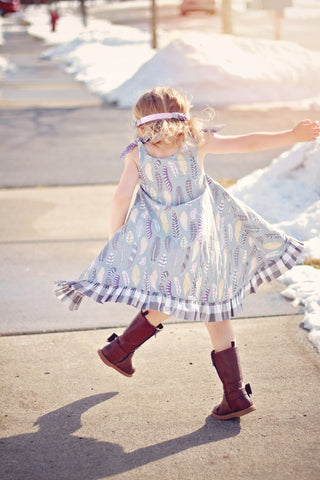
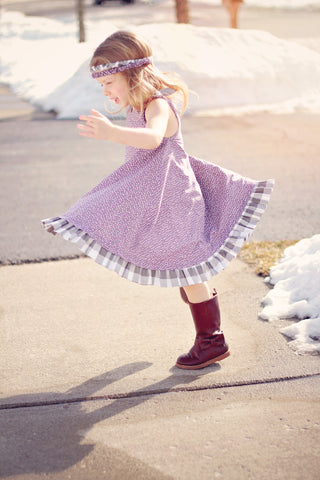
My daughter loves the twirl factor on this dress! I will say, it was difficult to get her to stop twirling to get a decent shot! It's such a fun dress, every little girl needs one super twirly dress in her closet!
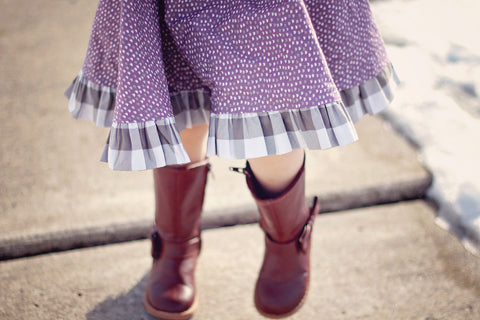
The ruffle hem may be my favorite part of the dress. It is definitely worth the extra time to gather all that fabric. I gives the dress that added something that puts it over the top!
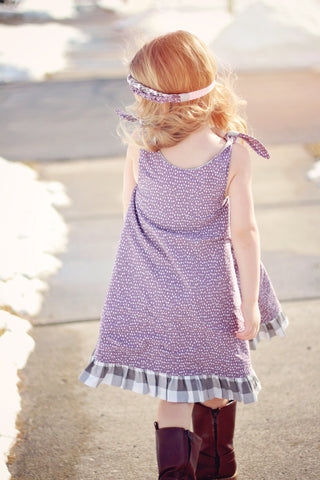

It's hard to decide which side I love better. The feathers are so much fun, but the reverse side is just as gorgeous! You can't beat 2 dresses in 1!
It's inevitable that when sewing you are left with some scraps. I end up putting all of my scraps in a bin and they sit there, for what seems like forever, taunting me to use them, which never seems to happen. Scrap busting questions keep popping up in our FB group, so I knew I needed to come up with a clever way to use my leftovers!
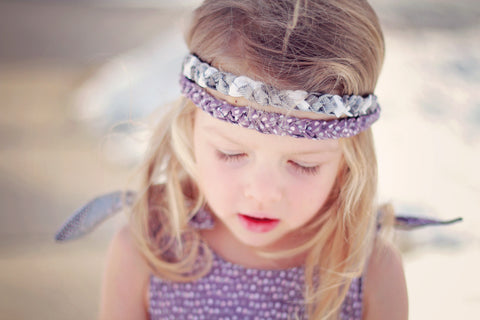
After some brainstorming I had this light bulb moment! If you have seen our beautiful Annie Dress, it boasts lovely braided fabric straps, and I knew these straps would make a beautiful headband!
For this braided headband, you will need the following supplies:
- strips of fabric that average 20-30in in length and are around 1.5in wide. If you don't have strips that are long enough, no worries! You can sew multiple strips of the same fabric or even different fabrics together for a fun look!
- Fold Over Elastic
- 4 inches of 1in wide ribbon or trim
I followed the strap instructions included in the pattern instructions, but if you don't own Annie, here is a quick tutorial on how you can make them yourself!

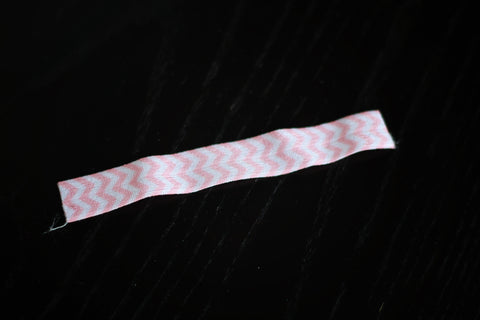
First off, cut your strips of fabric 1.5in x 30in. I cut 6 strips since I wanted to make 2 braids. You will need 3 strips for each braid.

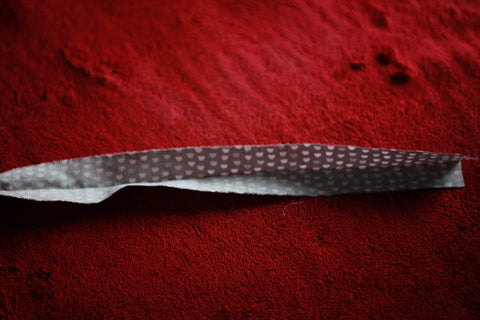

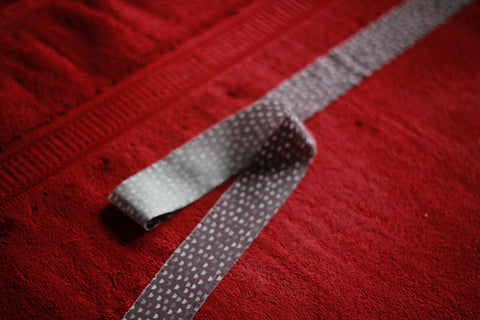
After cutting, you are going to iron each strap in half, wrong sides touching. Open it up and fold the raw edges into the middle and iron.

Next you will fold in half and iron. You are basically making bias tape, except the strips do not need to be cut on the bias. Do this for all of your strips. You should have a pile of pretty folded strips ready to be sewn!
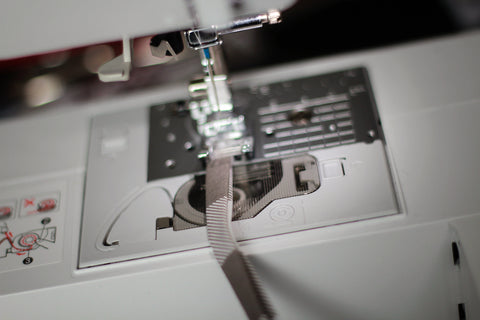
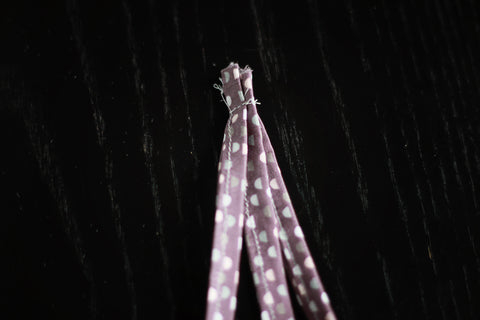
Take your folded strips to your sewing machine and sew down the edge of each strip. Once all your strips are sewn, take 3 of your pieces and place them on top of each other and sew.
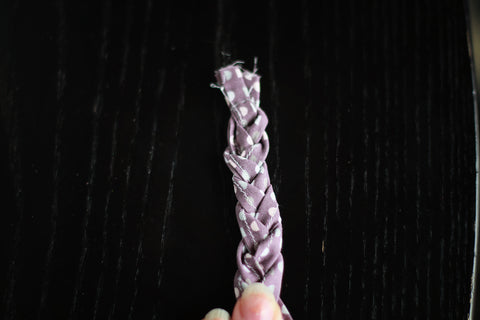

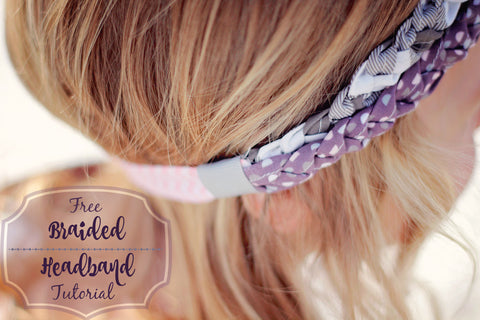
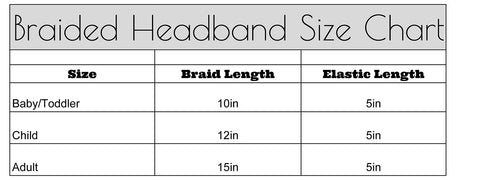
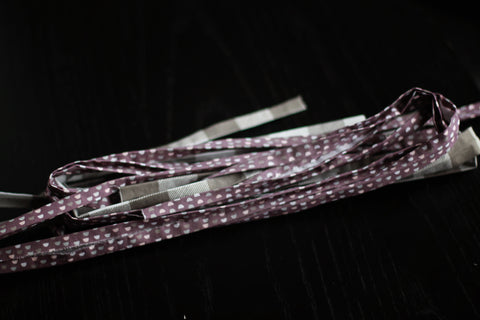
Now it's time to braid! Hold your sewn strips and start braiding, paying attention to not pull your braid too tight and try to keep the backside as flat as you can. I made my braid about 12in long, and then sewed the bottom just like I sewed the top.
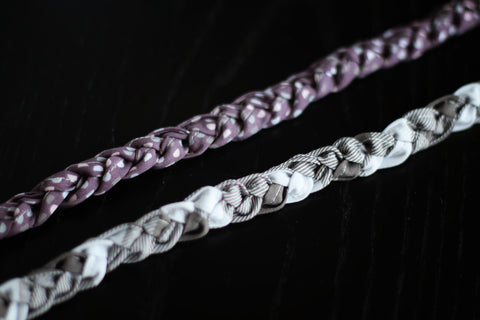
You will do this same process with the rest of your strips. You will end up with 2 gorgeous fabric braids!

Next, grab some folded elastic and cut a 5" piece. Take the ends of your braids and sandwich the elastic in between and sew. Do this for both ends of the braids. Once sewn, your headband is almost done!
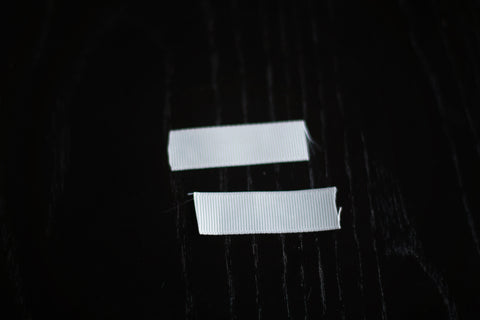
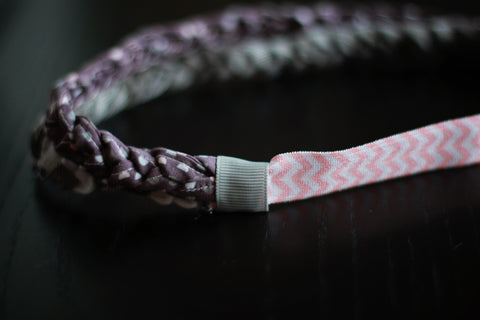
I cut two 2" pieces of ribbon to cover the sewn areas and make it look more finished. Take your hot glue gun and glue your ribbon around the sewn area where the elastic meets the braids. Make sure the ends meet on the wrong side of the headband. If you are using ribbon that frays, you can singe the edges with a match or lighter so that they will not fray.
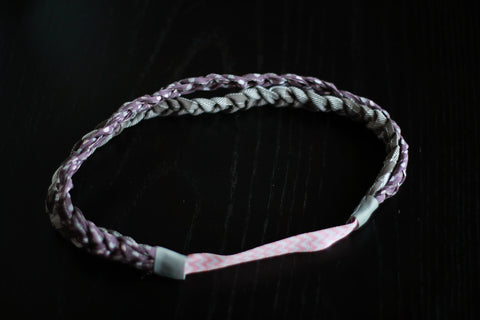
So simple and the finished product is so pretty! The best thing is that this headband is stretchy so it is forgiving and will fit your little lady for a long time!
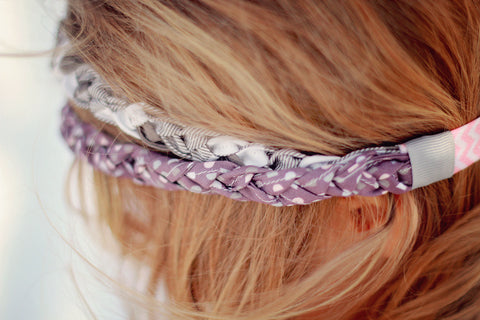
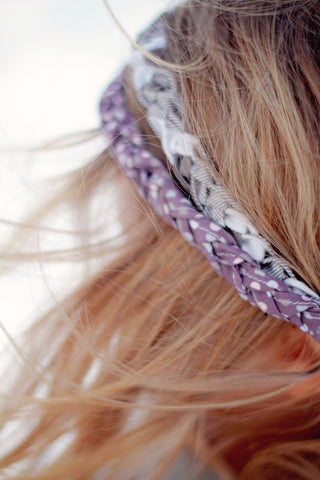
I ADORE the look of this headband and so does she! She loves how comfortable it is and I love the vintage vibe it gives! It's the perfect accessory for any outfit!
A special thanks to Hawthorne Threads for providing the gorgeous fabrics used in this post. Make sure to tag us on FB, Twitter, and Instagram with your beautiful braided headbands and VFT creations!
Thank you so much for the tutorial! I have a bunch of fabric strips that are perfect for this and I am fixing to go to town making up some headbands for myself and my daughter!
I will be trying this headband for my granddaughters. Thanks you make everything so simple with your tutorials.
Omg, I have been looking for the perfect headband for myself. And here I have found it!
Thankyou heaps for this wonderful tutorial.
Easy to follow!
Thank you for this lovely hair band tutorial
can’t wait to try it x
Thank you for your free tutorials. My granddaughter is going to love making these for herself and her friends.
Leave a comment