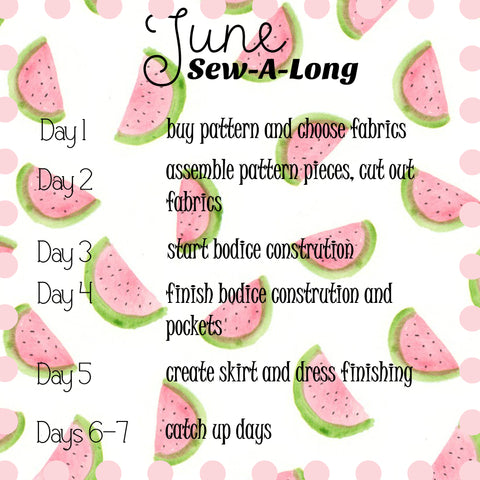
June Sew-A-Long {Day 3}

The sun is shining, the birds are singing, and it's the perfect day to sew! With a heat wave here in Michigan, temps are in the 90's and this pregnant Mama is staying indoors! After 2 days we are {finally} ready to start sewing! It's day 3 ladies, can you believe how fast this SAL is flying by?!?!? It's time to get sewing so lets head over to our machines!

First things first, {COFFEE}!!!! Yes, you heard me right. I don't sleep much these days, so for this SAL to function properly, I need a little morning fuel! Grab whatever your sewing vice is, and your fabrics, because here we go!
We are going to start with the ties. If you are using ribbon, lace trim, hold tight. If you are using fabric, take one of your ties and fold it in half, right sides touching, matching up the raw edges. Sew along one short side and the long raw edge side. Repeat for the remaining tie. Once both are sewn, trim your SA and clip your corners. Turn both ties right side out. I like to use my handy dandy tube turners here!! Makes turning tubes so much easier!


Now, take your main bodice fabrics, both front and backs, and place right sides together, matching up the shoulder seams. Sew together, trim SA, and iron seams open flat. You've now got the start of your bodice!

Follow the same steps for the lining fabrics! You will end up with 2 bodices, main and lining fabrics. This is the time to add in your bodice embellishments if you so choose. Remember that gorgeous lace I posted a few days ago?? I decided that it covered way too much of the bodice and I wasn't happy with the look, so no embellishments for me this time! Go ahead and add yours in now!


Grab your ties, ribbon, lace, or whatever you are using for your ties and place on the back bodice. The ties are going to be placed on the short straight edge that is between the neckline and the angled back edge. Center your ties on both straight edges and baste in place.

Now it's time to sew our main and lining fabrics together. Place the bodices, right sides together and pin starting at the notch on one side of the back bodice, up and around the neckline, and back down the other side to the second notch. Pin around both armholes. When you are pinning, be very cautious that your ties are out of the way. I like to accordion fold my ties and pin them to the bodice to ensure they don't get caught when I'm sewing.


Sew together along the pinned areas. Once you are done, trim your SA and clip the curves and corners. I like to use my pinking shears here. Makes life so much easier!


Turn your bodice right side out now. This can be a little tricky, but don't give up! I promise you will be able to turn it, just take your time! Once it's turned, iron, but {DO NOT} top stitch!!

Remember where we stopped sewing on the bodice at the notches? Now we are going to iron the SA below the notches in 1/2in. Do this on both sides, for both the main and lining fabrics.


It's now time to step back and marvel at your gorgeous June bodice!! We are done with Day 3, so grab your camera and snap a photo. Make sure to add it into the Day 3 Album!
If you are just joining us now or need to catch up, you can find the links here: Day 1, Day 2. Check back in tomorrow. We will be working on finishing our bodices and starting on our pockets!
Leave a comment