Pearl {Sew-a-Long} Day 2
 Hello Lovelies! It's Day 2 of our Pearl Sew-a-Long! Today we are going to actually get a little bit of sewing done! Woo Hoo! Who's ready to dust off those machines and get to work?

First things first (I'm the realest! I can't help but sing that song every time I say that! Sorry guys) get your pattern printed and put together! How you do that is up to you. I used a glue stick, because one of my fabulous children used every smidge of tape I had left. I may have scoured every room in my home searching for tape for 30min and finally gave up. So, glue it is! Regardless, get that pattern pieced together and then cut your fabrics out.

Anyone else love a freshly cut stack of pattern pieces?!?! No??? Just me?!?!?! Obviously it doesn't take much to make me happy these days! hahaha My freshly cut pattern stack is ready to be cut, so let's head over to our machines!
If you are doing the sweet flutter sleeve, it's time for you to get to work! It's super simple to get these put together. Take one main and one lining fabric and pin together. Sew along the top curved edge, trim the seam allowance (SA), turn right sides out, iron and topstitch! Do this for both flutters!
Now add 1-2 rows of gathering stitches along the non-sewn edge and gather your flutters to 1/2 of the original length!
Let's get started on our bodices now. You are going to place your main bodice fabrics right sides together(RST) and sew at the shoulders, using a 1/2in SA. Do this for your main and lining fabrics.

Iron your SA open on both bodices. This helps your seams not bulk up and lay properly! If you are looking to embellish your bodice, do this now! Just remember, if you are making this reversible, one side will be touching the skin, so just be mindful of buttons etc!
If you are using the tie back, it's time to add those in now. I am using the button back option this time around, so I am skipping this step on mine! For those tie back Pearls, lay your ties out on the back bodice pieces and use a basting stitch to secure.


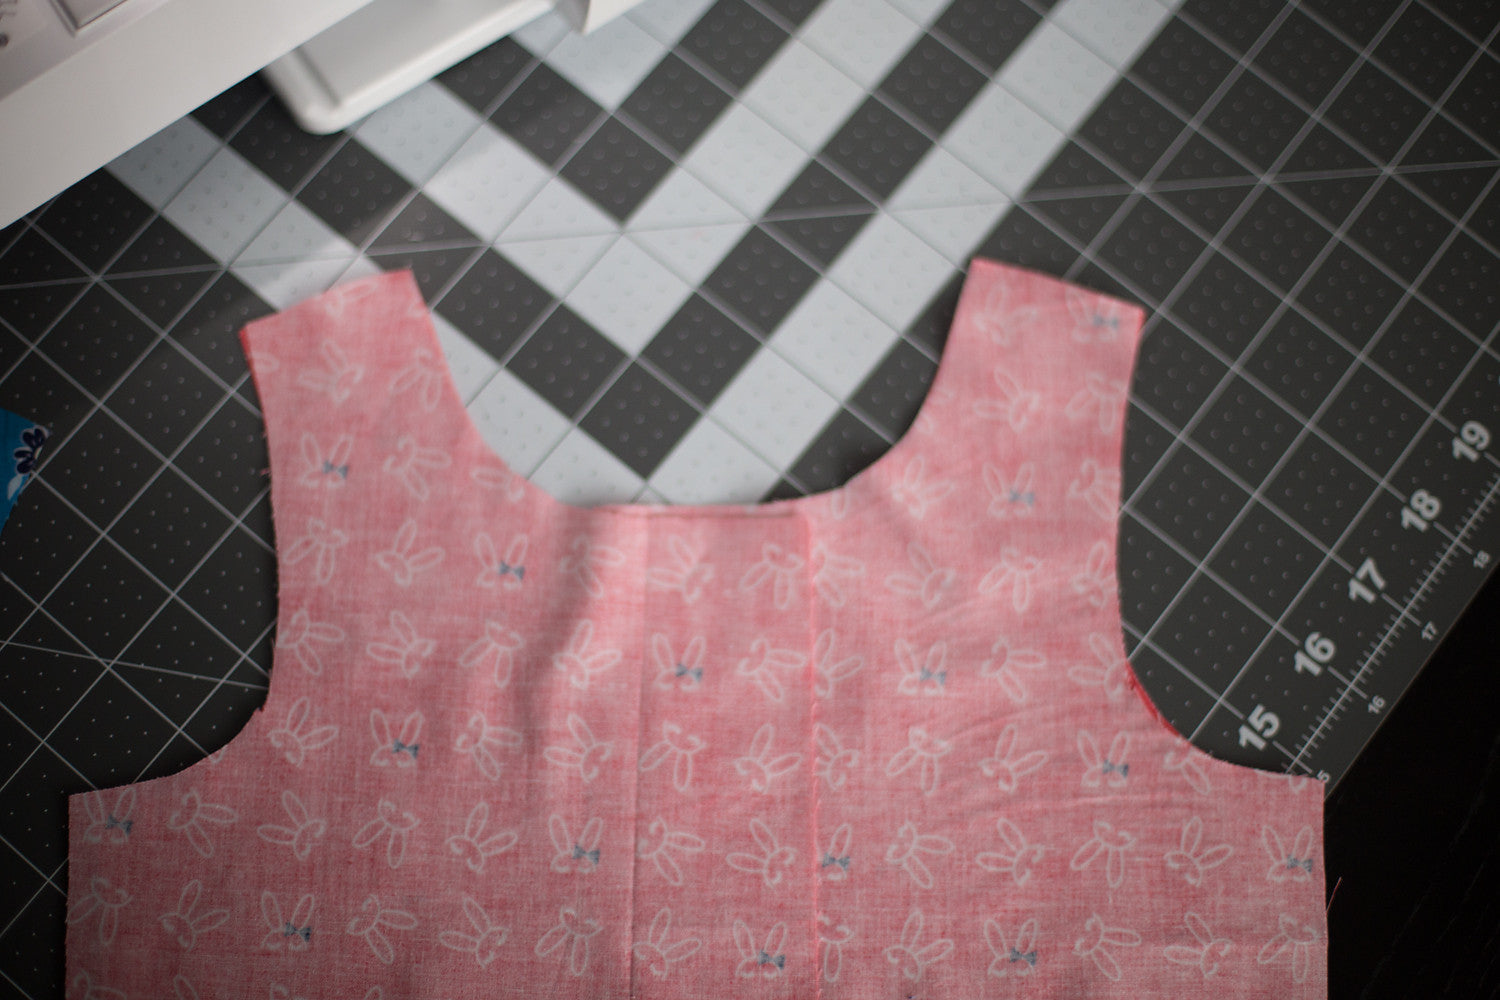
My Pearl is sleeveless, and if you are doing a sleeveless version, follow along with me! You are going to pin up the back, around the neck, and back down the other side. On both back pieces, keep 1/2in OPEN at the bottom!! Sew along where you have pinned. You will also pin and sew along the armholes.


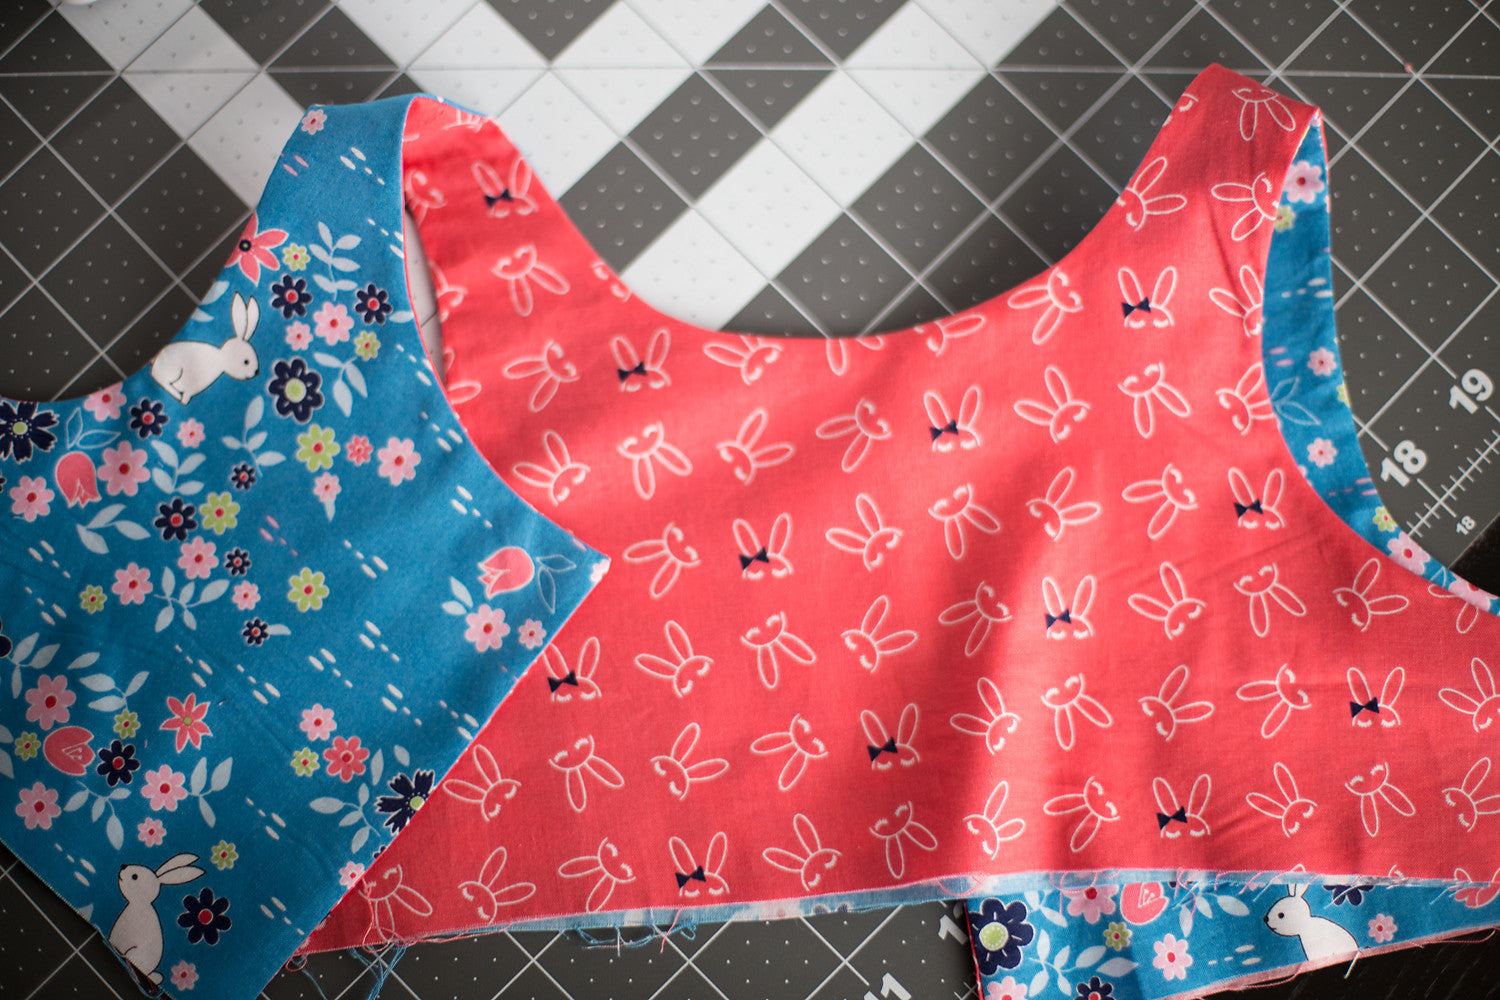
Trim all your SA, but do not trim the 1/2in at the bottom of each back bodice piece! Then turn right side out and head over to your iron to get those seams looking nice!!
If you chose the flutters, you will pin your flutters to your bodice and baste them on. Then sandwich your flutters between your bodices, laying the reverse bodice on top, right sides together. Sew along both armholes but do not trim the SA.

Lift the main bodice away from the flutter and roll the flutter sleeve back and secure with a pin. This is so it does not get caught while you sew the neckline. Pin along the back middle, around the neck, and back down the other side, just as I stated in the above directions! Trim your SA, turn your bodice and iron!

Day 2 is complete and we have an almost complete bodice! YAY!!! Tomorrow we will finish our bodices! Make sure to take your photo for today and add it to the Day 2 album. If you missed Day 1, you can find it here. See you all back here tomorrow!
Leave a comment