The Clara {Sew-a-Long} Day3
 It's Wednesday, which means we are halfway through out sew-a-long week. Wednesdays can be rough, especially for me, as a mom of 4 who works from home and has a million and one after school activities, obligations, and duties! It's exhausting, so let's all take a collective "sigh of relief" when I tell you that today is EASY PEASY! Seriously, if you aren't making ruffles, 5 min and you will be ready to kick your feet up and relax!! If you are making ruffles, well, tack on another few minutes.
When I am prepping for sewing, I let me daughter help pick out what details her outfit will have. Clara is one of her favorite patterns, she has about 12 million {seriously, we big puffy heart love this pattern}, but because of that, she told me absolutely NO RUFFLES! So I am sitting out this portion of the pattern, but all you rufflers, it's time to get started!
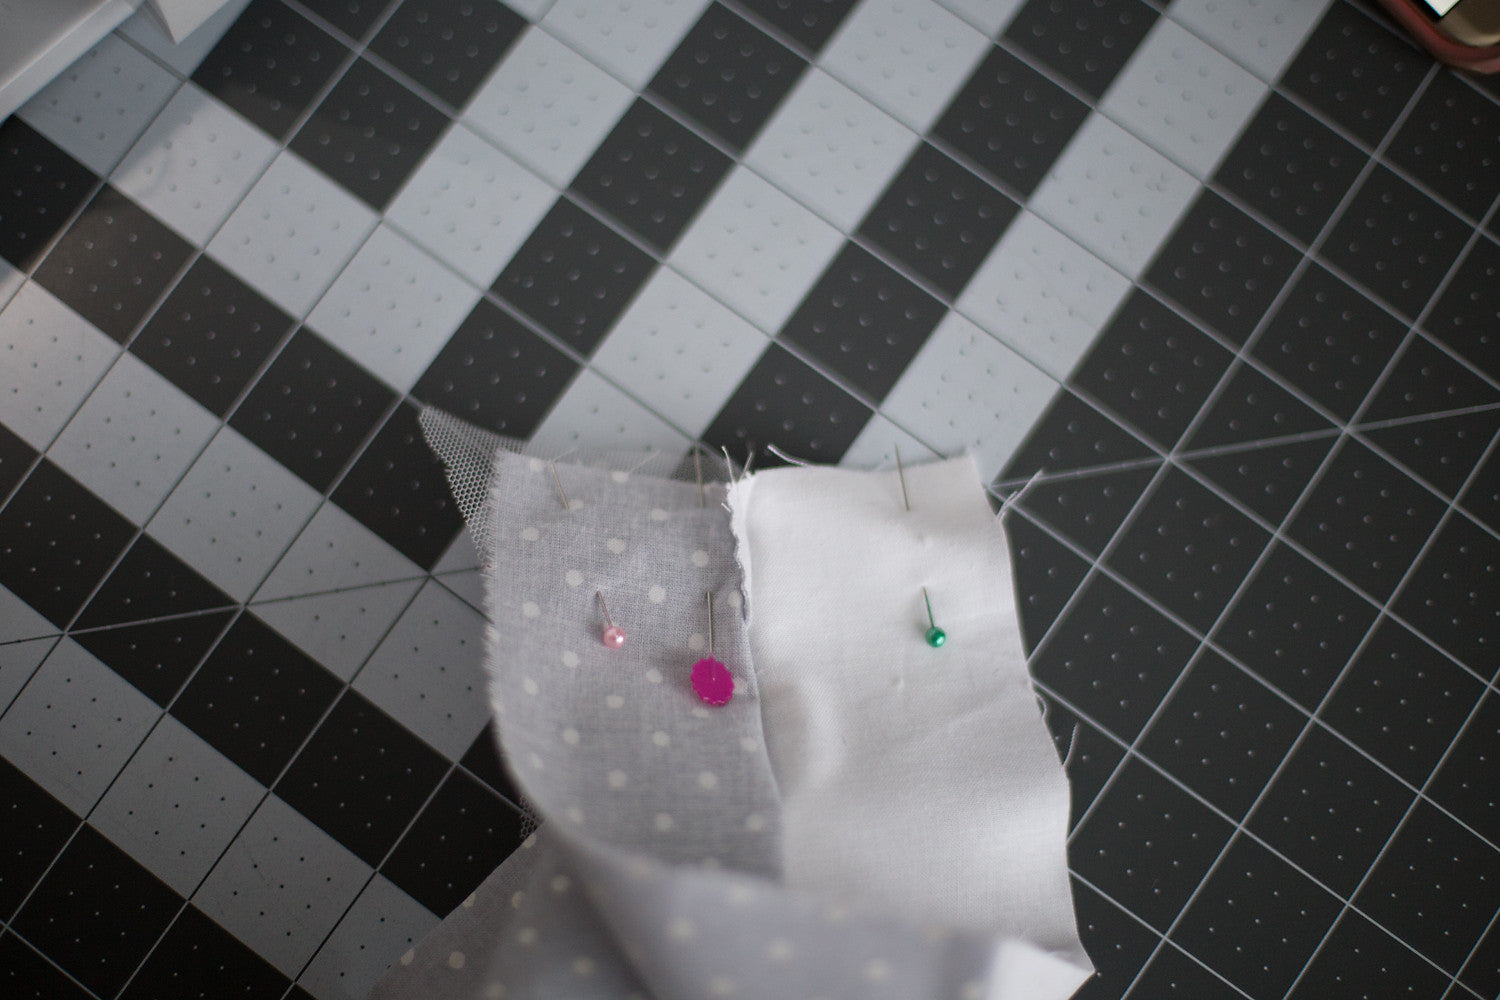
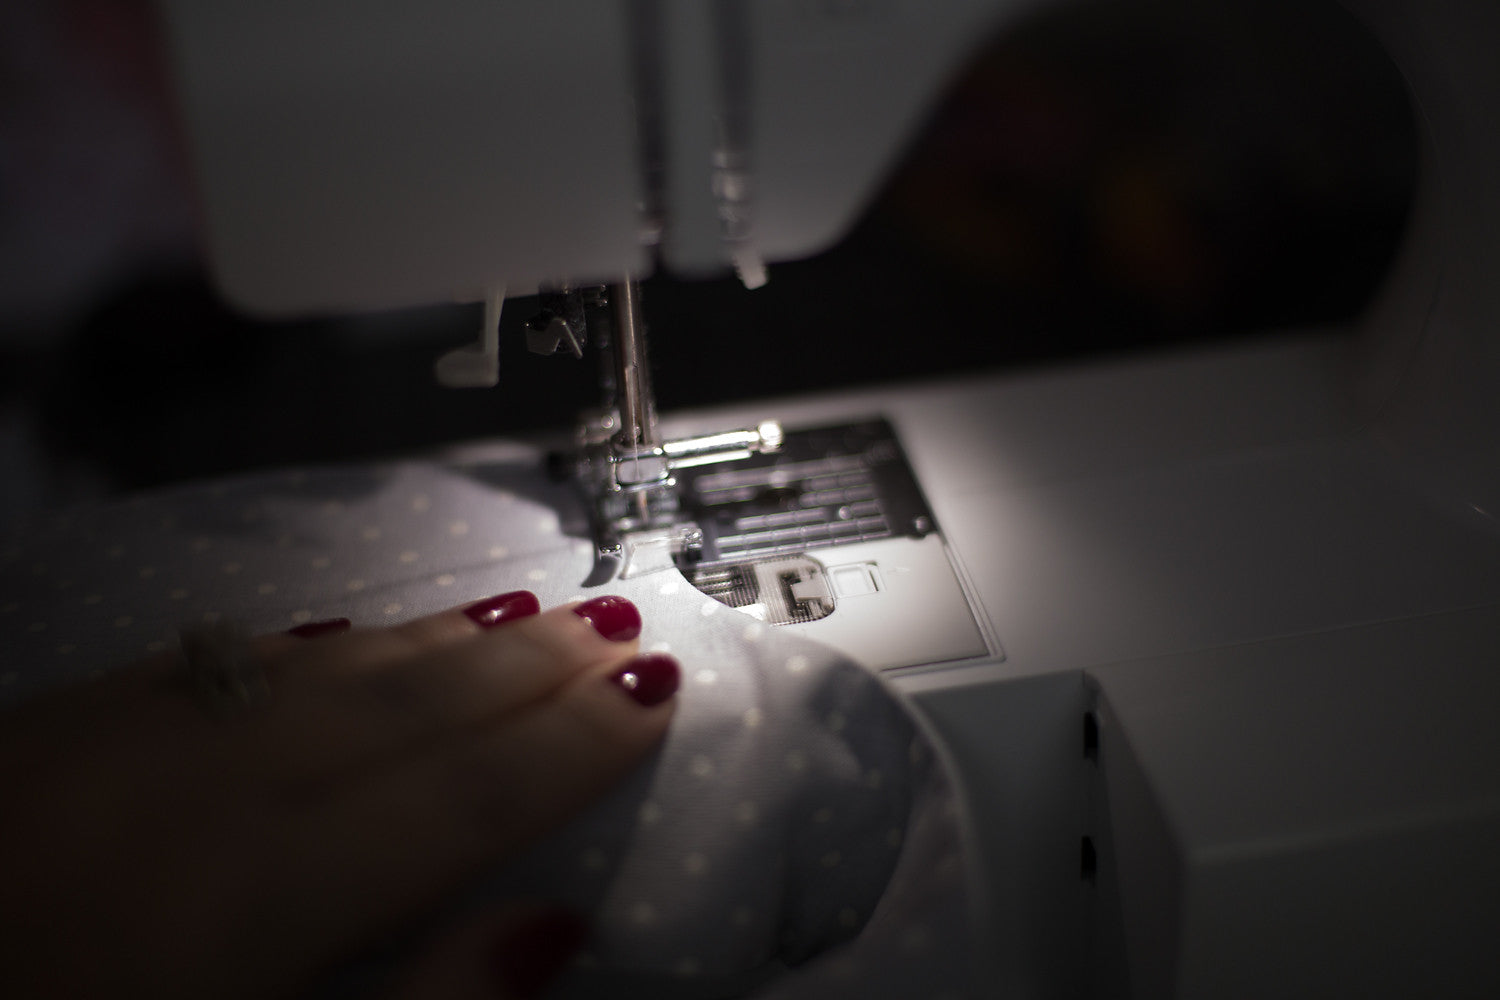
Grab your ruffle pieces and hem the long each of each one. You can do a small hem or even a rolled hem! The choice is yours. Once that is done serge the top raw edge to prevent fraying. Take your top edge you just serged and run a gathering stitch 1/2in from the serged end and side and gather each ruffle to 1/2 it's original size. Now grab your bodice and a ruler. Measure 1/2" from the shoulder seam and draw a line down the front and back of the bodice. Take a ruffle and pin it directly on the chalk line, right sides together. Make sure the gathering line is on the chalk line, and sew right over the gathering stitch. Flip the ruffle over, iron flat, and topstitch with a 1/8" SA.
For the second ruffle, measure over from the edge of the sewn ruffle 1/2" and make a line from the front to the back of the bodice. Place ruffle on line with gathering stitches on the drawn line. Sew it down, flip and iron, then topstitch. Repeat this process of the other 2 ruffles on the other side.
For those who didn't sew bodice ruffles, are you ready to sew?? It's your turn! If you are adding in sleeves you can follow along with me {OR} you can open up your sleeve pattern and follow those instructions! Totally up to you! I like to add my sleeves in the round sometimes, so will will talk about that tomorrow!
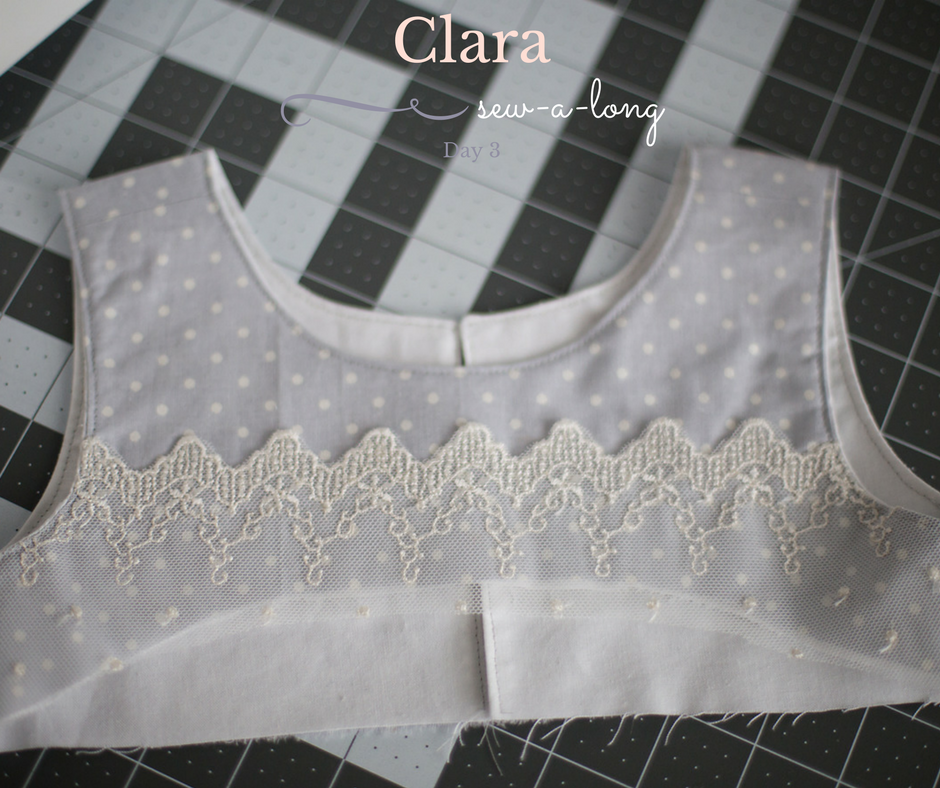
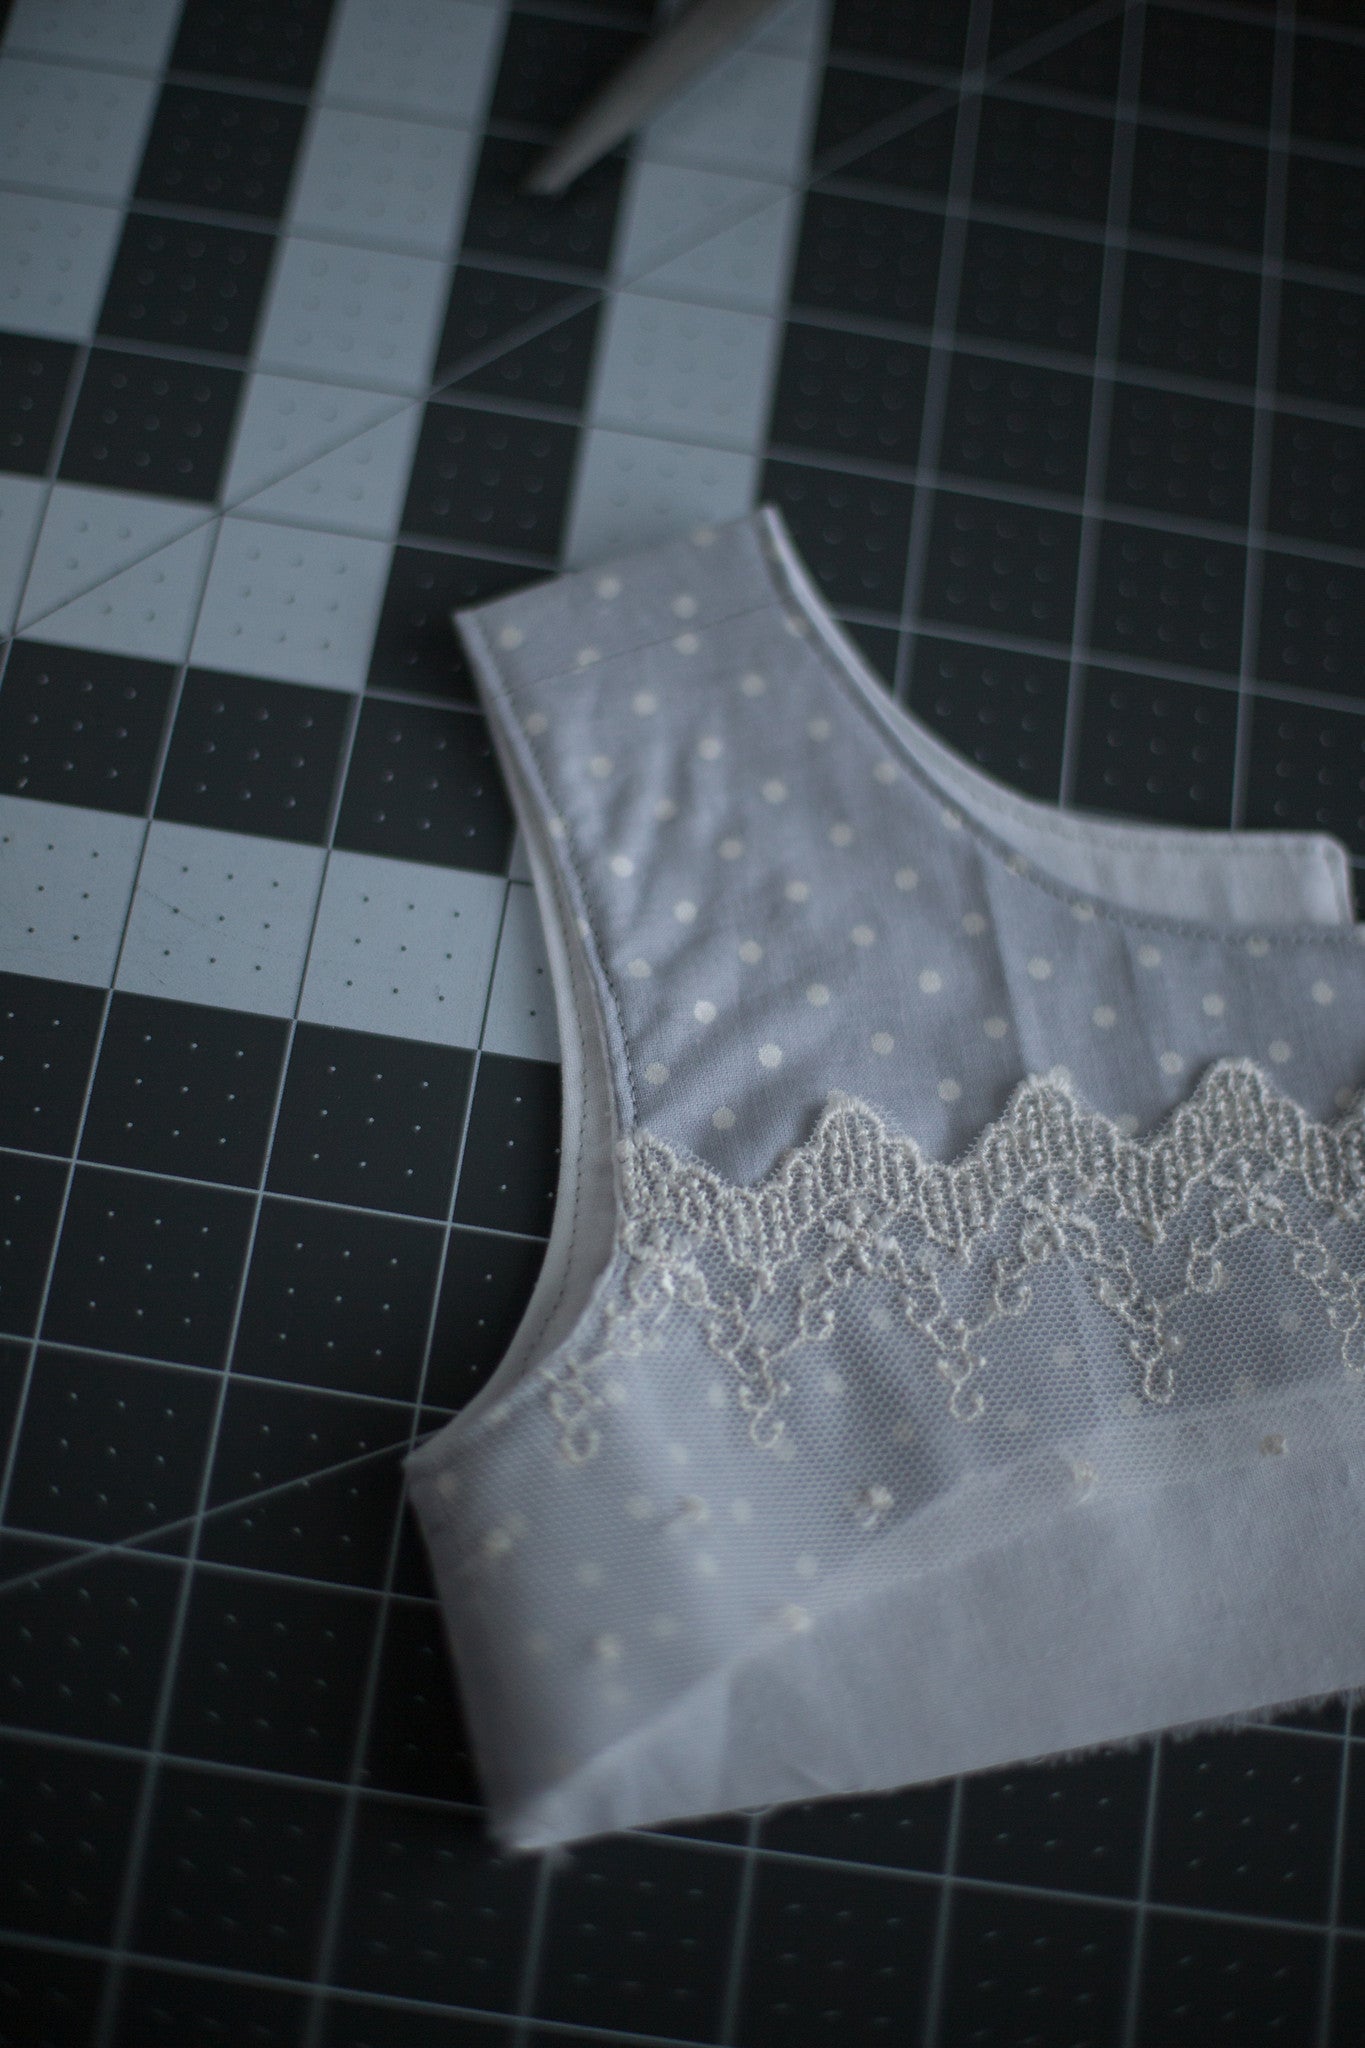
Grab your bodice and and open up the main and lining fabrics, matching the armhole, right sides together. Pin and sew with an 1/2in SA.

Trim your seams and fold the bodice back right sides out. VIOLA! A lovely armhole! Repeat these steps for the other side, then take over and iron both seams flat. If you have more bodice embellishing to do or you just plain didn't want to do it yesterday, now's the time to do it!
Last thing I want you to do today is topstitch! I'm going to let you in on a little secret, I often do not topstitch. I know, the horror! But seriously, I am sometimes lucky even get time to sew, so topstitching is a luxury these days!
That is it for today! If you were like me, your sewing only took 5 minutes, and that is exactly what you needed on this rather dreary freezing cold Wednesday (at least where I am at}. If you did ruffles, well, yours took a little more time, but it was still a rather quick day and totally worth it! Perfect for hump day!
Day 1 and Day 2 are available if you are just joining us. And don't forget to add in a day 3 photo to the FB album! Tomorrow I'm going to talk about adding sleeves in the round and we begin constructing our skirt. See you all tomorrow!
I just LOVE your patterns!
Leave a comment