Blog
{Monday Feature} with Riley Blake Designs
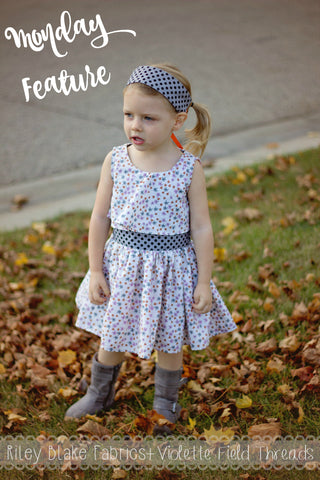
Happy Monday! It's has been a busy season here at Violette Field Threads. The fall releases are continuing this week and the newest one is a fast favorite! As an active mom of three, fitting in time to sew is a luxury and when I do sew, it needs to be something really special. I love choosing gorgeous fabrics as much as finding the perfect pattern and all the amazing fabrics from Riley Blake Designs will have you swooning!
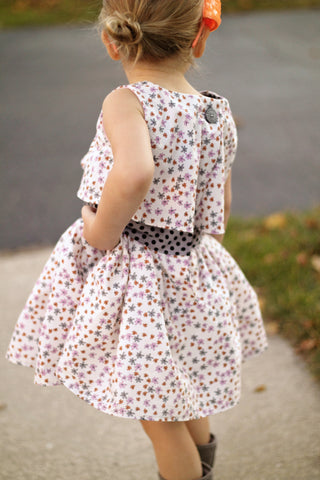
The newest dress pattern, Genevieve, is one you will definitely need to sew up. Genevieve is the debut release by Alexis Wright and it is stunning!! I don't know about you, but my most loved patterns tend to be the ones that have lots and lots of options, and Genevieve certainly fits the bill!

Genevieve is set to release tomorrow {Tuesday} and the pattern is sized 2T-10 years. Genevieve features a lovely flounced front and back bodice, sleeveless or glamorous elbow length sleeves, bubble, straight or vintage length skirts, and pockets!! Talk about options!!
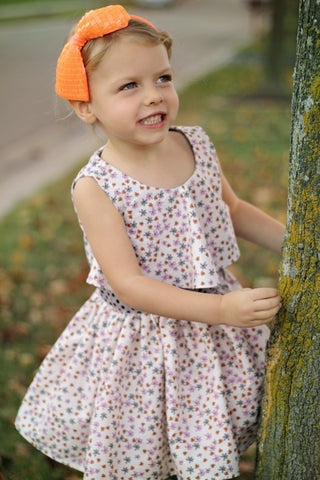
What I adore the most about this pattern is how versatile it is for different occasions. You could use special occasion fabrics and create something very special or you could use lovely cottons for a fun everyday look.
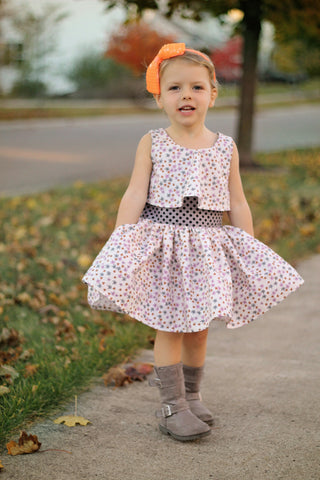
When I saw this pattern, I knew immediately what fabrics I wanted to use! The Zombie Love line from Emily Taylor for Riley Blake was perfect. I adore the Floral Cream fabric. The colors were perfect for fall and I love the subtle floral pattern.
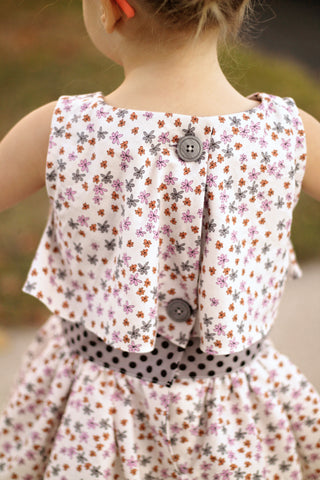
I knew I needed a fantastic coordinate, and the small tone on tone dots fit the bill. Grey is my favorite color, and I knew the little lady wouldn't mind as long as she had something girly too!
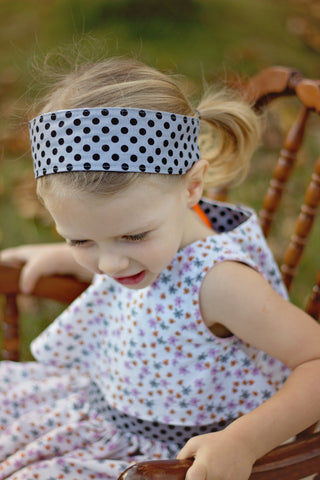
These fabrics are such a dream to sew with, I didn't want to stop at just the dress. And every little lady needs an accessory.

I thought about what my daughter uses the most, and I realized that hair accessories are the way to go for her. I decided to sew up a super simple headband. And when I say super simple, I mean it!
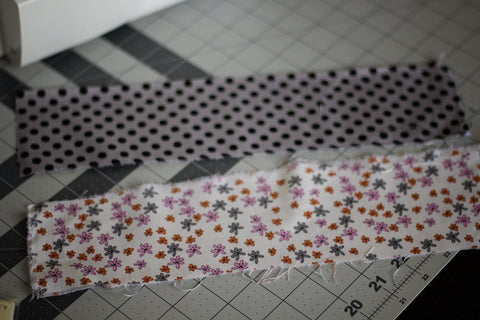
I cut 2 strips of fabric, 3"x13" in coordinating fabrics.
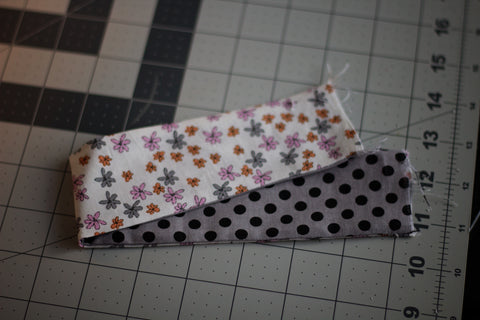
I placed the fabrics, right sides together, and sewed both long edges with a 1/2" SA, leaving both shorts ends opened. After sewing I trimmed 1/2 the SA and turned right sides out and ironed.
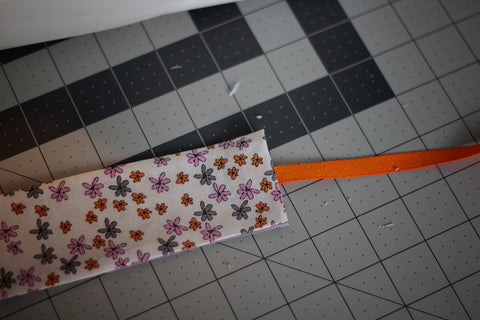
I folded in the short edges 1/2" and ironed. I then cut 2 10" pieces of ribbon, and placed 1 inside each short end and pinned. You could easily add elastic instead of ribbon! topstitch around the entire headband. That's it! It took about 5 min and is so simple and easy.
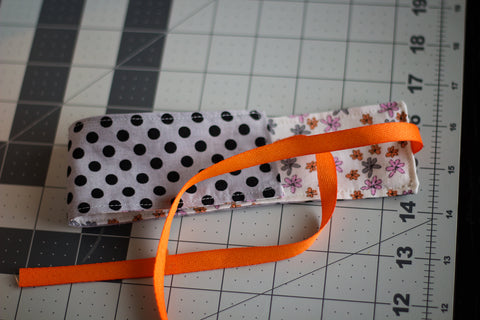
It really is a great way to accessorize any outfit. I love that it is reversible! My little lady has refused to take it off since I made it for her! Looks like I will be making many more of these!
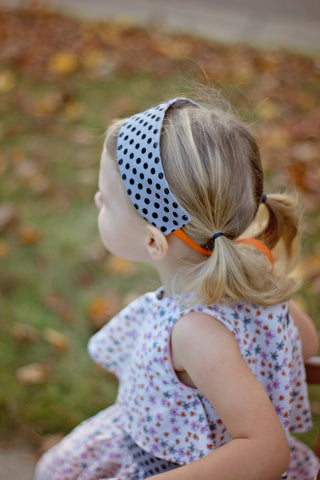
I really enjoy sewing with Riley Blake Fabrics! The fabrics wash beautifully and are so incredibly soft, it's no wonder my daughter tends to love her dresses made with these fabrics the most.
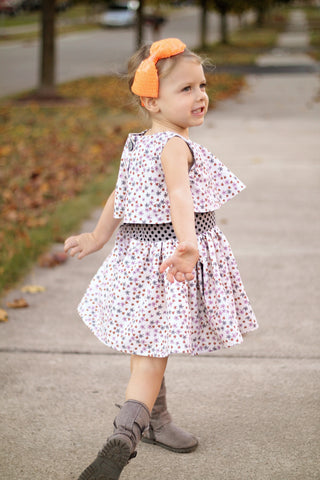
Check back on Tuesday for the release of the newest VFT pattern, Genevieve. Until then, take a look at our current gorgeous line of up girls dress patterns in the shop!
Clara+Adelaide Sew-A-Long {Day 5}
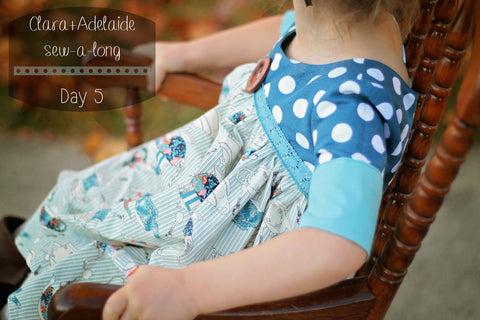
We are nearing the end my friends! Today we are going to finish up this amazing mash-up. Seriously, Clara+Adelaide is a match made in heaven!
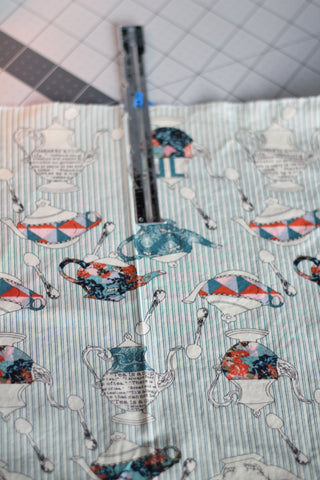
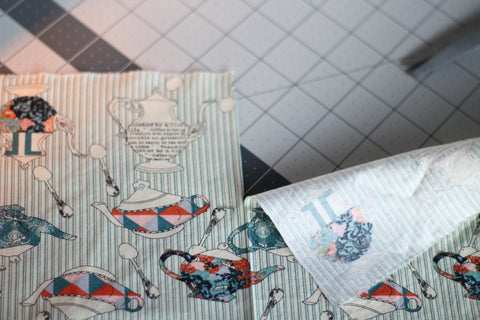
Yesterday we hemmed our skirt. Grab that skirt piece and match up the side seams. We are going to find the middle point of the skirt back, so decide which will be your back piece, and mark the middle with a pin, a chalk line, or iron that fold! Open your skirt back up with your middle marking on top. Now take a ruler and measure 3 1/2" down from the top of the skirt and mark right along where you found the middle back. Cut straight down your marking. This is where our skirt placket will be.
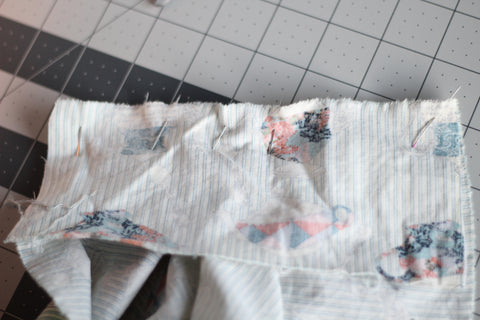
Take your skirt placket piece and place it with it's right side touching the wrong side of the skirt. You are going to open that skirt piece where you cut as flat as possible. Pin and sew together using a 1/8" SA. You are going to get a little pucker in the middle. Don't worry about that, it will be hidden after a few steps!
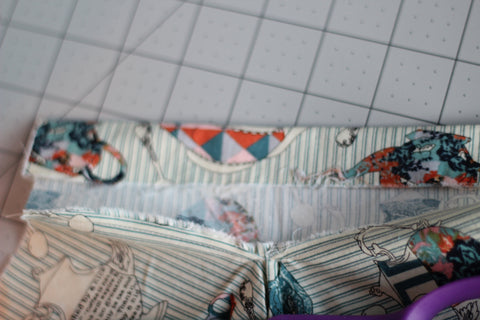
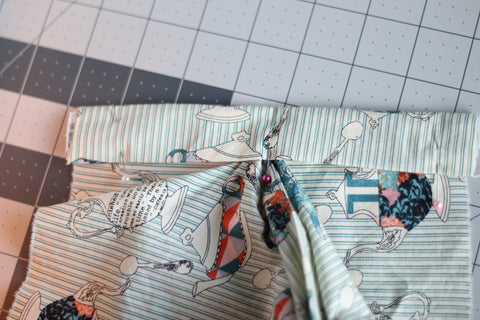
Iron the SA up, then fold the raw edge of the placket down 1". Fold again, this time using 1 1/8". It will cover that SA we sewed. Pin and sew right on the fold.
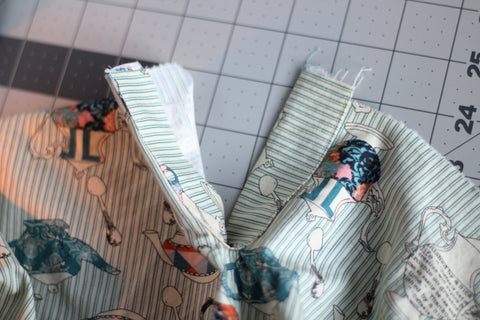
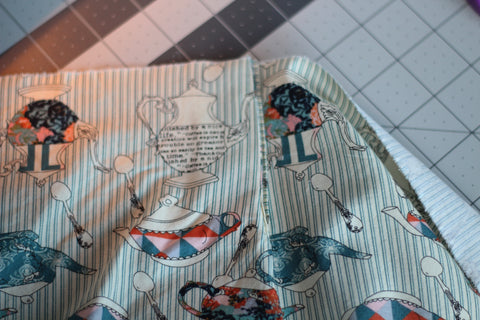
The skirt back is now enclosed. Take your skirt to your iron and get to work. With your skirt in front of you, take the left side of the placket and fold it under. The right side will stay out. IRON IRON IRON! And trim off any pieces at the top so the raw edges are even.

Sew two rows of gathering stitches at the top of the skirt. Make sure you do not gather the placket. Gather your skirt to the width of the bodice and pin, matching skirt and bodice side seams, and bodice and skirt back edges.
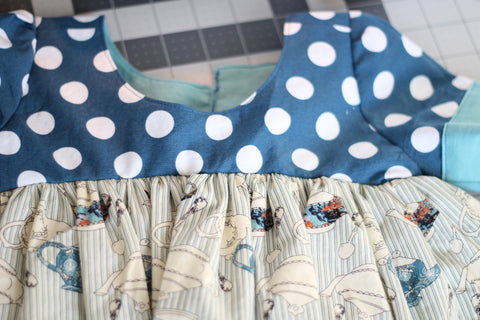
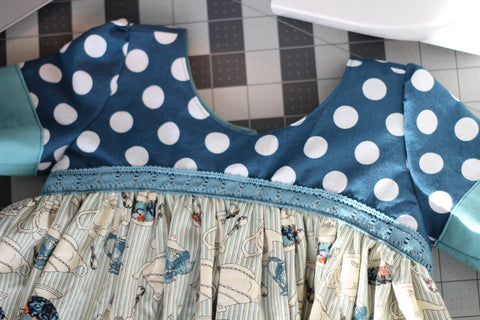
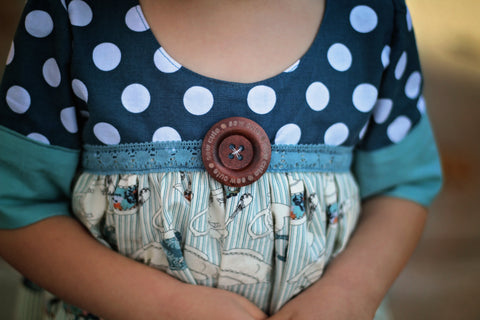
Sew the skirt to the bodice with a 1/2" SA. Finish the raw edges and flip the bodice up. Iron the SA up and topstitch, or add lace/trim of you want to be like me ;) Look at that beauty! We are almost done!

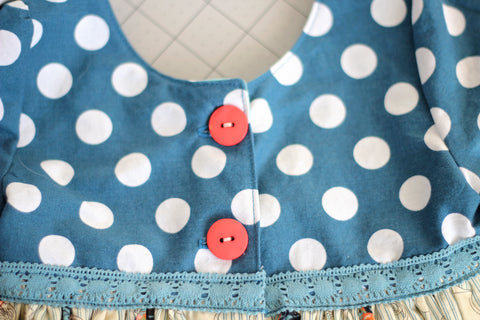
Time for buttonholes. Another least favorite part of mine. Sew those buttonholes onto your bodice, and on the opposite side sew on your buttons.
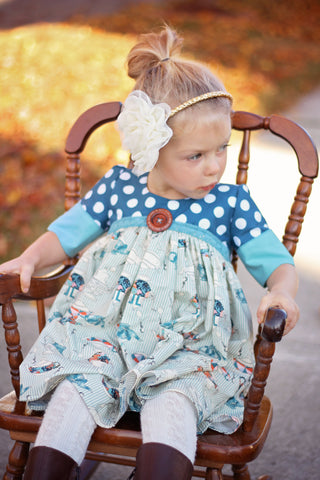
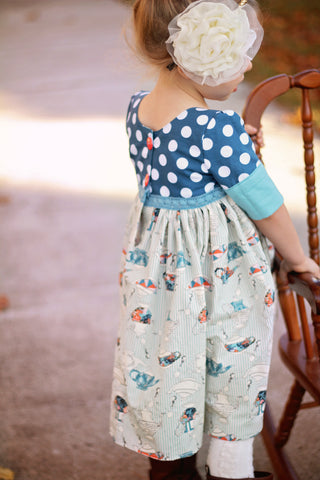
And there you have it! Clara+Addelaide. I told you it wasn't difficult! Now it's time for photos! I want to see all those gorgeous finished tops and dresses over in the FB group, so share away!
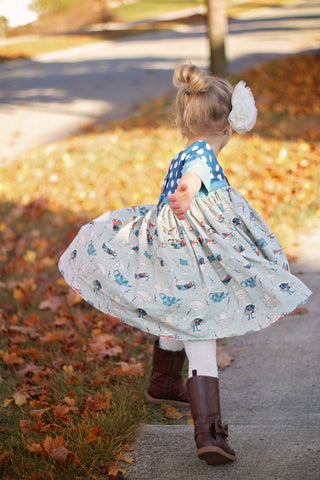
And because I am kind {hehehe} I am giving you the entire weekend to finish, because if you are anything like me your Friday night is probably packed with loads of Netflix shows that need to be caught up on, even though you will fall asleep 10 minutes after you turn said show on.
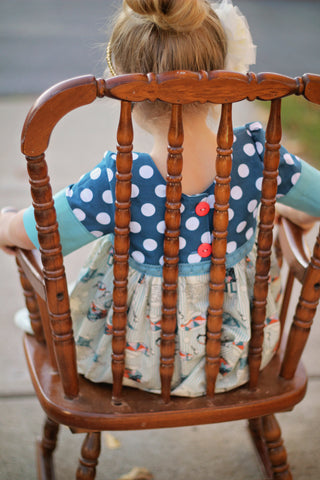
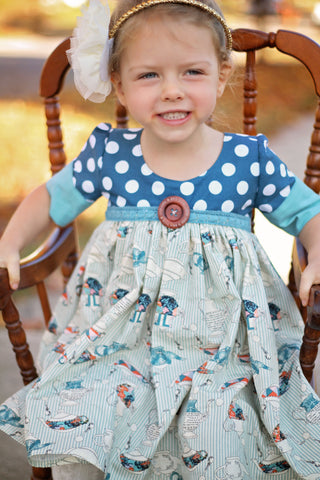
Monday I will be choosing a winner for our sew-a-long, so make sure your daily photos are in the albums!! If you missed the previous posts and need to catch up, you can find them here: Day 1, Day 2, Day 3, Day 4.
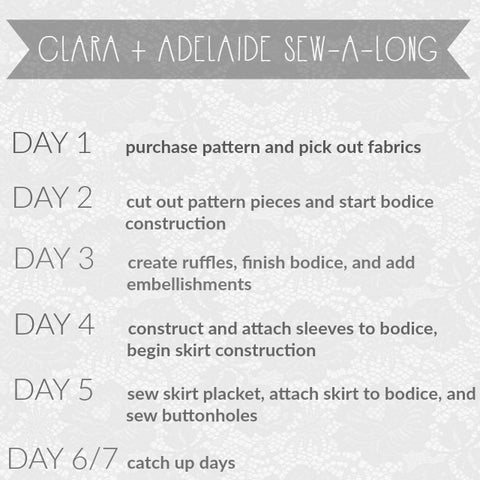
Sneak Peek: Genevieve by Alexis
Happy Friday All! This morning, one of our designers, Alexis Wright, will be taking over the VFT blog for a sneak peek of her gorgeous new design coming out this Tuesday, October 27. So without further adieu:
Hello Ladies!
Alexis here taking over the VFT blog for just a bit so I can share with you a little bit about my new pattern coming out, Genevieve.
Today will be just a small peek but over the next few days you will see many more photos from the amazing testers. Wow, they hit it out of the park!!

First off let me talk about inspiration. Where do you find your inspiration? Sometimes it comes from nature, it can come from the runway or designs from the past or just simply a trend you see at your favorite store. For Genevieve, my inspiration started off with an adorable dress from one of my favorite shops, Zara (of course I had to buy it for my daughter). I also had another design in my head that featured a flounce sleeve. That design of a cropped top dress and flounce sleeve morphed into a dress that was both modern and vintage at the same time. The first time I saw it on, well one I cried, but I also was happily surprised to see a Jackie O influence. She is one of the largest fashion icons and many of her styles have influenced modern clothing.
Can you get a feel for what this pattern will look like??
Release date is set for Tuesday so make sure you check back then for all the details on what Genevieve has to offer!
I can’t leave you without giving you another sneak peek...
Thank you and I will see you back here on Tuesday, for a full blog post FULL of gorgeous detailed pictures of my Genevieve!!
-Alexis
Clara+Adelaide Sew-A-Long {Day 4}

Hello my lovelies! Today is day 4 of our sew-a-long. Can you believe we are almost done?? Today we are going to focus on the sleeves. This is where our mash-up comes into play. Since Clara does not have any sleeves, we had to find a pattern that would work with the Clara bodice, and Adelaide fits the bill! With the slightly gathered sleeve and similar armscye, the sleeve works perfectly!
Grab your sleeves and your cuffs, if you are using them. The first thing I like to do is take my sleeve, fold it in half and iron. This gives me the middle point of my sleeve for when I need to fit it into the armhole.
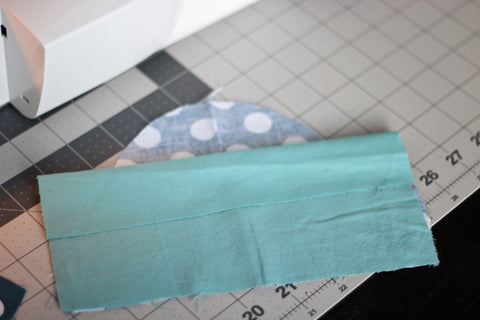
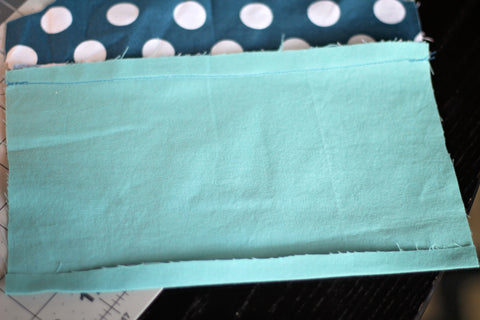
If you are doing the cap sleeve, you will join us in a few steps. For those of you sewing the cuff, place the right side of the cuff to the wrong side of the sleeve and sew using a 1/2" SA. Iron the SA up and iron the bottom of the cuff up 1/2".
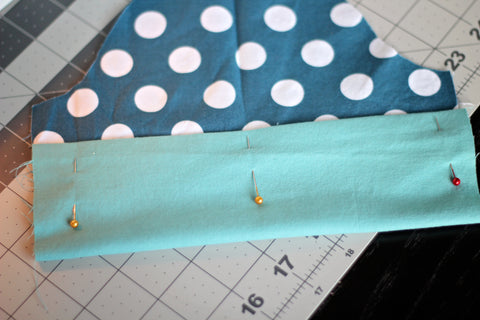
Now you are going fold the bottom of the cuff up to cover the SA. Pin and topstitch. If you are sewing the cap sleeve version, iron the bottom edge of your sleeve 1/4" and then another 1/4" and hem.
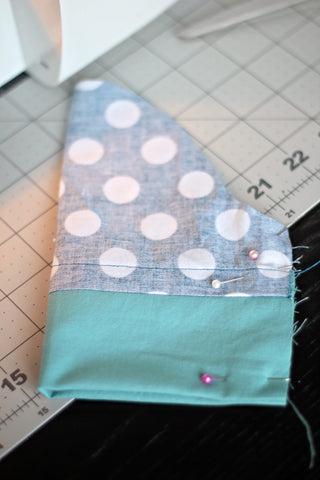
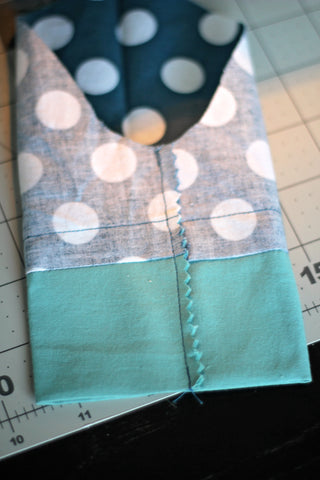
For both sleeve versions, fold your sleeve in half with right sides touching and pin along the side. Sew with a 1/2" SA. Trim 1/2 off and serge or zigzag edge. Iron this seam flat.
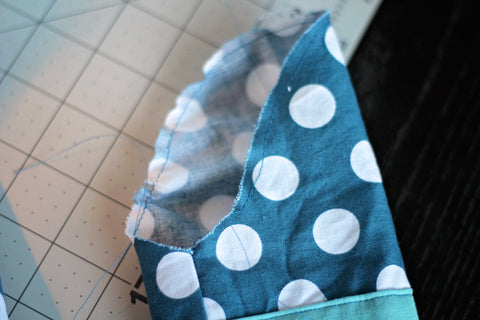
Sew a gathering stitch along the top edge of the sleeve, leaving 2" on each side un-gathered.
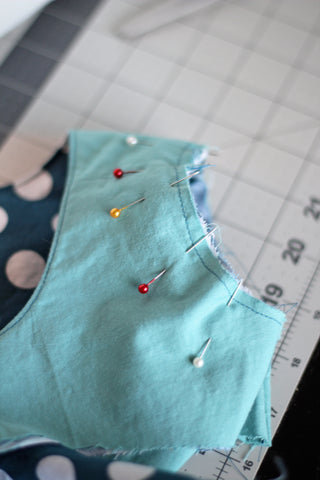
Place your sleeve inside the armhole, with the right side of the sleeve touching the right side of the bodice. Match the side seam of the bodice to the armhole seam. If you made your mark earlier at the top of the sleeve, you can match the middle of the sleeve to the shoulder seam.
Pull your gathering stitch slightly and fit the sleeve into the armhole. I like to place my gathers at the top middle of the sleeve. Sew sleeve with a 1/2" SA. Trim off 1/2 of the SA and finish with a zigzag or serger and iron the seam flat.
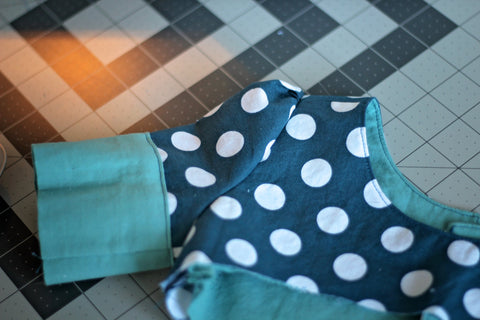
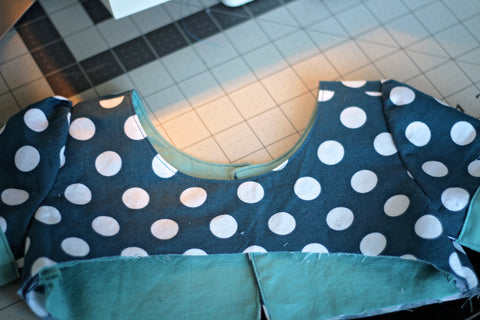
Complete this entire process for the other sleeve. You will now have a gorgeous bodice that is ready to go! Now it's time for the skirt.
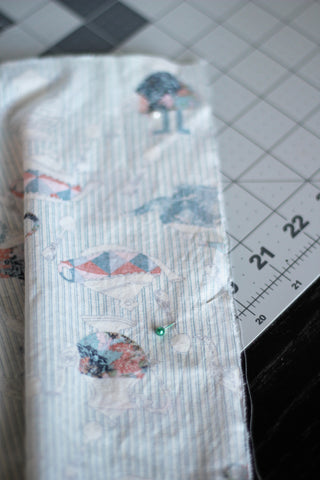
Grab your skirt pieces and match the short ends together. Sew both sides with a 1/2" SA, trim and finish edges. Hem the bottom of your skirt by ironing up 1/4" and another 1/4". Take over to your machine and sew.
Whew! We are done with day 4! If you need to catch up, take a look at Day 1, Day 2, and Day 3! Meet me back here tomorrow and we will be finishing up our garments!
Clara+Adelaide Sew-A-Long {Day 3}

Today is Day 3 of our sew-a-long! We are going to focus on sewing the bodice still. It may be a super fast and easy day for some of you. For others, you will have a bit more work to do if you decided to add bodice ruffles, but it is so worth it!
I adore the bodice ruffles, I just wish my little fashionista did too! She would much rather have a twirly skirt and forget the ruffles. So alas, no ruffles on the one I'm sewing for my daughter.

If you are completing the ruffles, then it's time to get started! You will be following the ruffle instructions exactly as stated in the instructions. I will give you a brief rundown here! I don't have photos for this part since I'm not sewing the ruffles. Check the instructions in the tutorial if you are a visual learner!
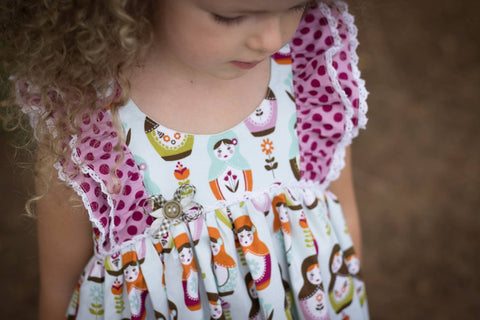
Hem those ruffle pieces, either by ironing a 1/4" SA and then another 1/4" SA, or by serging off 1/2" and sewing a rolled hem. The opposite edge should be serged or sewn with a zig-zag stitch. Do this to all your ruffle pieces.
Once you've finished, run a gathering stitch 1/2" from the edge of the serged side and gather each ruffle to 1/2 it's original size. Now grab your bodice and a ruler. Measure 1/2" from the shoulder seam and draw a line down the front and back of the bodice. Take a ruffle and pin it directly on the chalk line, right sides together. Make sure the gathering line is on the chalk line, and sew right over the gathering stitch. Flip the ruffle over, iron flat, and topstitch with a 1/8" SA.
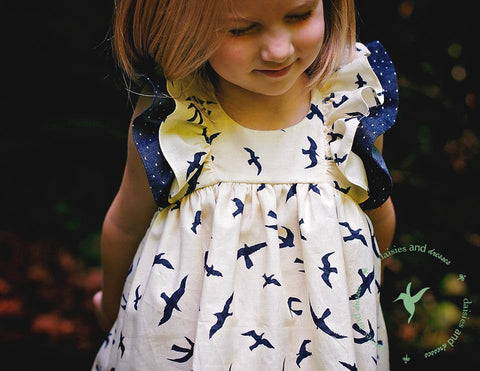
For the second ruffle, measure over from the edge of the sewn ruffle 1/2" and make a line from the front to the back of the bodice. Place ruffle on line with gathering stitches on the drawn line. Sew it down, flip and iron, then topstitch. Repeat this process of the other 2 ruffles on the other side.
For those who didn't sew bodice ruffles, it's time to sew! Grab your bodice and and open up the main and lining fabrics, matching the armhole, right sides together.
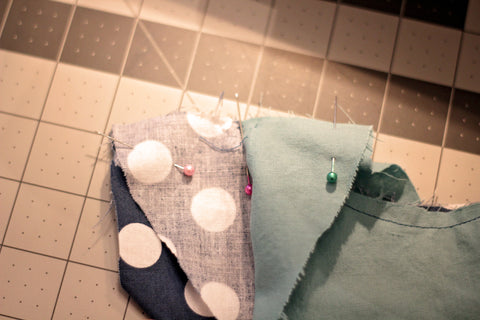
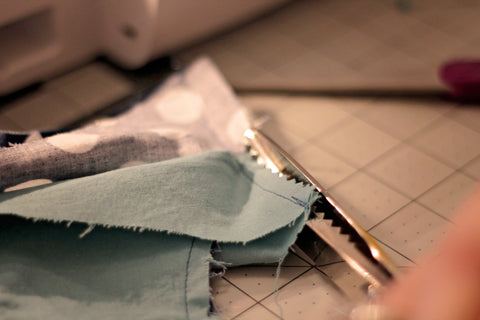
Pin and sew with a 1/2" SA. Trim 1/2 of your SA off and fold the bodice so it is right side out. You should now have a finished side seam.
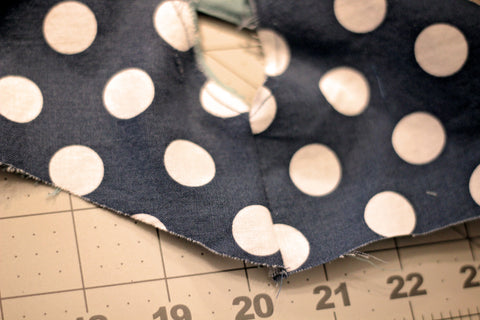
Repeat these steps for the other side, then take over and iron both seams flat. If you have more bodice embellishing to do, now's the time to do it!
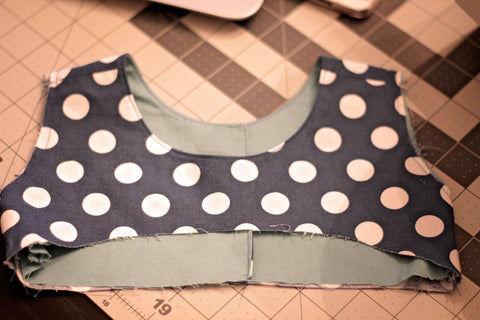
And guess what? That is it for today! If you were like me, your sewing only took 2 minutes, and that is exactly what you needed on this rather dreary Wednesday (at least where I am located). If you did ruffles, well, yours took a little more time, but it was still a rather quick day! Perfect for hump day!
If you need to catch up, check out Day 1 and Day 2. And don't forget to add your photos in the daily albums on FB. Tomorrow we work on the sleeves and begin the skirt construction. It will be a busy day so get ready to sew! See you all back here tomorrow!
Clara+Adelaide Sew-A-Long {Day 2}
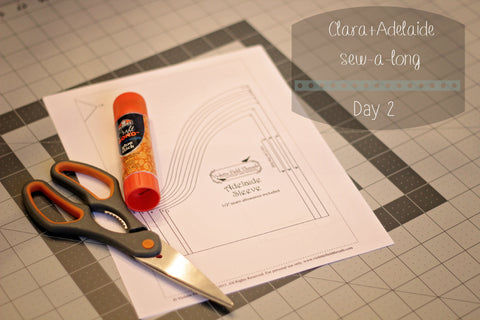
Welcome back! Today is Day 2 of our Clara+Adelaide sew-a-long, and we will be tackling putting our pattern together, cutting fabric, and starting on sewing our gorgeous bodice! Who's excited?!?!?
First things first, print out your pattern pieces. I opted to print the sleeves and bodice pieces only, and use the dress measurements for the skirt. If you are making the dress version, you can use the measurements listed below, and take a look at the blog post on how to Lengthen Clara into a dress.
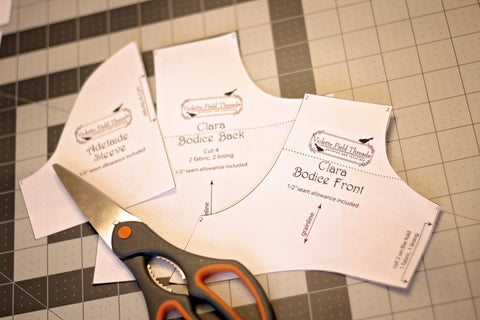
Once you are printed, cut out and tape or glue your pieces together. I like to use glue instead of tape! It seems to go faster for me, but do what works for you. Cut those pieces out and get to pinning! This may be my least favorite part of the sewing process. I am not a huge fan of pinning and cutting out my pieces. Maybe the pattern fairy will start visiting my house and leaving me freshly cut fabric ready to sew! {one can dream right??}
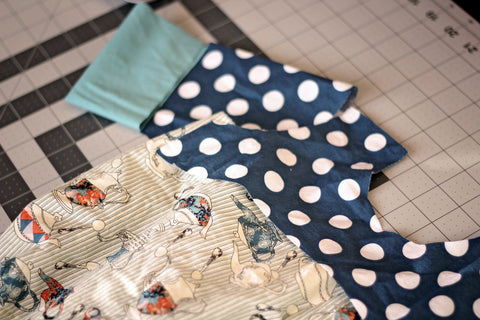
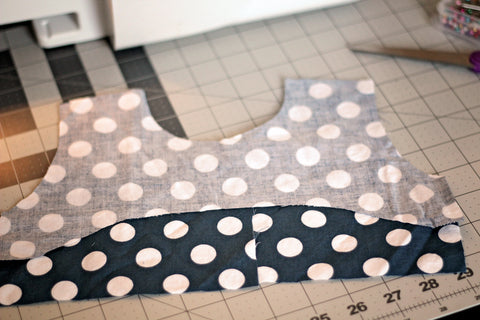
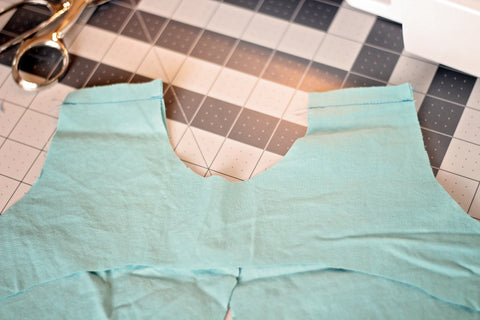
Your fabric is cut and ready to go! It's time to get to work on the bodice. Take your front and back bodice pieces and place them right sides together and sew a 1/2" SA at the shoulders. Do this for both the main and lining fabrics.
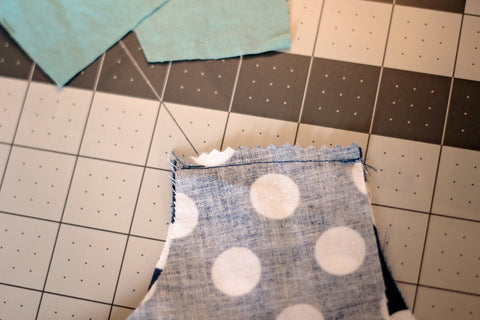
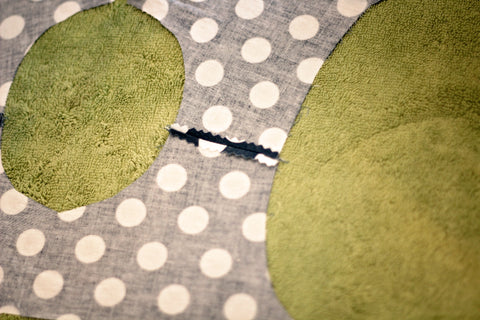
When you have both completed, take your pieces and trim off 1/2 of your SA. I like to use my pinking shears for this job! Take your pieces over to your iron and iron those seams flat.
If you want to add a bib or other embellishment that needs to be sewn into the neckline seam, then now is your time to do that! If you want to add something that doesn't need to be sewn in between the main and lining fabrics, then you can hold off until tomorrow! Here is a perfect opportunity to get creative. Lace looks lovely, a little faux button placket, or anything else. For inspiration, you can type in "Clara" into the search feature in our Facebook Group and you'll find TONS of cool embellishments people have done.
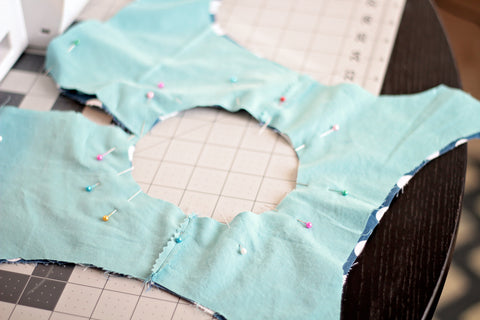
It's time to back both your main and lining pieces and place them right sides together. You are going to sew up the middle back, around the neck, and down the other middle back piece. Here's where I want you to deviate from the pattern instructions. Since we are adding sleeves to our bodice, do not sew the armholes!! We will get to those in just a minute.
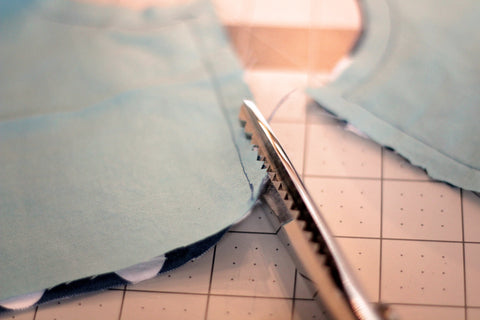
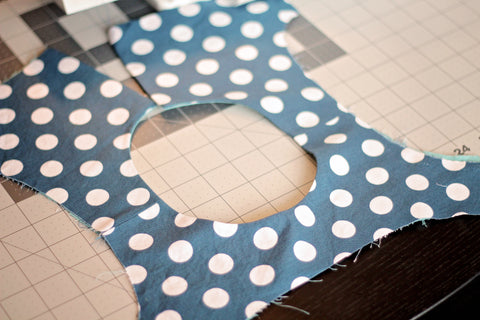
Take the bodice and trim 1/2 of the SA off, and make sure to clip your corners. Turn your bodice right side out and iron the heck out of it.
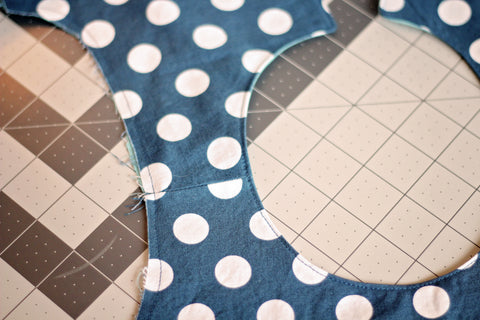
Now we will address the armholes. All you need to do is run a basting stitch around the armholes using a 1/4 SA. If you want, this would also be the best time to baste the back side pieces together. It's now time to topstitch. Make sure to only topstitch the back middle pieces and around the neckline.
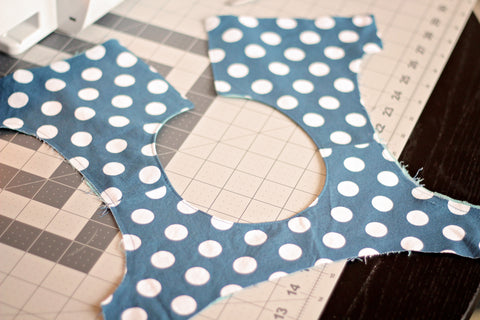
Guess what?!?! Day 2 is DONE! Can you believe it?!? Not too shabby! Tomorrow we will finish our bodice, add ruffles, extra embellishments, or play catch up! If you missed yesterdays post, you can find Day 1 here! And don't forget to add your Day 2 Photos into the album! See you back here tomorrow!
Clara+Adelaide Sew-A-Long {Day1}
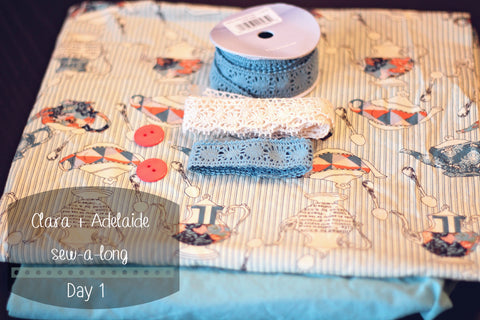
Today is day 1 of the Clara+Adelaide Sew-A-Long! We are trying something new this go around and we are giving you are most asked for mash-up! Clara+Adelaide is a combination that never fails!
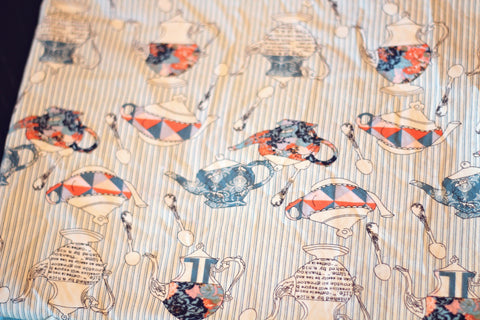
Day 1 is super fun, because today is the day you get to search through all your lovely fabric to find the perfect one that speaks to you. This is my most favorite day. I adore looking through my stash, imagining what my creation will look like! Most of the time, I end up in the fabric store, because let's be honest, you can never have too much fabric!
Before you get all excited about fabric shopping, get your pattern handy. If you haven't purchased your pattern yet, what are you waiting for?!?!?! Use code A+Csewalong for 30% off of everything in the "New Arrivals" section in the shop. You can also use it on the bundle! This sale runs through Friday, so get it while you can!
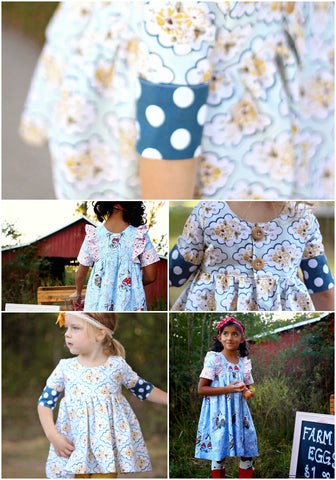
It's time to take a look and decide on options. Will you do bodice ruffles? Maybe you will add a contrasting sleeve cuff. Think about whether you will be sewing the top or the dress modification we posted on the blog.
Once you have the details all ironed out, sit down with some fabrics, or head out to the store and start envisioning what you want the finished garment to look like!
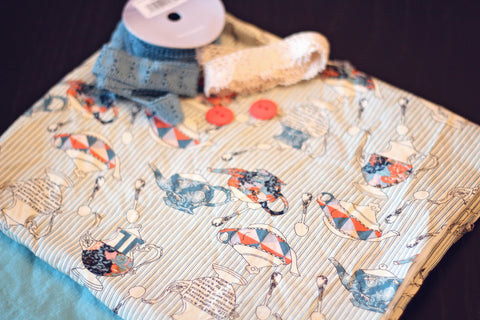
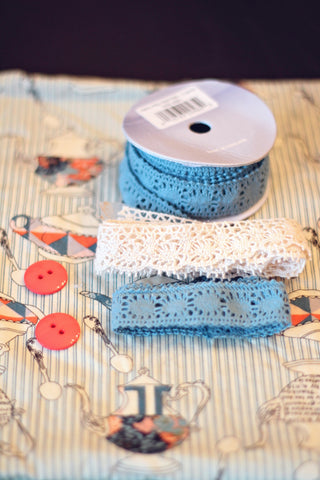
And while you are at the store, or in your sewing area, grab some notions! Get the perfect thread color, and some amazing buttons. You will need a few for the back of the bodice.
Once you have everything ready to take, snap a quick pic and head on over to the FB Group. Post your photo in the Day 1 album! You are now ready for tomorrow, when we will tackle cutting out our fabrics and starting the bodice construction! Check out the schedule for a breakdown of each day!
How about some extra incentive??? If you are anything like me you LOVE winning prizes! So how about an absolutely amazing prize for one lucky person! Follow along and post your photos on the daily albums and in the final album, and one lucky person will win a VFT 5 pattern prize pack PLUS a $50 gift card to Hawthorne Threads! Who wouldn't love to win that!! Have fun and we will see you back here tomorrow!
How to lengthen {Clara} into a dress

Clara has become a much loved top pattern. It's one of those patterns that is so lovely and classic, it works for all occasions and ages. The sweet vintage flair with bodice ruffles and subtle high low hem is perfect for all little ladies.

Over the past few months we have loved seeing all the different versions you have shared with us. The creativity is amazing and the variations are all so lovely.

There are always questions about patterns, and the most asked question about Clara is, "how do I make Clara into a dress?" You asked and we are answering! Today, we will give you all the information you need to turn your adorable Clara top into a lovely dress!

Turning your Clara top into a knee length dress is actually very easy. Cut out your pattern pieces as indicated in the pattern. When it comes time to cut your skirt, use the measurements listed below in the table.
Once all your pieces are cut, follow the instructions per the pattern for sewing your garment. Your finished product will be a beautiful knee length dress that will make everyone swoon. We also want to give a big THANK YOU to Blend Fabrics for sharing their beautiful fabric line: French Hen by Molly Hatch with us, it was absolute perfection for this project!

We adore Clara as a dress. It really is just as lovely as the top! The skirt has tons of twirl factor and is perfect for the recent change in weather. Pair it with knee highs or tights, and you have a winning combination.
Not only do we love Clara lengthened as a dress, but we adore it with sleeves! Adding sleeves to Clara is another easy and fun modification! And if you have been following our FB group, then you know our Clara+Adelaide Sew-A-Long starts tomorrow! We cannot wait to get started!
And to show you how excited we are, pick up any pattern in the "New Arrivals" section of our shop, including both Clara and Adelaide, for 30% off with code: A+Csewalong! You can even get the Clara/Adelaide bundle for 30% too!!! This sale will run through Friday, so get it while you can! And don't forget to sew-a-long with us starting tomorrow! Check the blog tomorrow for more details!
$5 Weekend Sale {Phoebe Dress & Top}

Remember our post last week when we shared some tips on how to attach a knit bodice to a woven skirt? We had a fabulous sale on Elise, but we couldn't leave out the other great pattern we featured.


This weekend, grab your copy of Phoebe for only $5! Phoebe has been updated and now includes:
1. Finished Measurements and Cutting Charts as well as Pattern Pieces included for rectangles. Mannequin Line Drawings are also included.
2. Grouped sizing for size 7,8 has been split into individual sizing for 7 & 8.
3. Nested pattern pieces for less paper to print.
4. A new Flat Front Bodice version has been added for a total of 2 bodice versions.
5. Improved Sewing and Design Tips including;
-"How to make the woven skirt" version from the blog.
-How to professionally attach a knit bodice to a woven skirt.
6. A redesigned Front Bow that is more tailored and easier to finish.
7. Cut lines for the Dress and Shirt version.

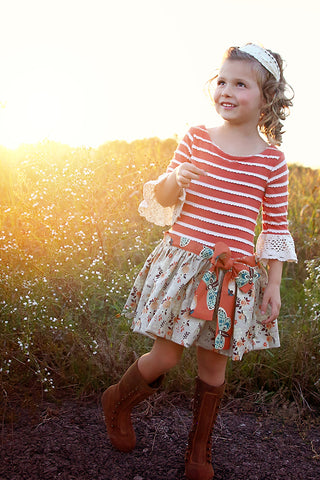
Phoebe is a must have for every little lady. Super versatile and perfect for any occasion, Phoebe will quickly become a wardrobe staple that will fill your daughter's closest!

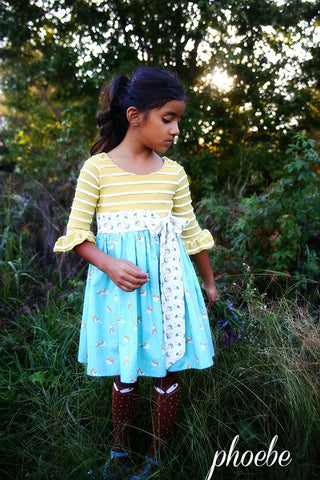
This amazing pattern can be either a top or a dress. Both variations feature a knit bodice with a flattering boat neckline and optional center gather.
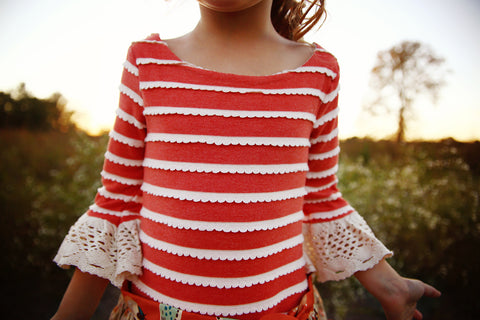

Phoebe features lovely gathered fabric cuffs or lace trim. We adore the endless possibilities!
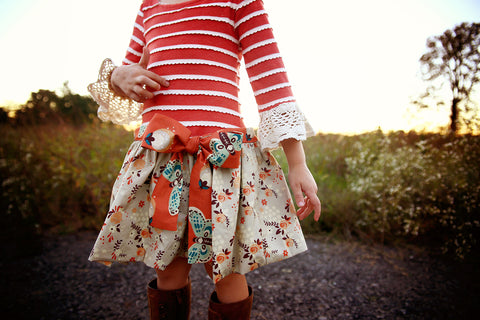
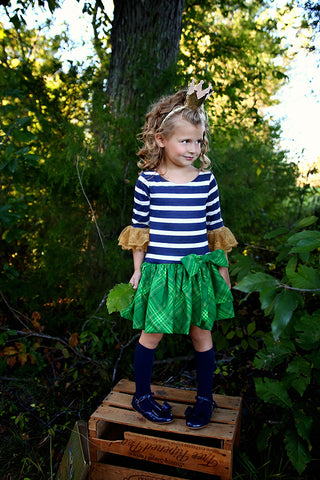
The skirt is a super fun and flouncy bubble skirt. Perfect for parties or fun times around the house!
Do you need a great layering shirt? Phoebe is your girl! We have made Phoebe in a cream knit with lace sleeves and it goes with EVERYTHING! This shirt is so fast to make, you'll want one in every color.
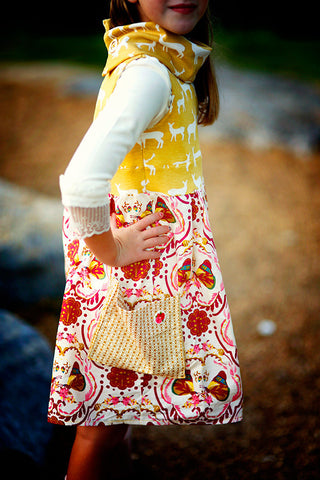
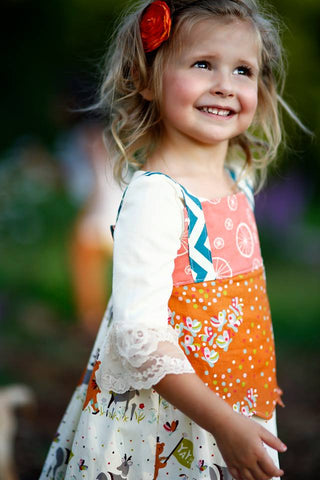
Look how pretty it is layered under our Kate Dress and Alba Dress.
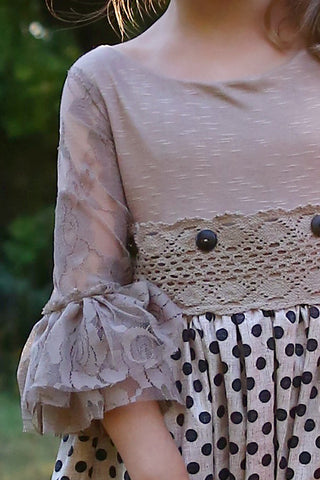

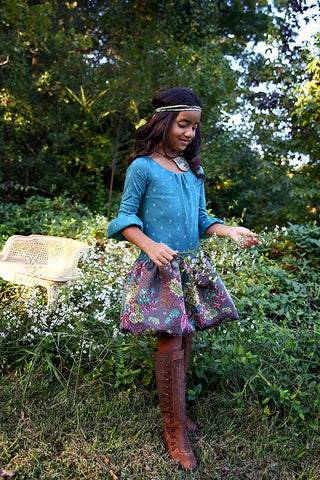
Phoebe is the perfect pattern for beginners or those new to sewing with knit. And if you are a knit pro, no worries! This is a great pattern to let your imagination and creativity take over! With so many options and variations, the possibilities are are endless.
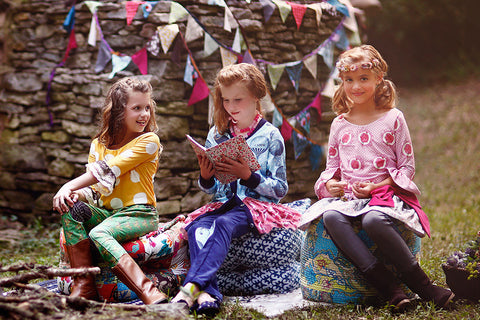
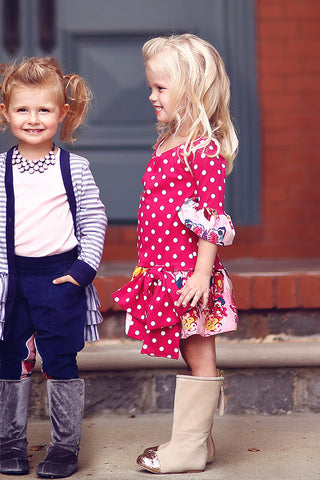
Grab Phoebe on sale now through Monday! And don't forget to share your creations with us!!
{VFT Sewing Tips} How to attach a woven skirt to a knit bodice.
Today is our first “how to” article in a new planned teaching blog series! This series will be an ongoing “how-to” where we share our library of tips and tricks (ones that we wish we had known when we started) that will change the way you sew! You know those “Ah-ha!” moments where it all clicks and your project comes together easily and effortlessly? Most of the time those well deserved moments come from putting in the time and doing the research, right? Well, we’re doing that for you. Because for most of us, sewing is a hobby, and it isn’t meant to be frustrating. Stay with us during this series, and you’ll have the know how to make your sewing easier, quicker and more enjoyable. Your end result will look spectacular. People will just assume you bought that. What?! You made that? Oh yes, yes I MADE THAT!

So we’ve been all about the knits here at Violette Field Threads lately. Last week Emily shared her Top 5 Reasons to Overcome your Fear of Knit. This past weekend, the Gretchen Cardigan was our $5.00 special and we are pleased to say we have even more fun with knit planned for this week!!
Who doesn’t love a knit/woven dress combo? You get the best of both worlds; the comfort of a knit bodice and the gorgeous pleathera of prints available in woven. There’s only one issue. How to attach knit and woven and make it look GOOD. Well, today is the day! We’re teaching you how to do it. That’s right, no more wobbly, wonky seams. No more lettuce curled edges. We are talking flat, professional seams. We’ll demonstrate this method by modifying two of our knit sewing patterns, Phoebe and Elise.
To start, you’ll want to choose either Phoebe or Elise to use as your base. You can choose either, but since you’re going to want to sew 10 of these for your child, we recommend sewing both. They’re both beginner friendly, easy to customize and just perfect for this project.
Choose the Bodice Pattern:
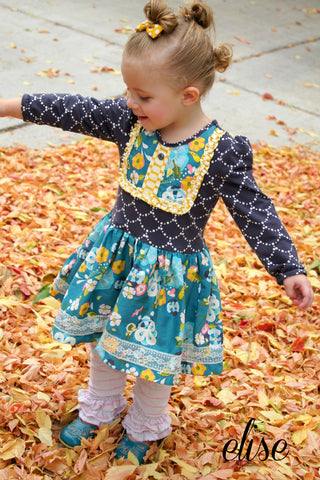
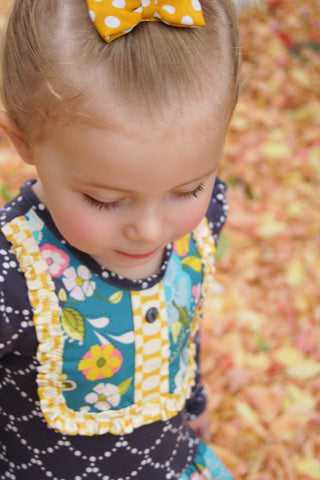
The Elise Top can be sewn with an optional bib and ruffle, which allows you to mix and match to create endless looks. The bib can also be left off for a classic look. The sleeves available are long, short or even sleeveless. The neck features a scoop neck and there is an adorable easy key hole closure in the back.
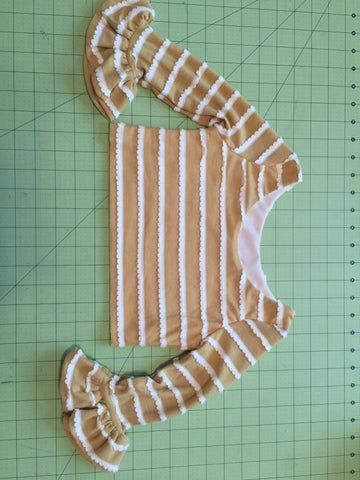
The Phoebe Top has an optional gathered front bodice with a sweet boat-neck shape. The sleeves are ¾ with gathered ruffle cuffs. We love to use lace in place of the ruffles!
NOTE: To create a Phoebe that does not have a gathered front, simply use the bodice lining for both the main and the lining, it works perfect!!
Now that you have chosen your pattern base, lets get started!
Cutting the Skirt:
We have put together a chart of average skirt measurements to add to the knit bodices. These are averages, and you may find that you need to add or subtract an inch or so depending on your child.

Notions:
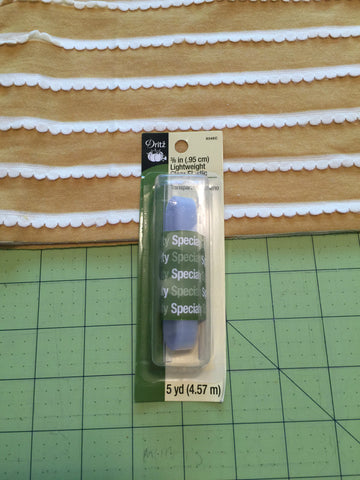
3/8 lightweight clear elastic
*Dritz sells this elastic in a 5 yard pack that is labeled “Specialty”. Most commonly, it is used in swimwear/aerobic wear, but it is also very useful in stabilizing seams in knit garments.
 Prepare the Bodice:
1. Shorten the bodice. The bodice for both the Elise and Phoebe need to be shortened. The best way to know where to shorten them is to hold the bodice front pattern piece up to your child and measure down the side seam until you are right above the belly button and draw a line. The raw edge of the bodice should hit right above the belly button. Cut the pattern piece off at this line. Measure the bodice back by the same amount and cut.
2. Sew the bodice and sleeves together as instructed in the Elise or Phoebe tutorial.
3. You will now be using your elastic! Open the package up and bring both the elastic and the bodice over to your serger or if you don’t have a serger, you can use your sewing machine.
4. Working on the wrong side of the fabric, line up the clear elastic with the bottom raw edge of the bodice. Serge or zig-zag stitch the clear elastic to the bodice. Make sure the elastic and the bottom raw edge stay lined up all the way around and also make sure your blade is off if you are using your serger. Serge the elastic all the way around. Do not stretch the bodice or the elastic as you serge the two together.
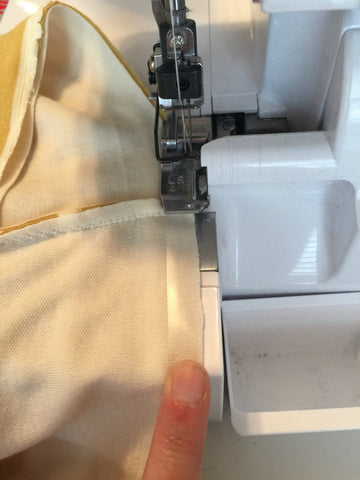

5. The bodice is now ready for the skirt to be attached, set aside.
Prepare the Skirt:
6. Place the skirt front and back together with the right sides touching and the raw edges lining up. Pin together along the short side edges. Sew along the pinned seams. For a professional look, serge or trim off ½ of the seam allowance and finish the seams with a zig-zag stitch. Iron the seams flat.
7. Hem the bottom raw edge. Turn the bottom raw edge up ¼” and iron flat. Now turn it up another ½” and iron flat. Sew around the ironed hem.
8. Sew one row of gathering stitches along the top raw edge using a ¼” seam allowance. Gather the skirt up until it is the same width around as the bodice.
9. Place the bodice on top of the gathered skirt with the right sides touching. Line up the side seams, and adjust the gathers if necessary. Pin or clip the skirt to the bodice.

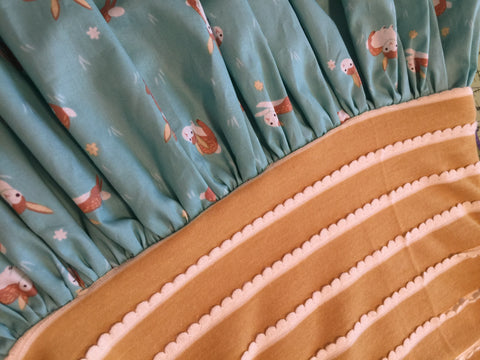
You can now either leave the seam as is or add a topstitch using either a double needle or stretch stitch. We also love the look of sewing a sash onto the bodice. You can sew the sash so that is ties in the back or on the front to the side as we did!

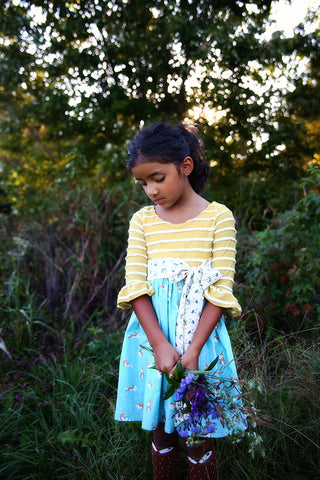
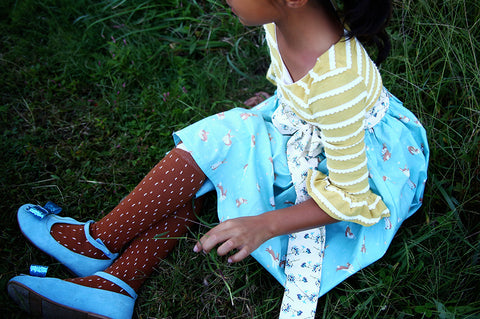
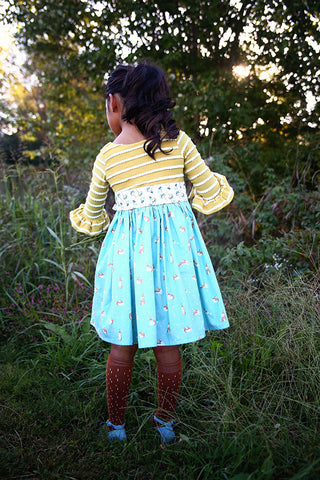
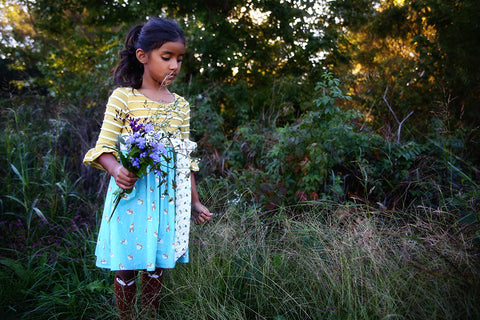
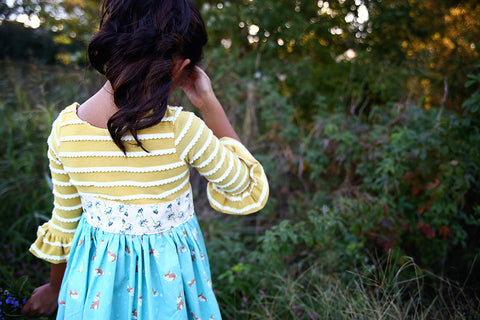
Now is your chance to be creative! Add hem ruffles, lace cuffs, waist sashes, crochet trims or decorative buttons. These dresses are fun and addictive, plus kids LOVE knit bodice dresses. They are perfect for the park, playground or even for dressing up.
Thank you so much to Megan Miles of Little Londyn for sharing her beautiful Elise dress with us!
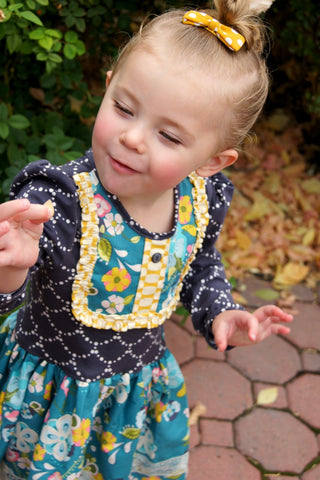
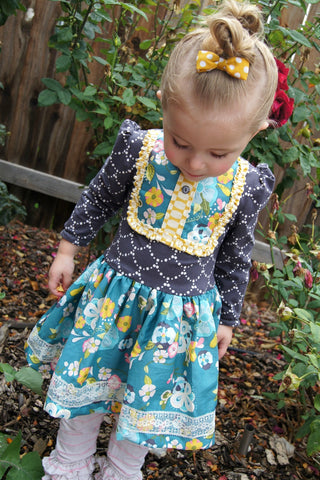
Do you plan to make one? Well stay tuned because starting tomorrow we will have a $5.00 weekend special to help get you started! We would love to see your creations, so please share them with us on our Violette Field Threads FB Page!
Did you enjoy this article? If so, please let us know below. Do you have an idea for a VFT Sewing Tips blog article, we would love to hear it below as well.
Xoxo,
Ericka & Jessica


